
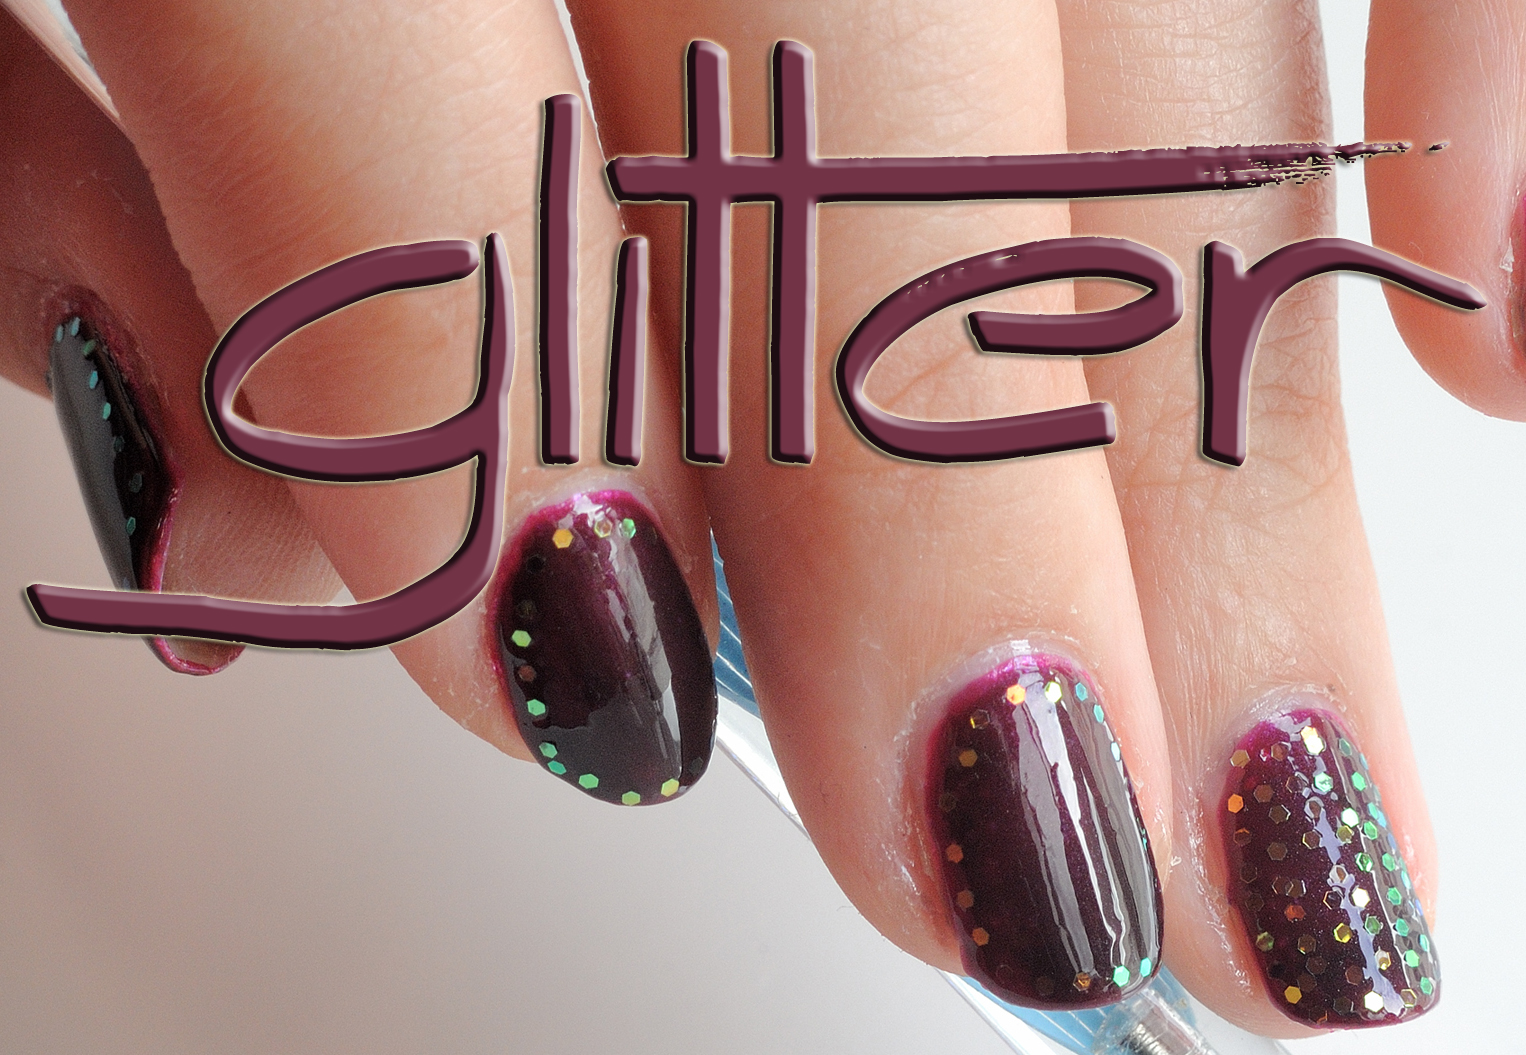
Nail Friday is here and today we are doing a very easy manicure as always but it needs to have a bit of steady hand to create the line as straight as possible with the glitter, cause that’s what we are using today, glitter to create a frame on our nails very original and elegant, is a very discrete nail art,
You can use the base nail color you want but I suggest a dark one, as darker better to contrast with the glitter that is going to bit chunky and big to be able to work with it,
Let’s begin with the how to,
Nail Friday Manicura marco purpurina
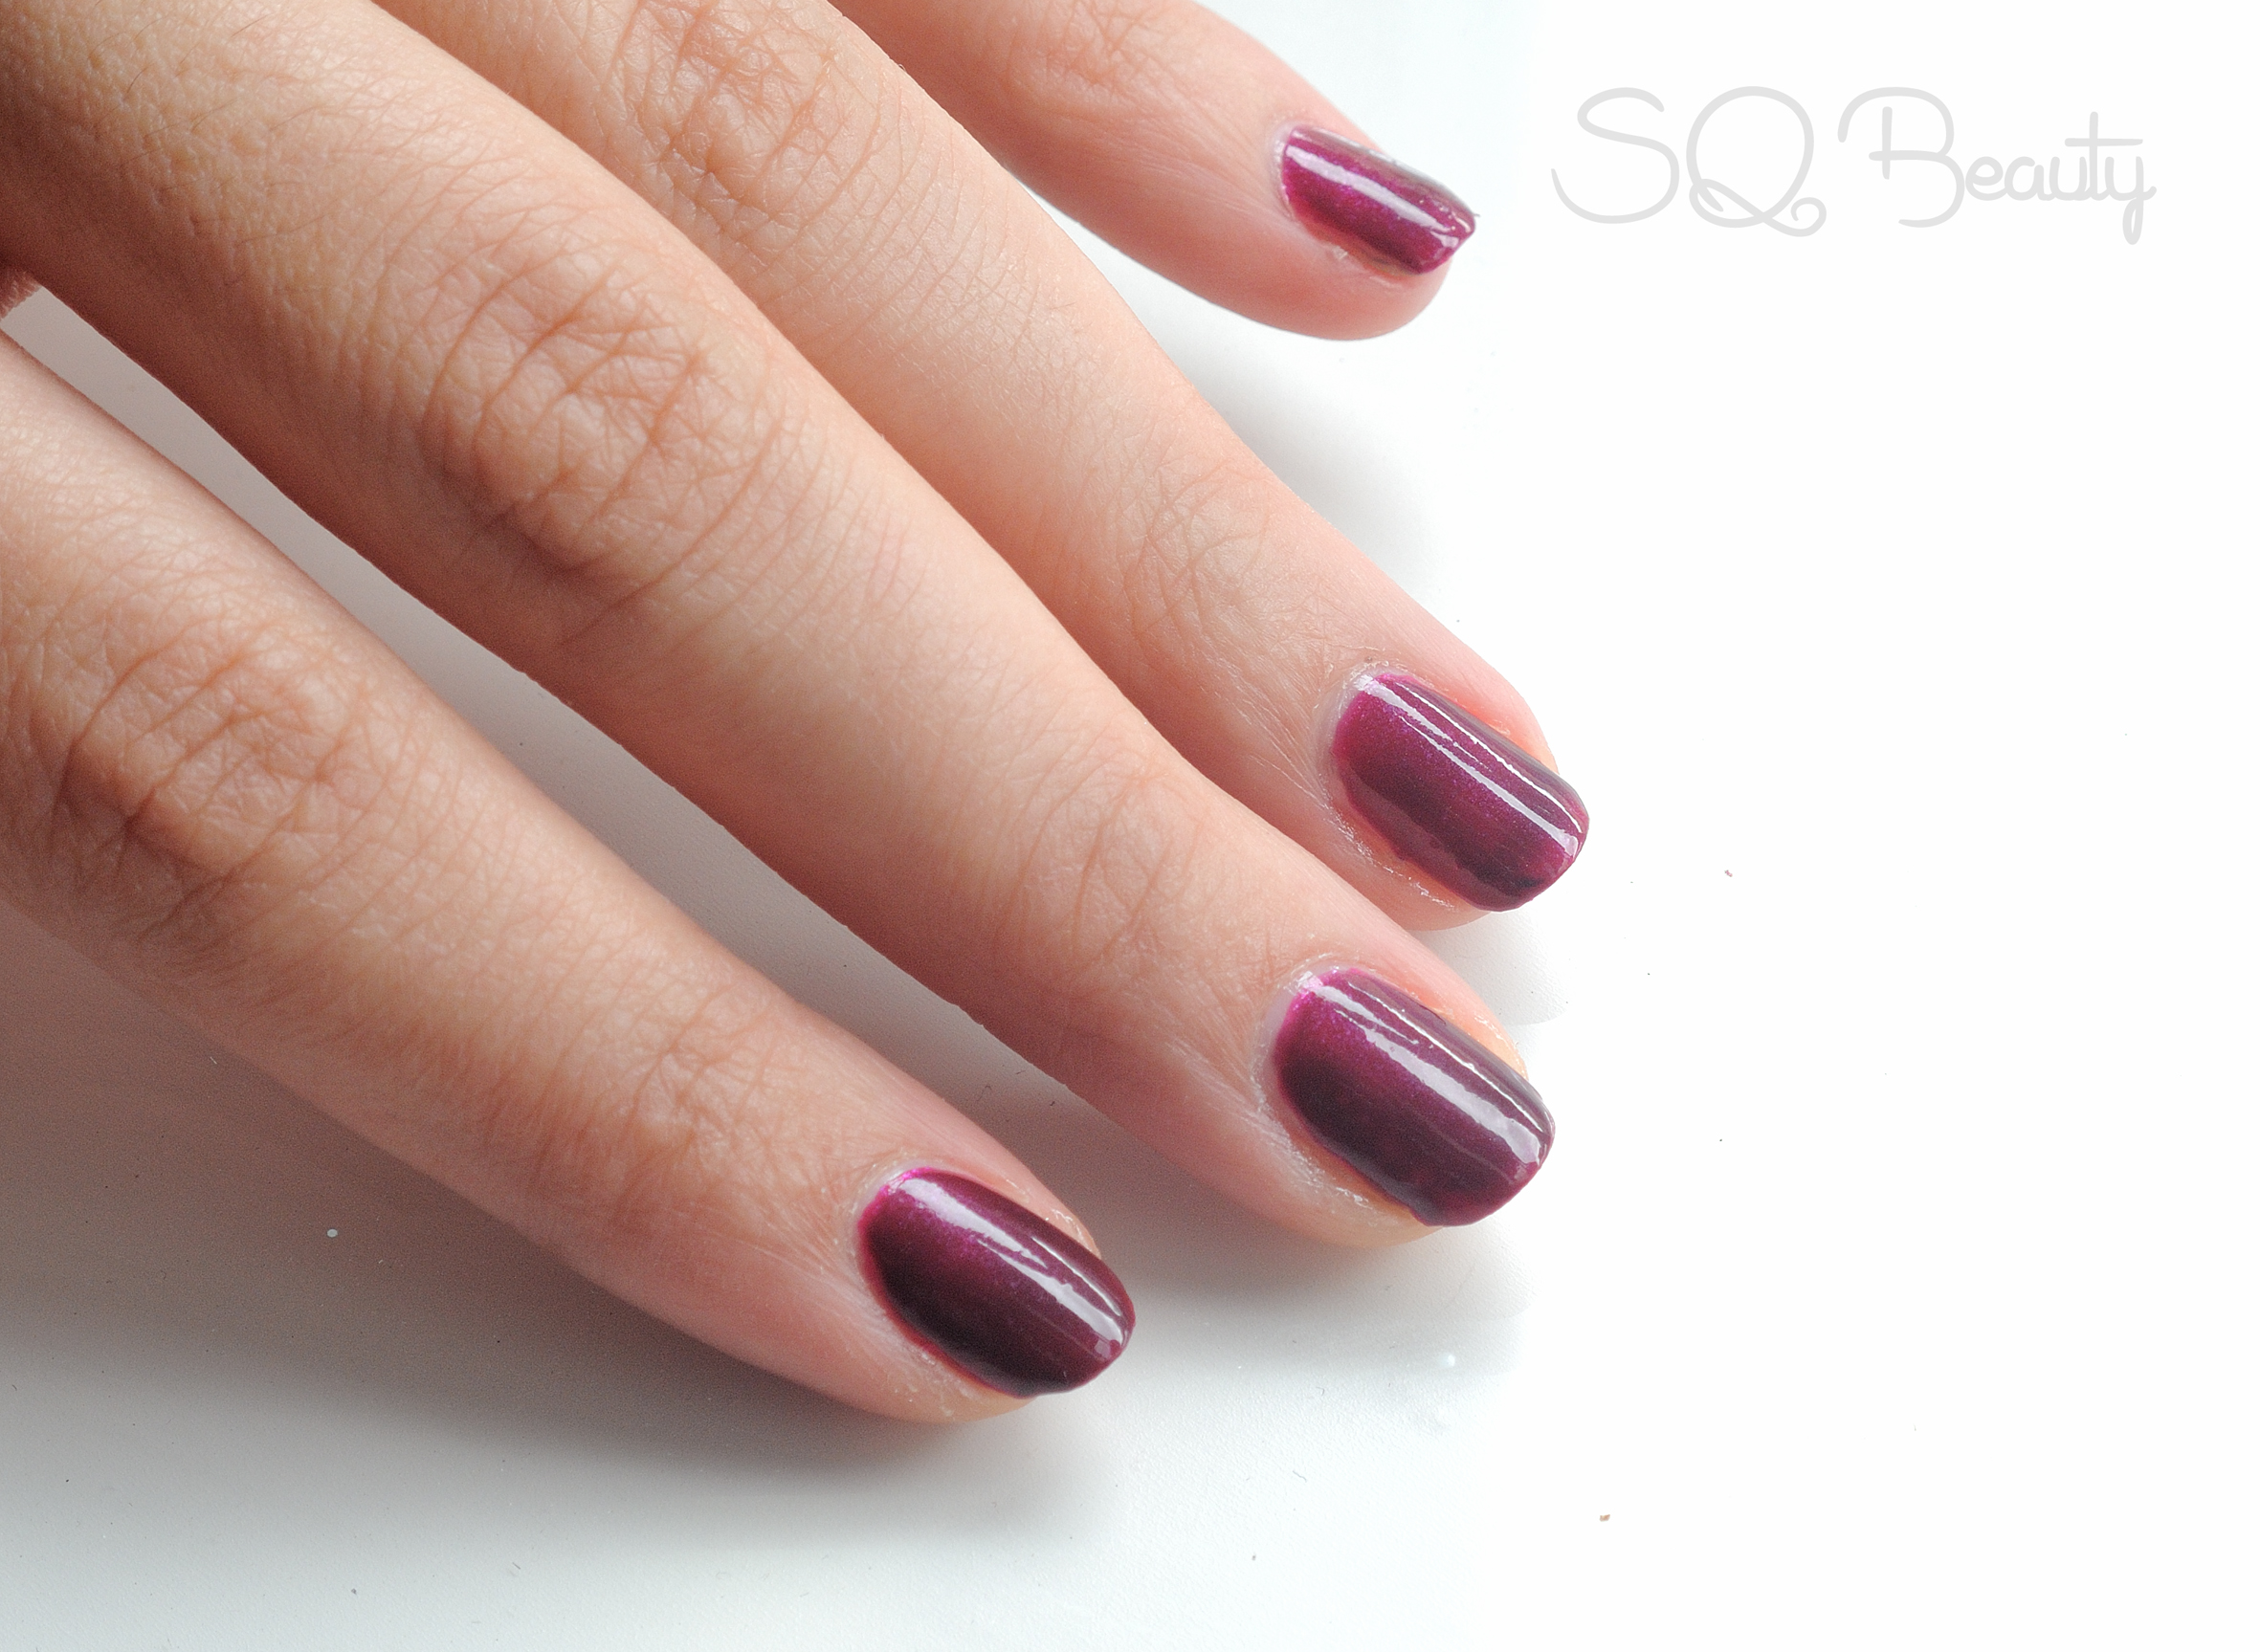
1. Create a solid base color with one or two coats of your chosen nail polish, for me I went for a nail polish a bit lighter that the one on the pic but I decide to add a coat of a black translucent color that just darken the base color, leave it to get completely dry,
Nail Friday Manicura marco purpurina
2. Create the “glue” layer adding another color coat, top coat or in my case the black darken nail polish where we will start adding the glitter and get them stick to the nail before the coat is dry,

Nail Friday Manicura marco purpurina
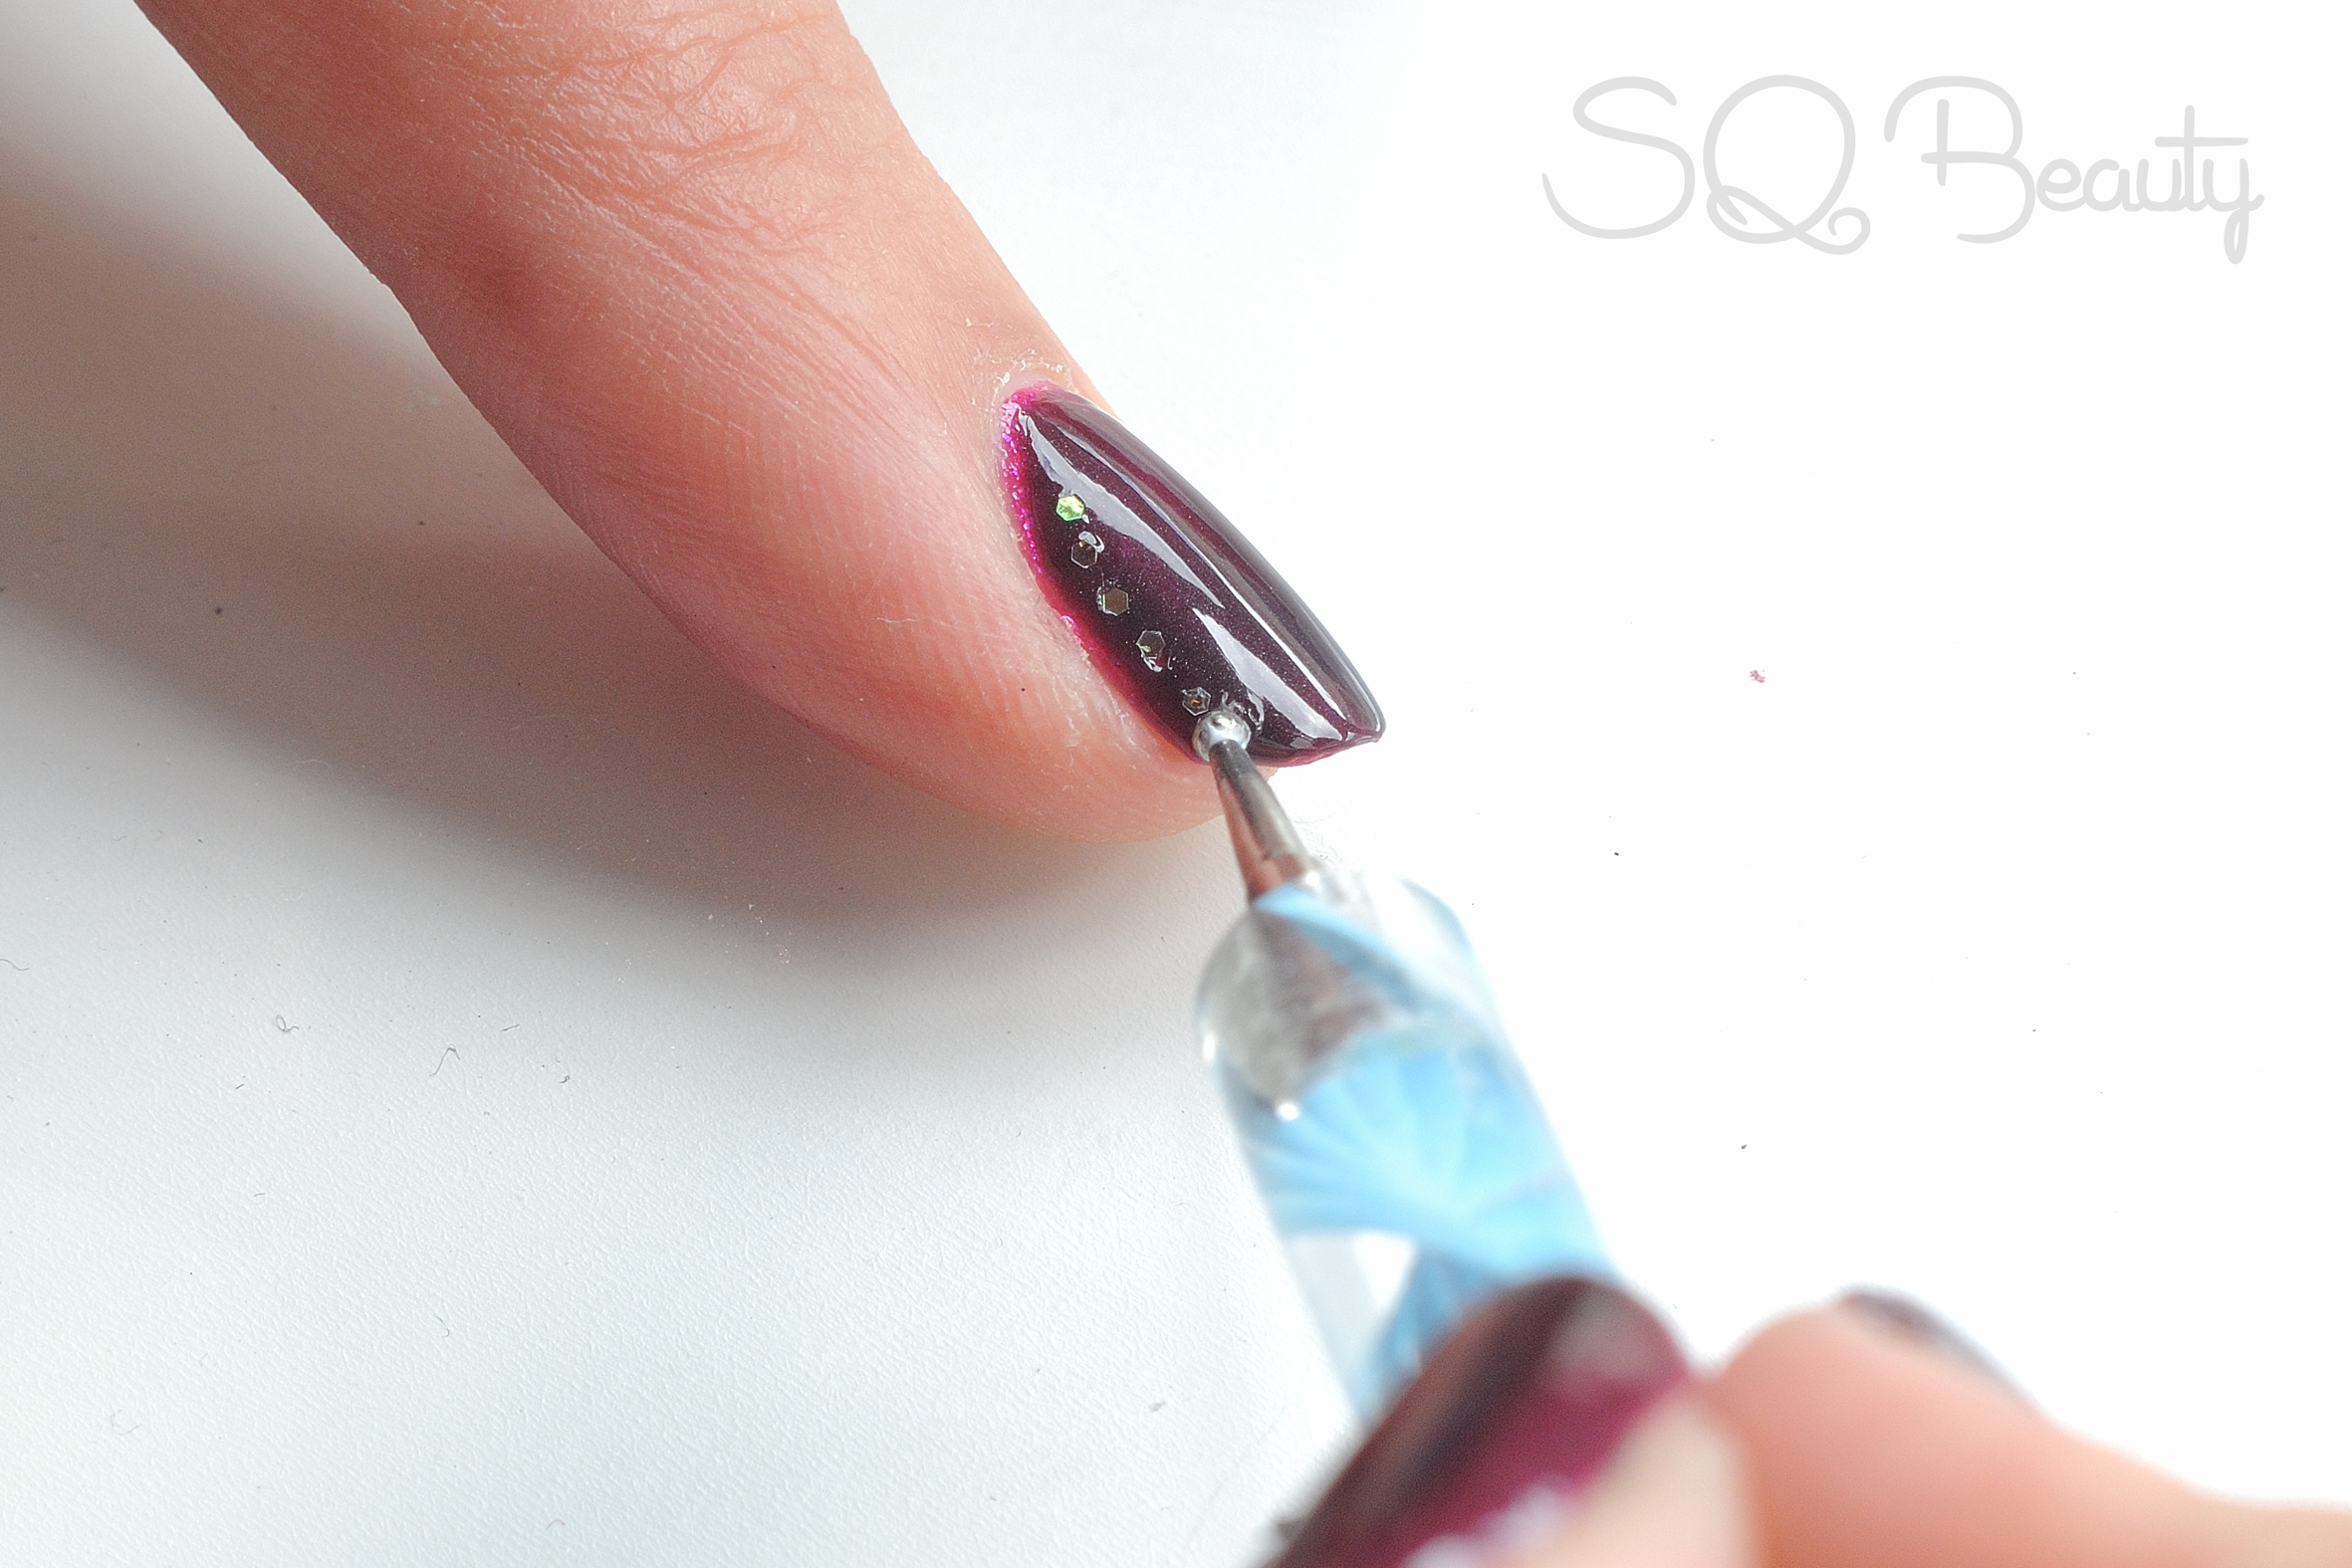
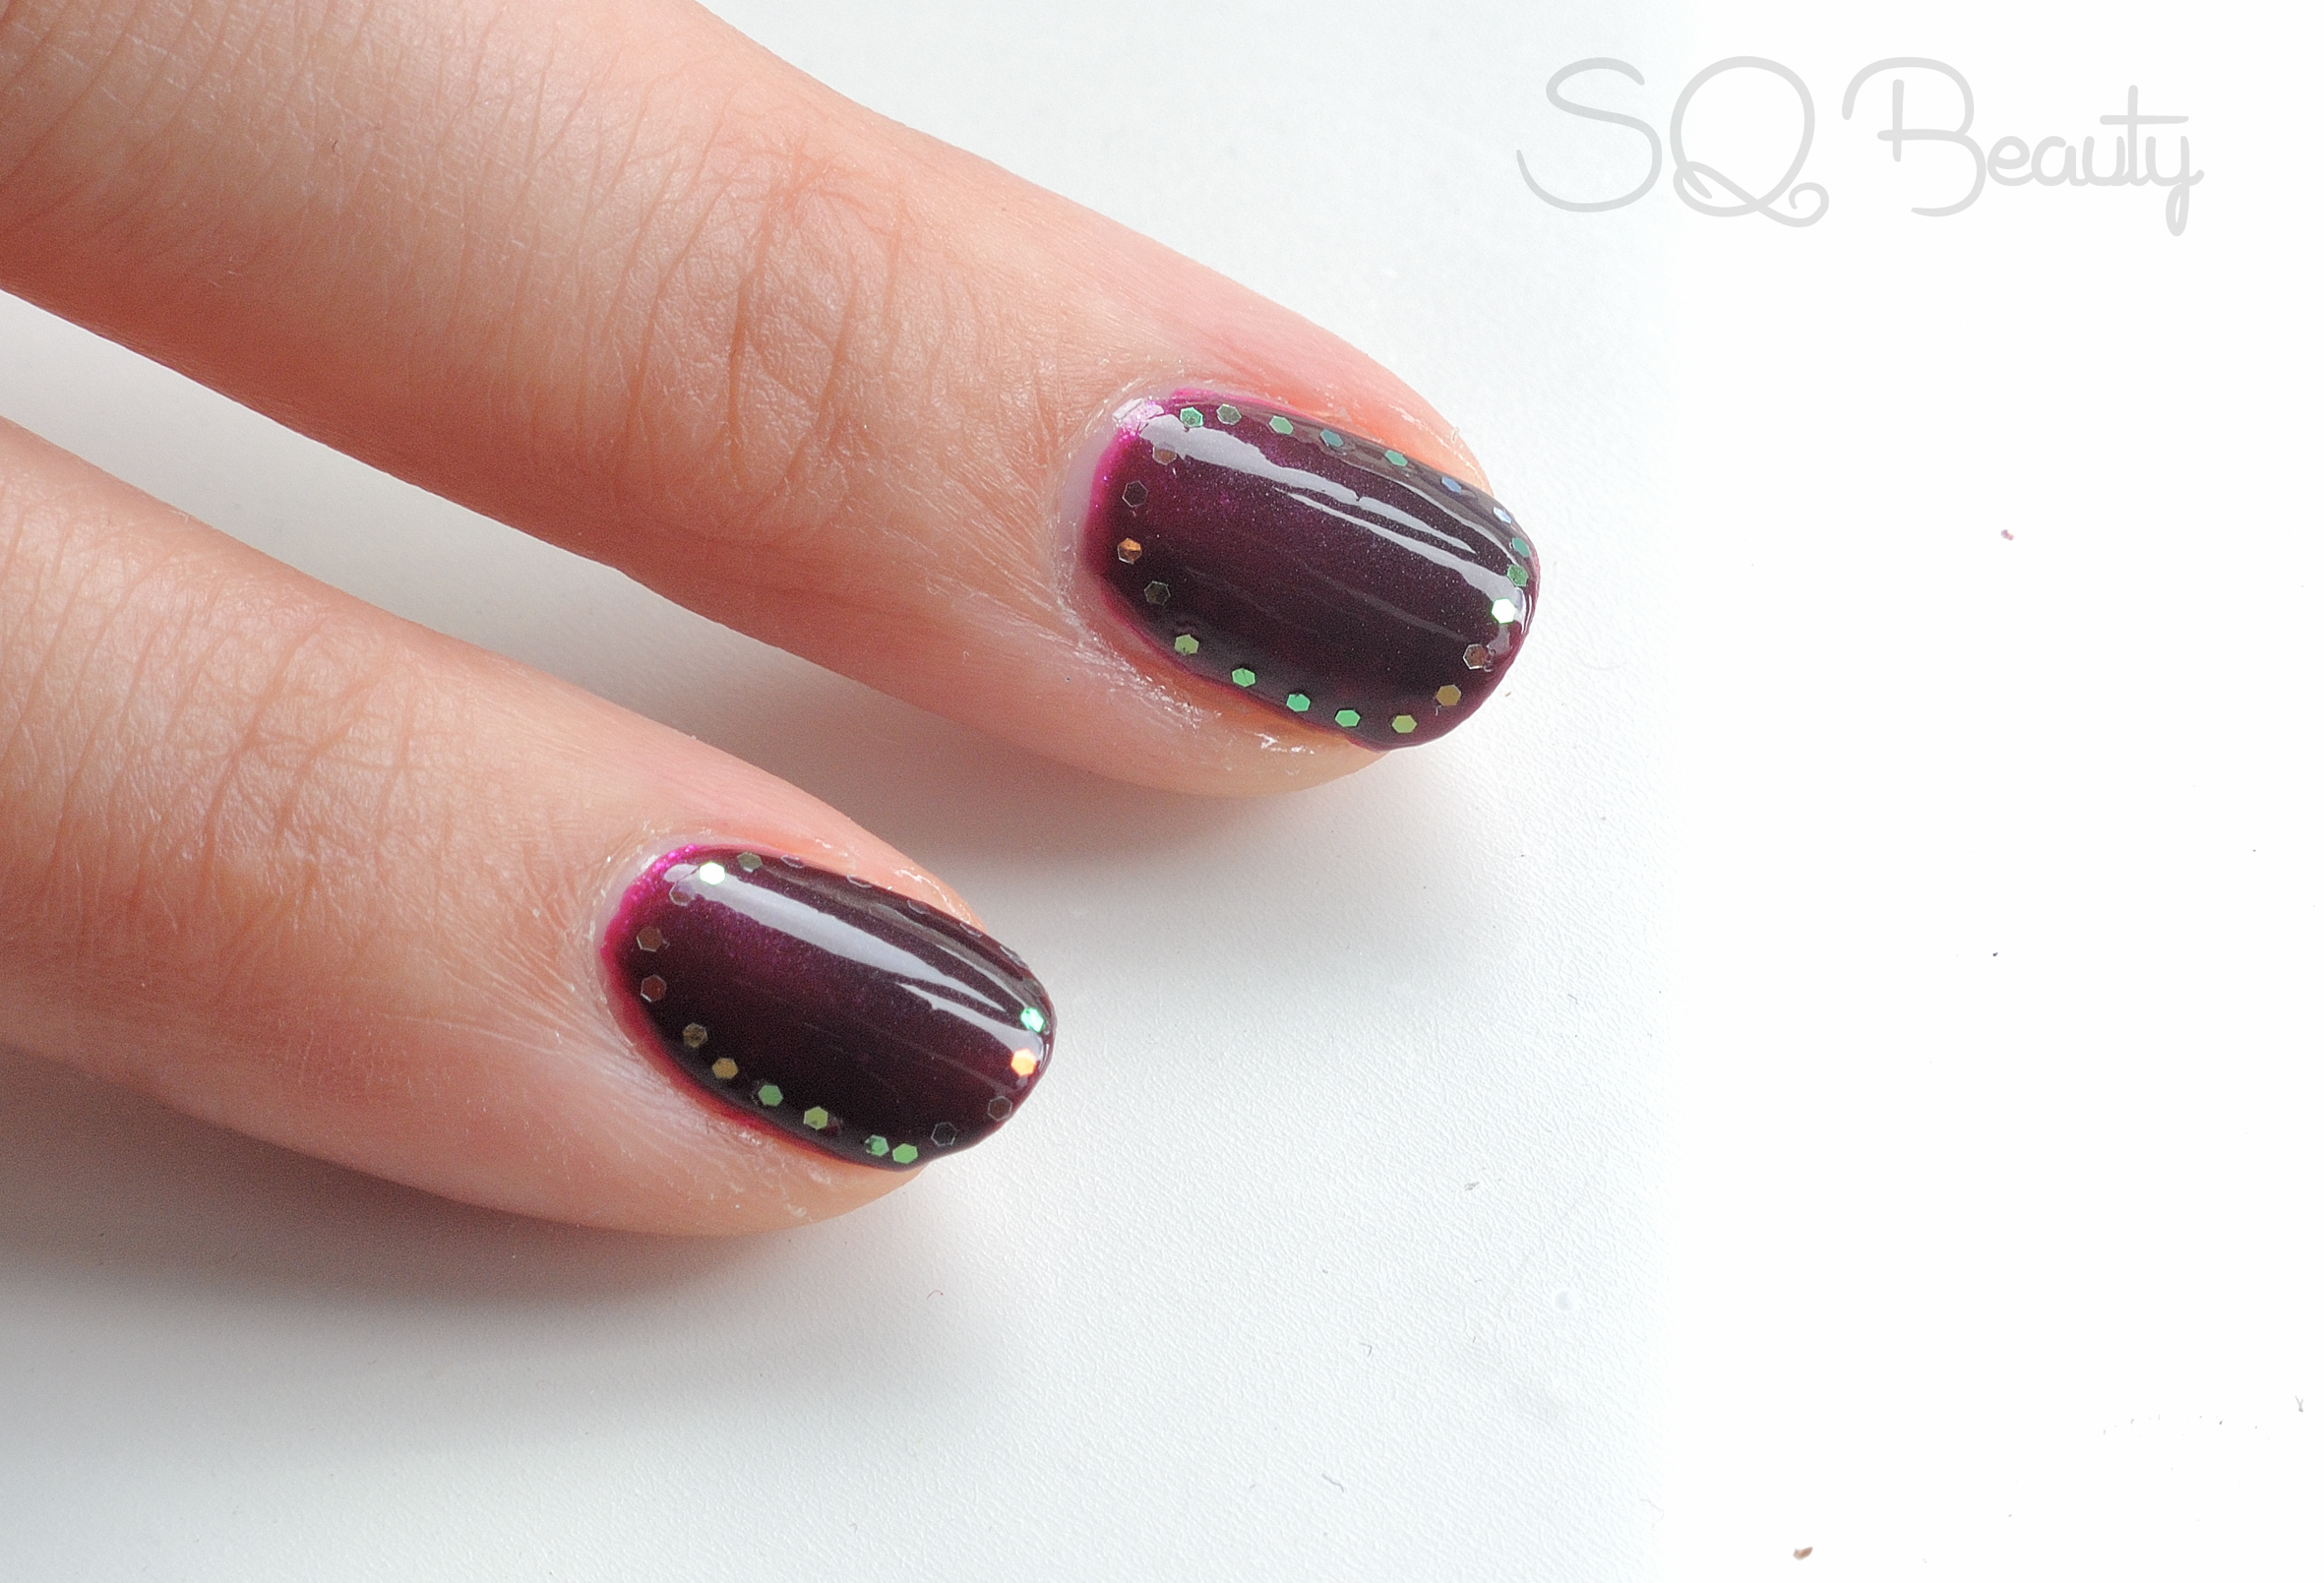
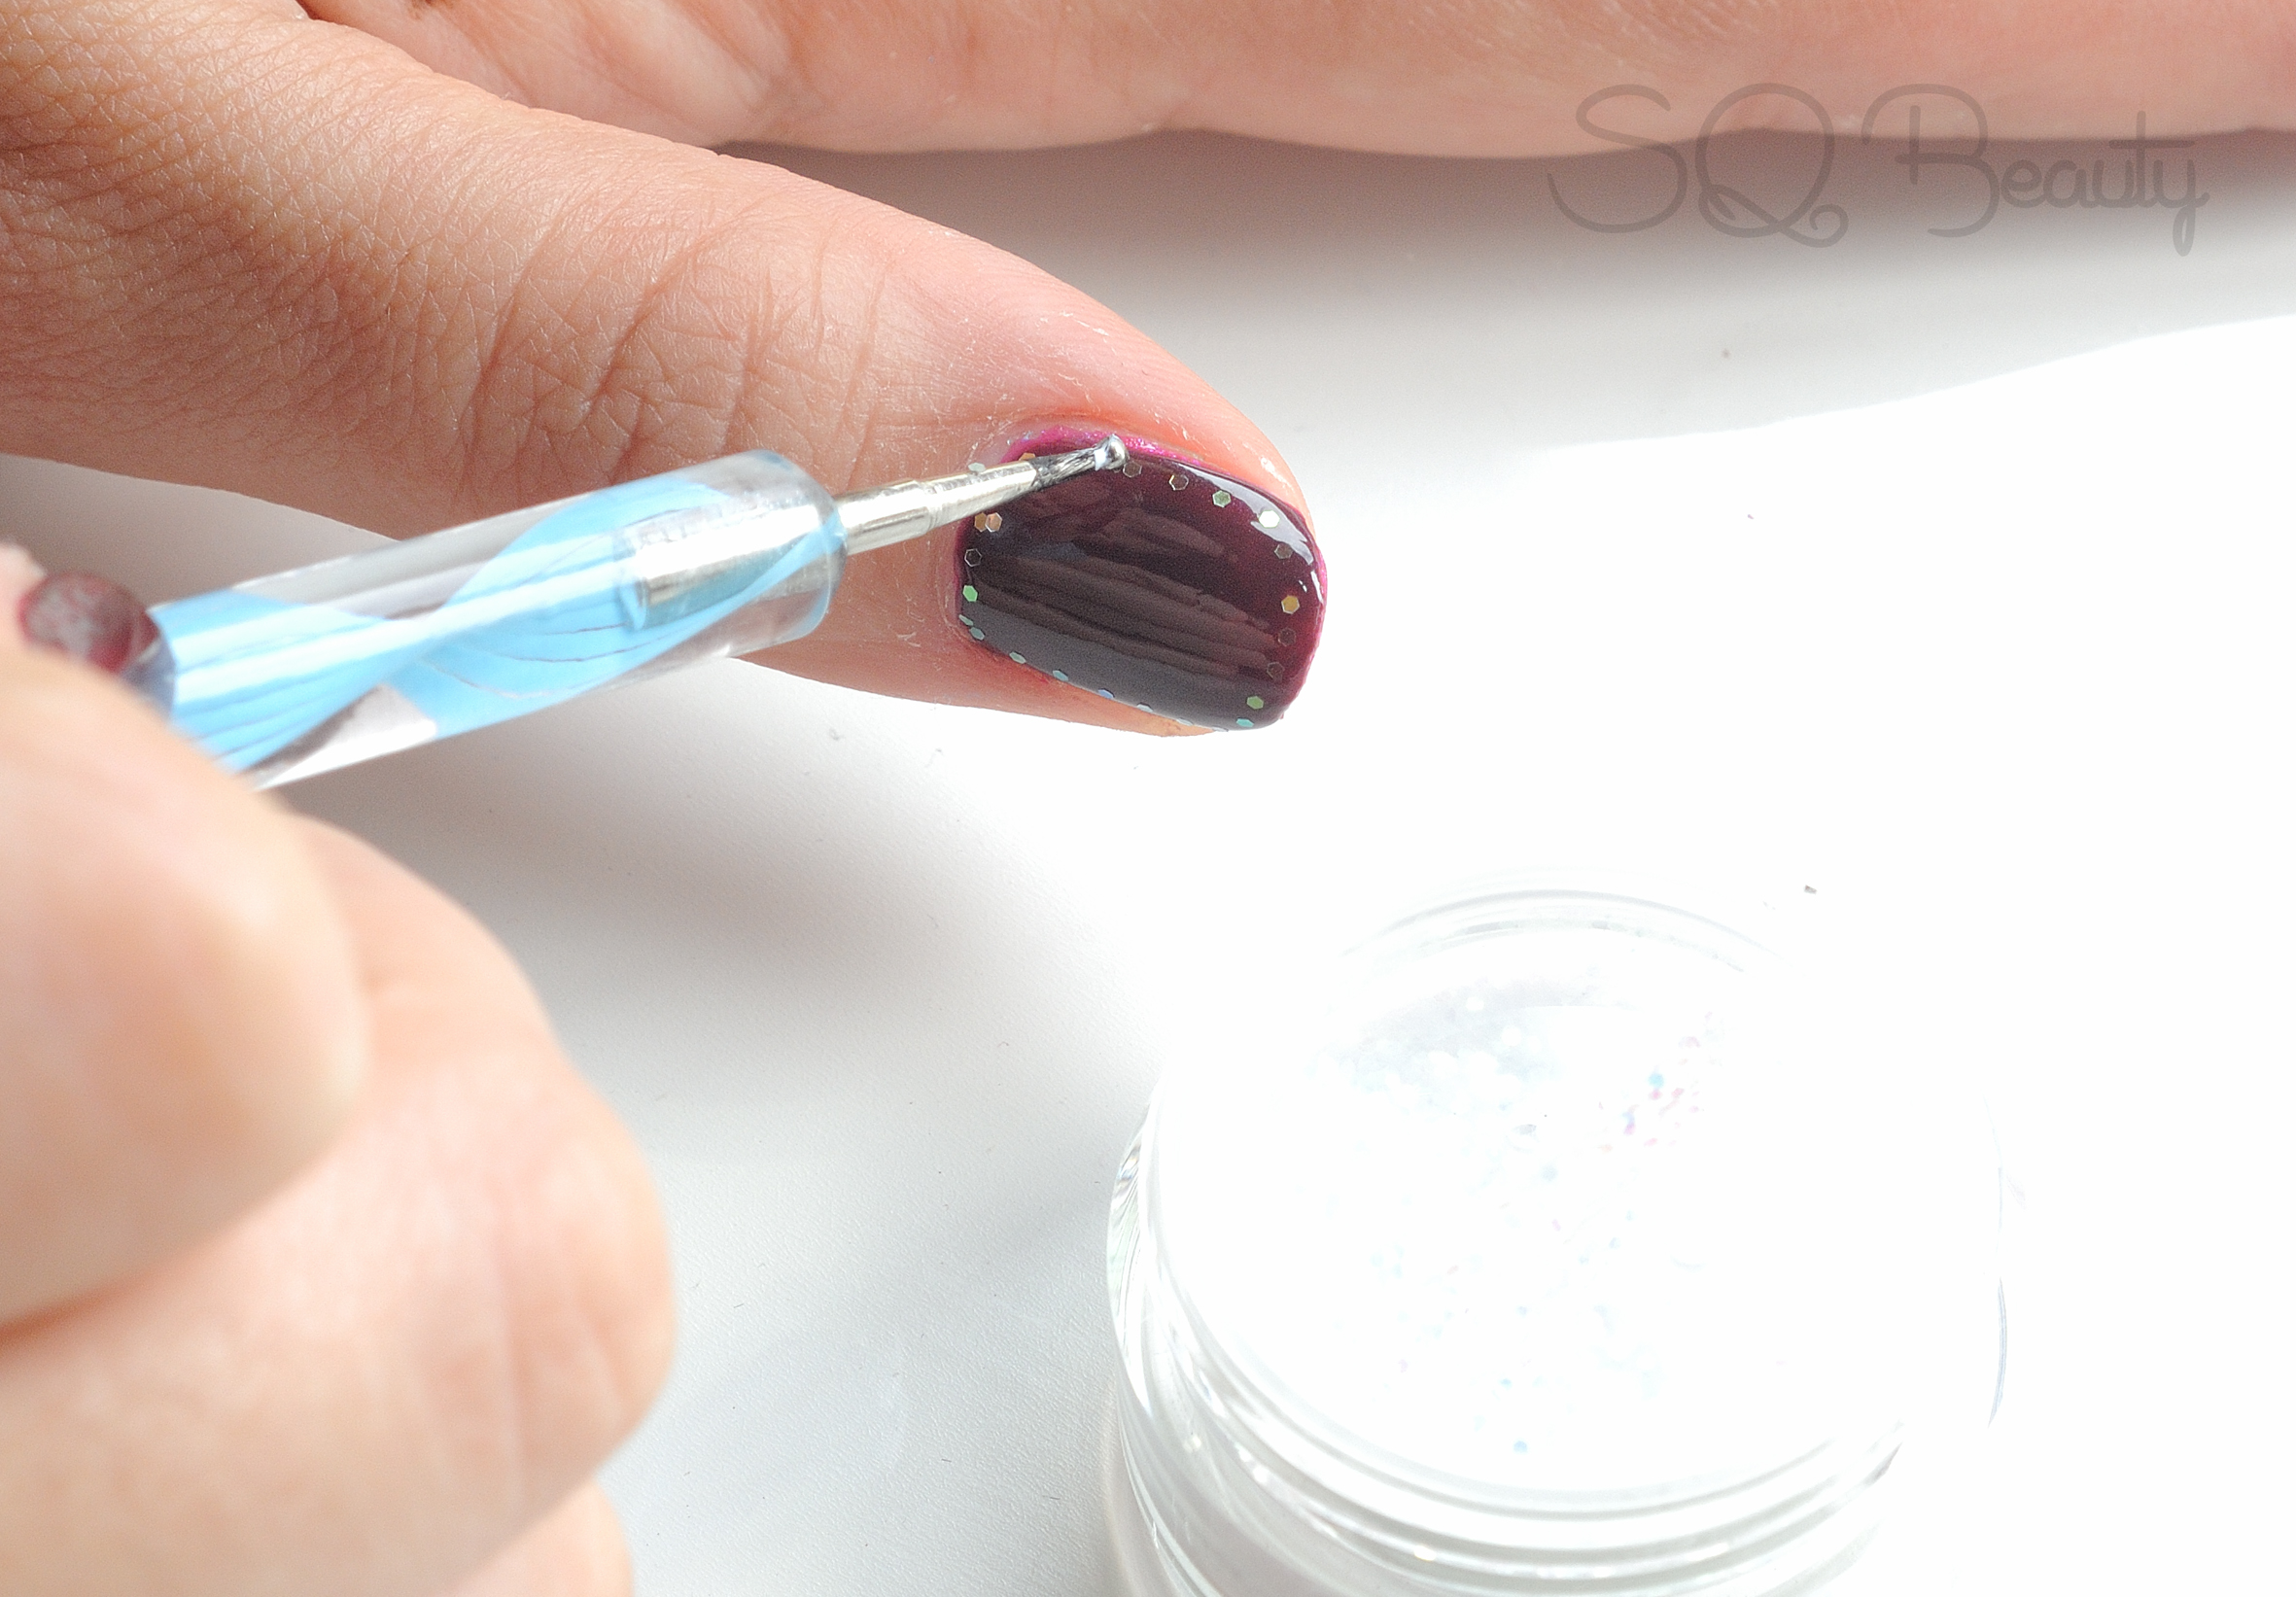
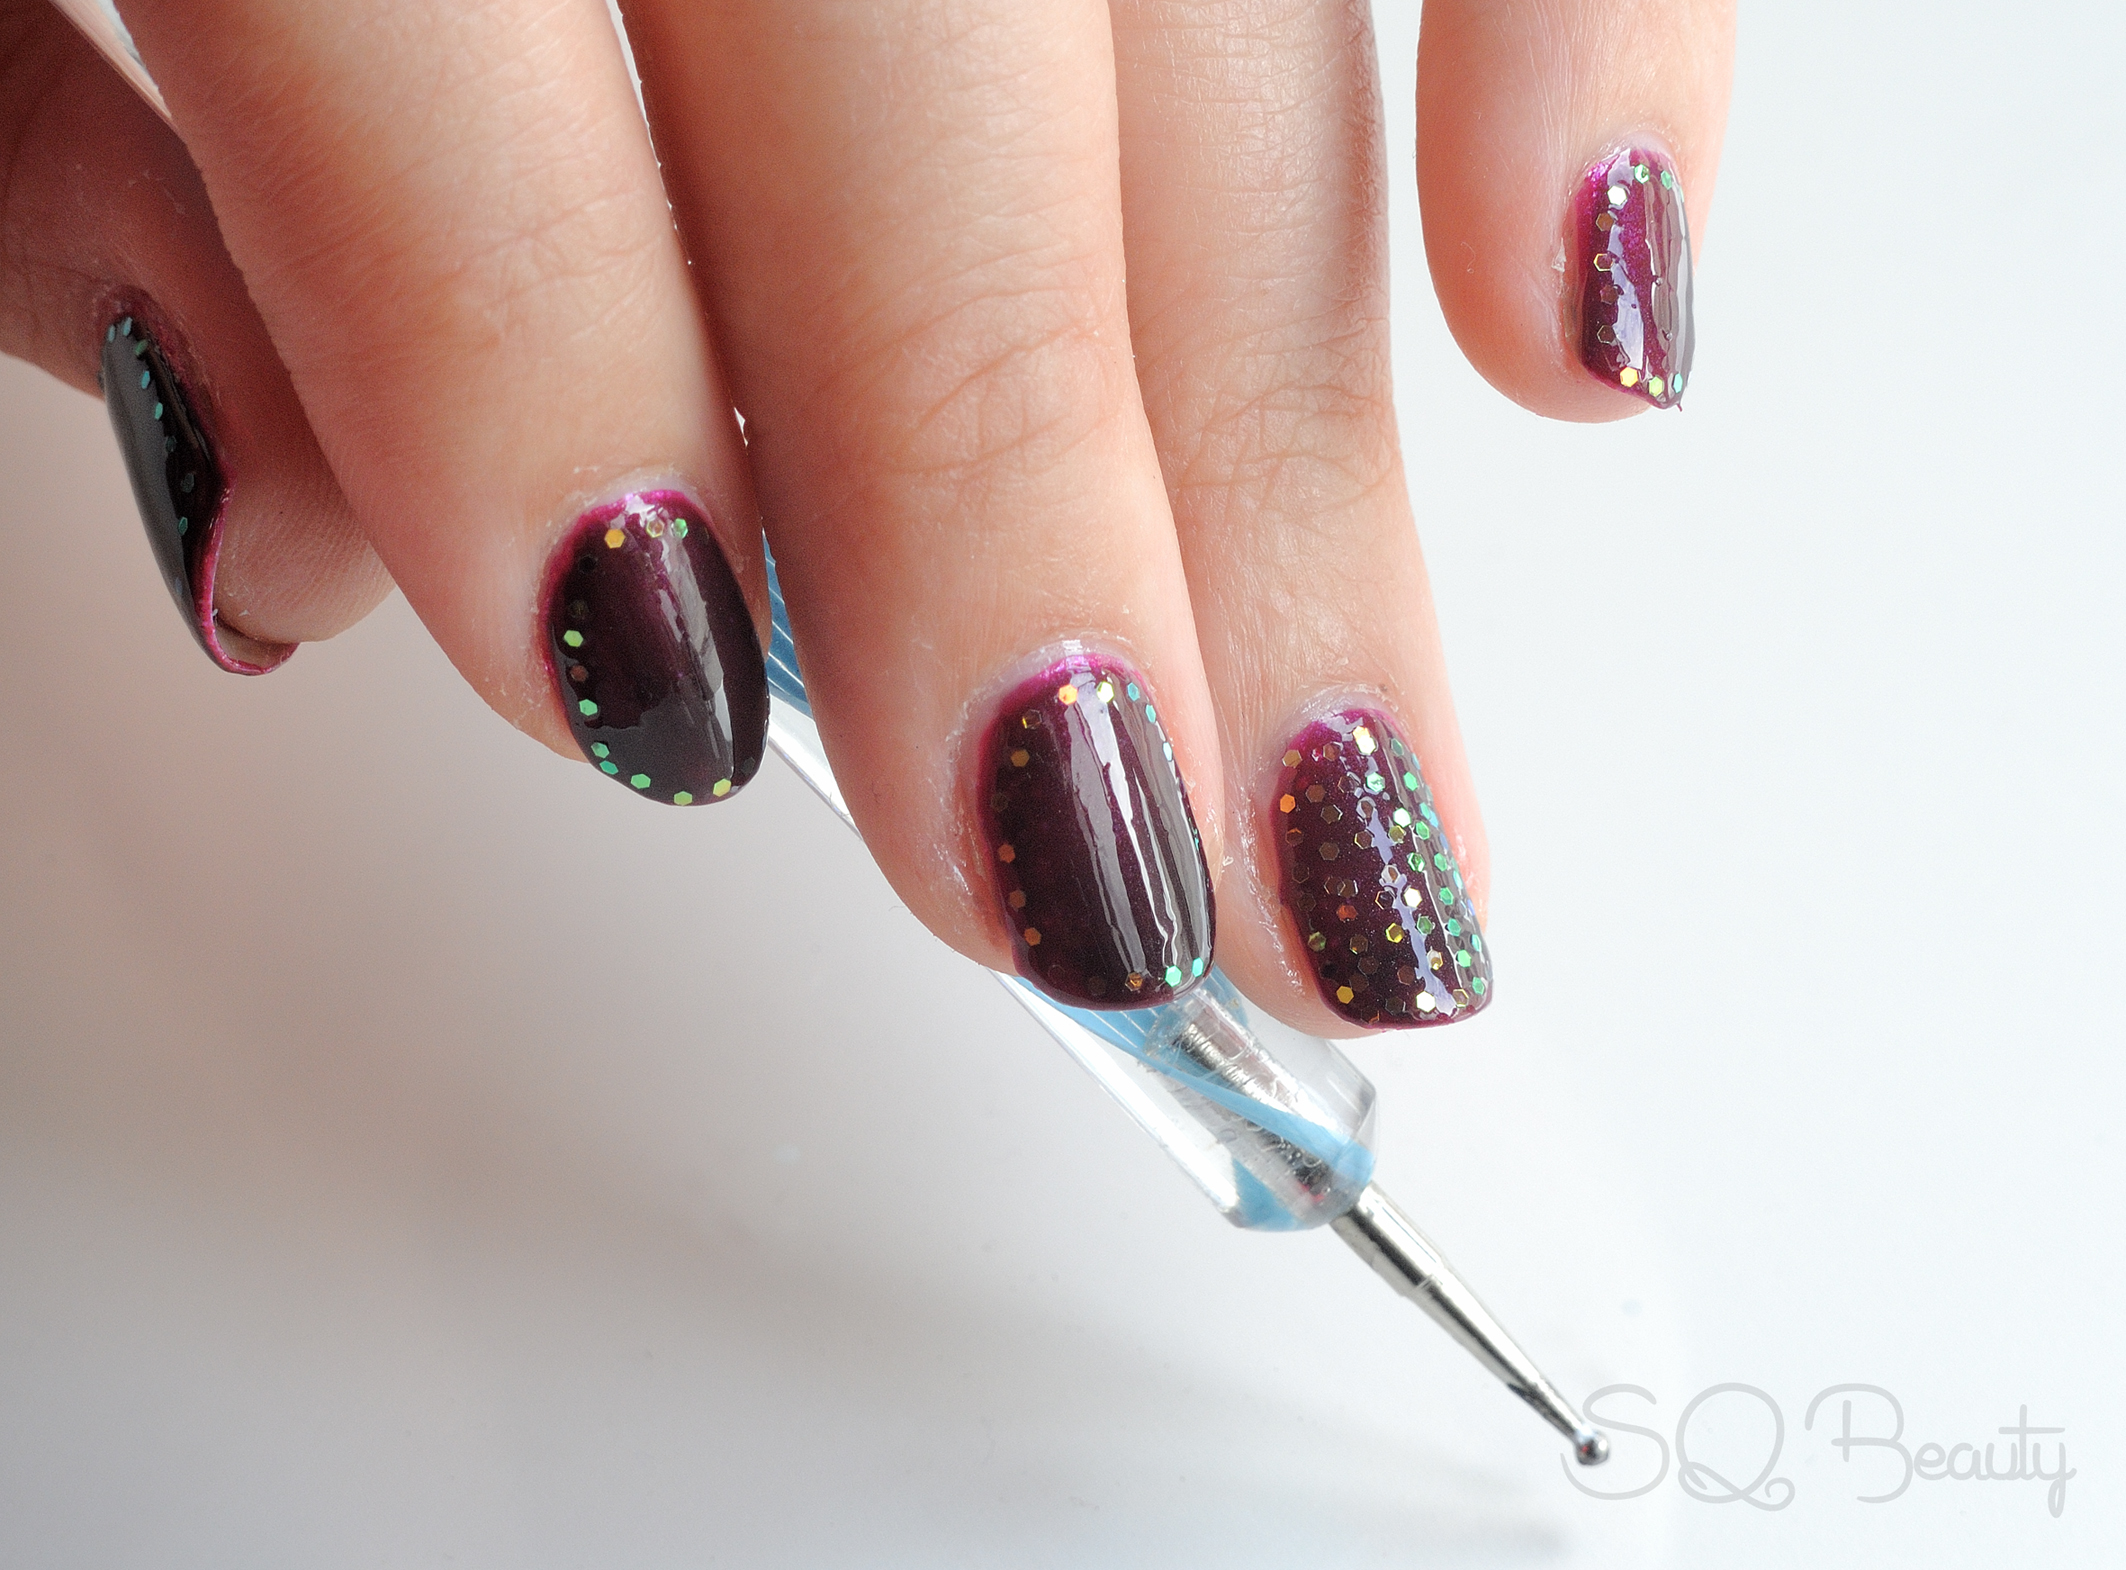
3. Start taking glitter dots and place them around the nail border, don’t press to hard cause it will create a volume effect cause the coat is too fresh and we don’t want that so just leave the glitter on top, on your way around the coat will get drier and it will be easier to place them without leaving the volume indentation, if it gets too dried add a bit more of the coat in the areas needed it,
Nail Friday Manicura marco purpurina

Nail Friday Manicura marco purpurina
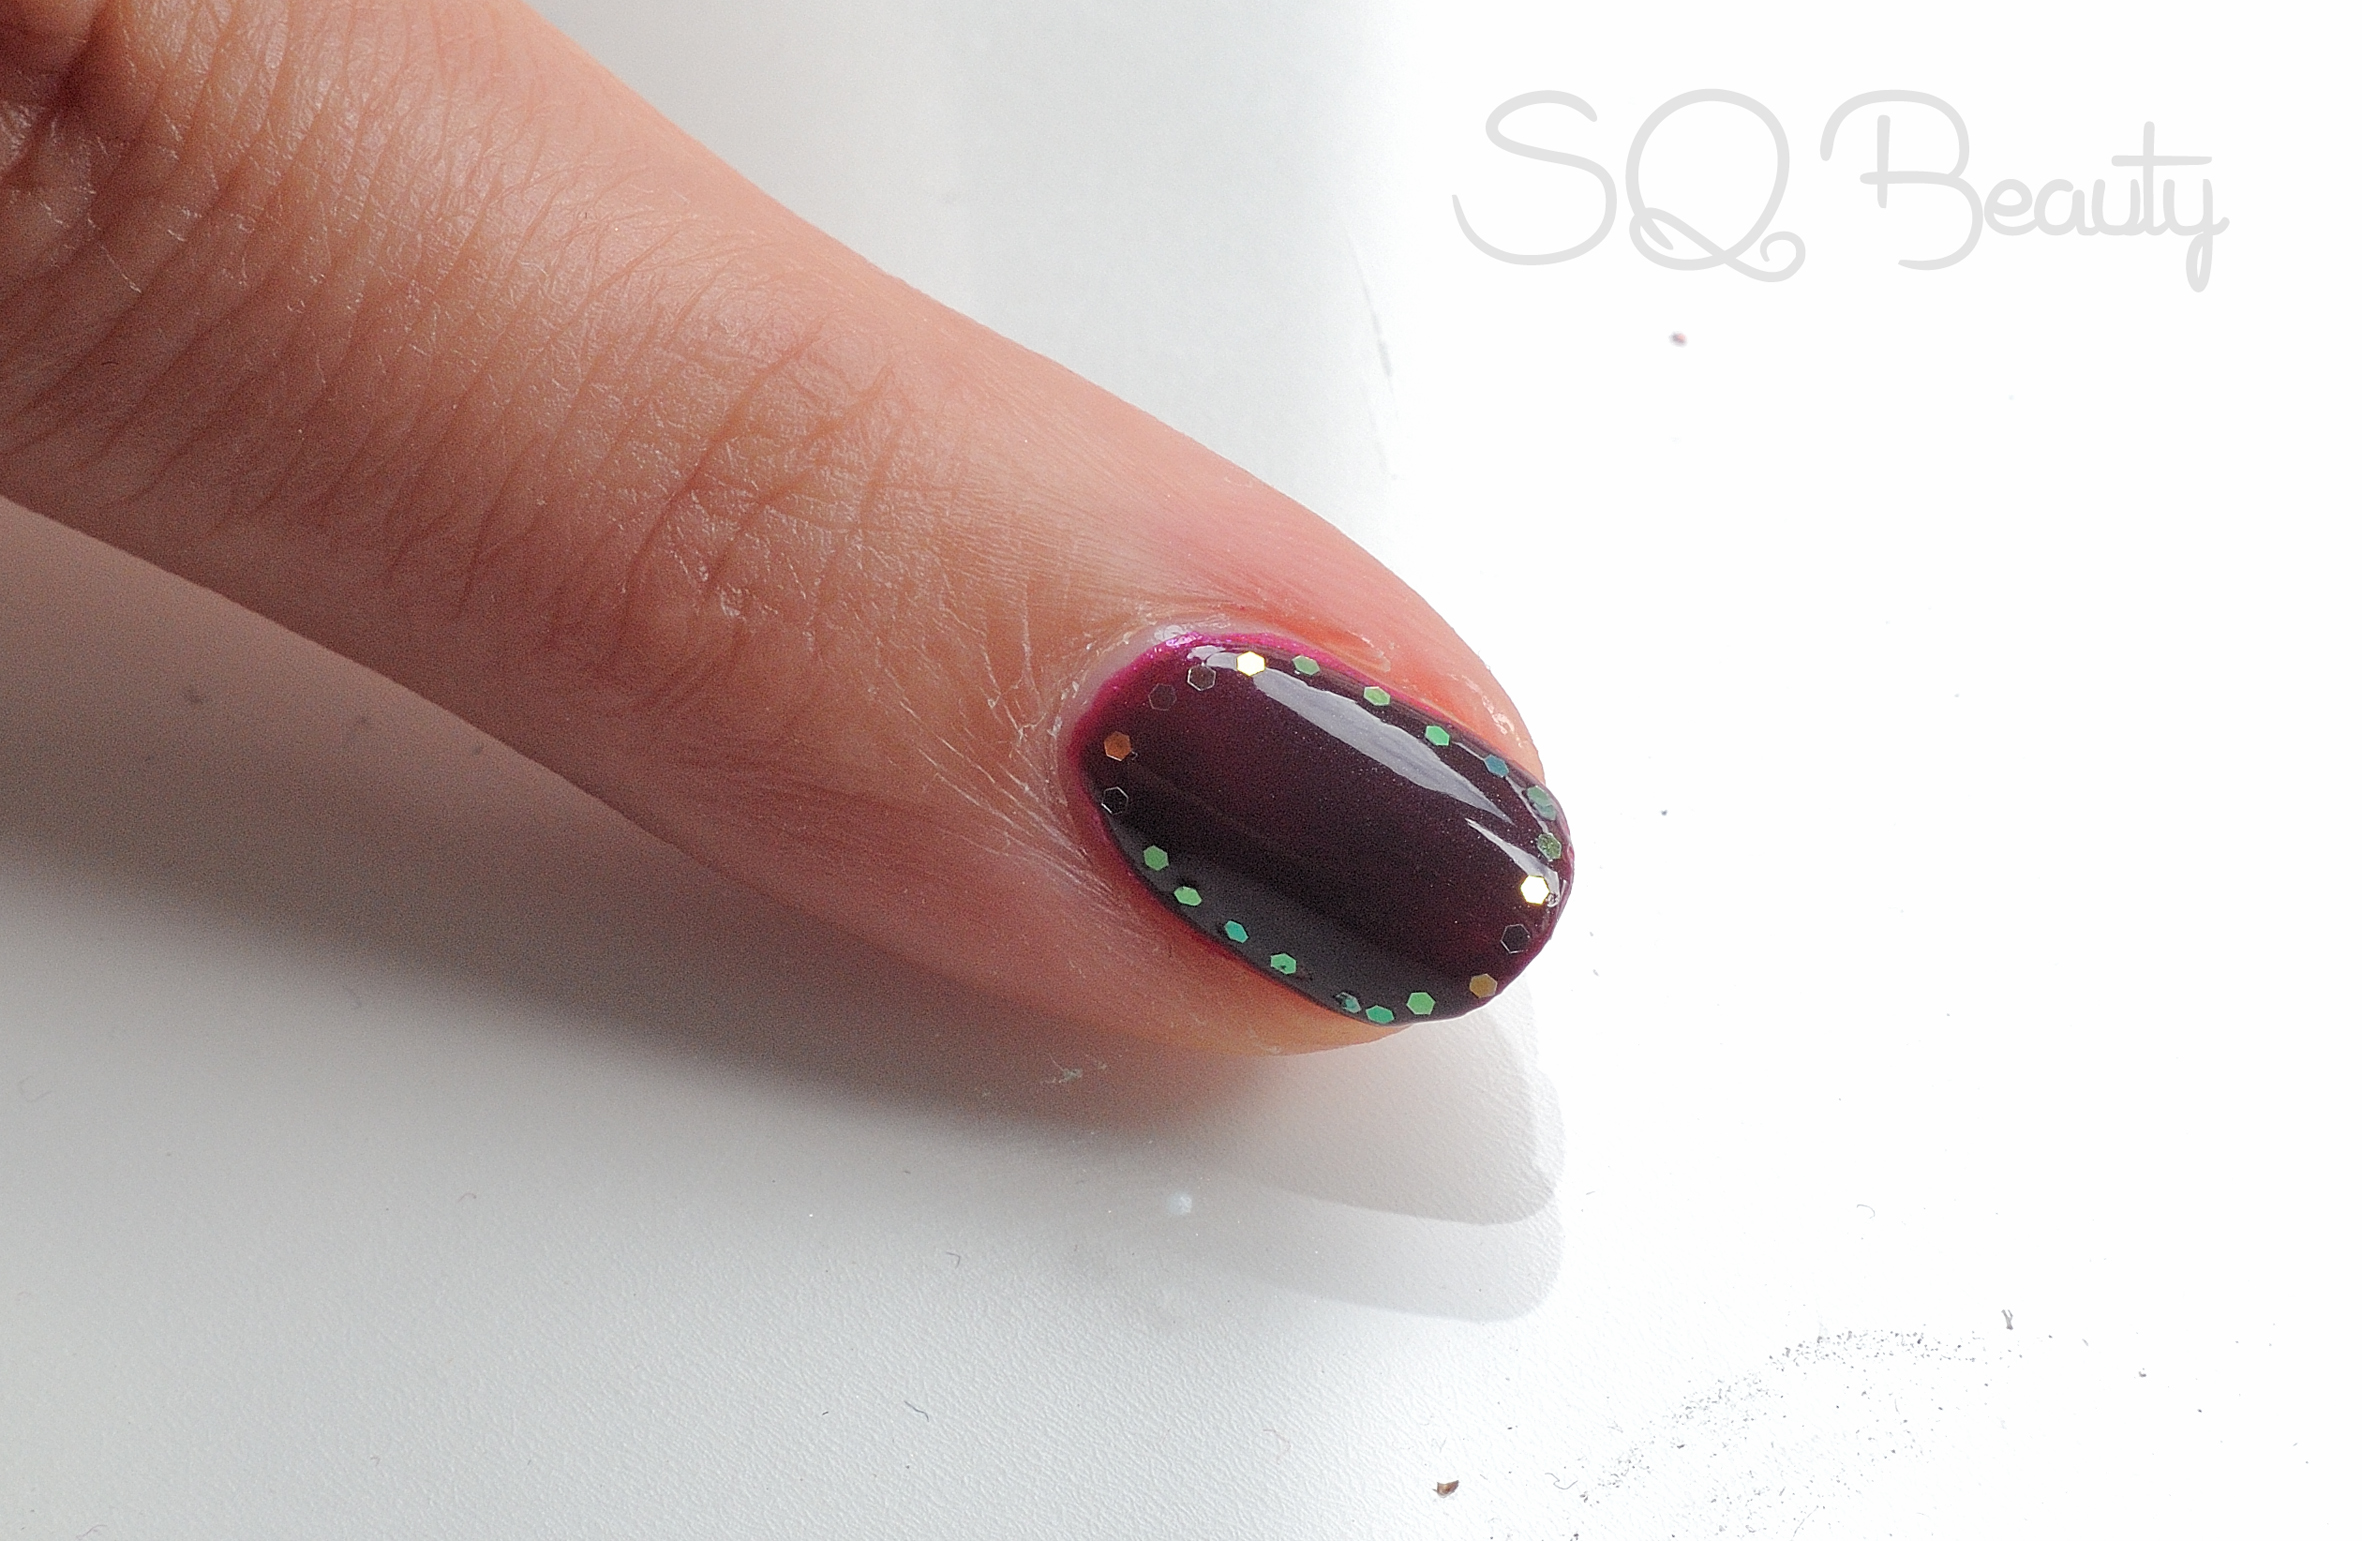
That’s how it should look,
Nail Friday Manicura marco purpurina
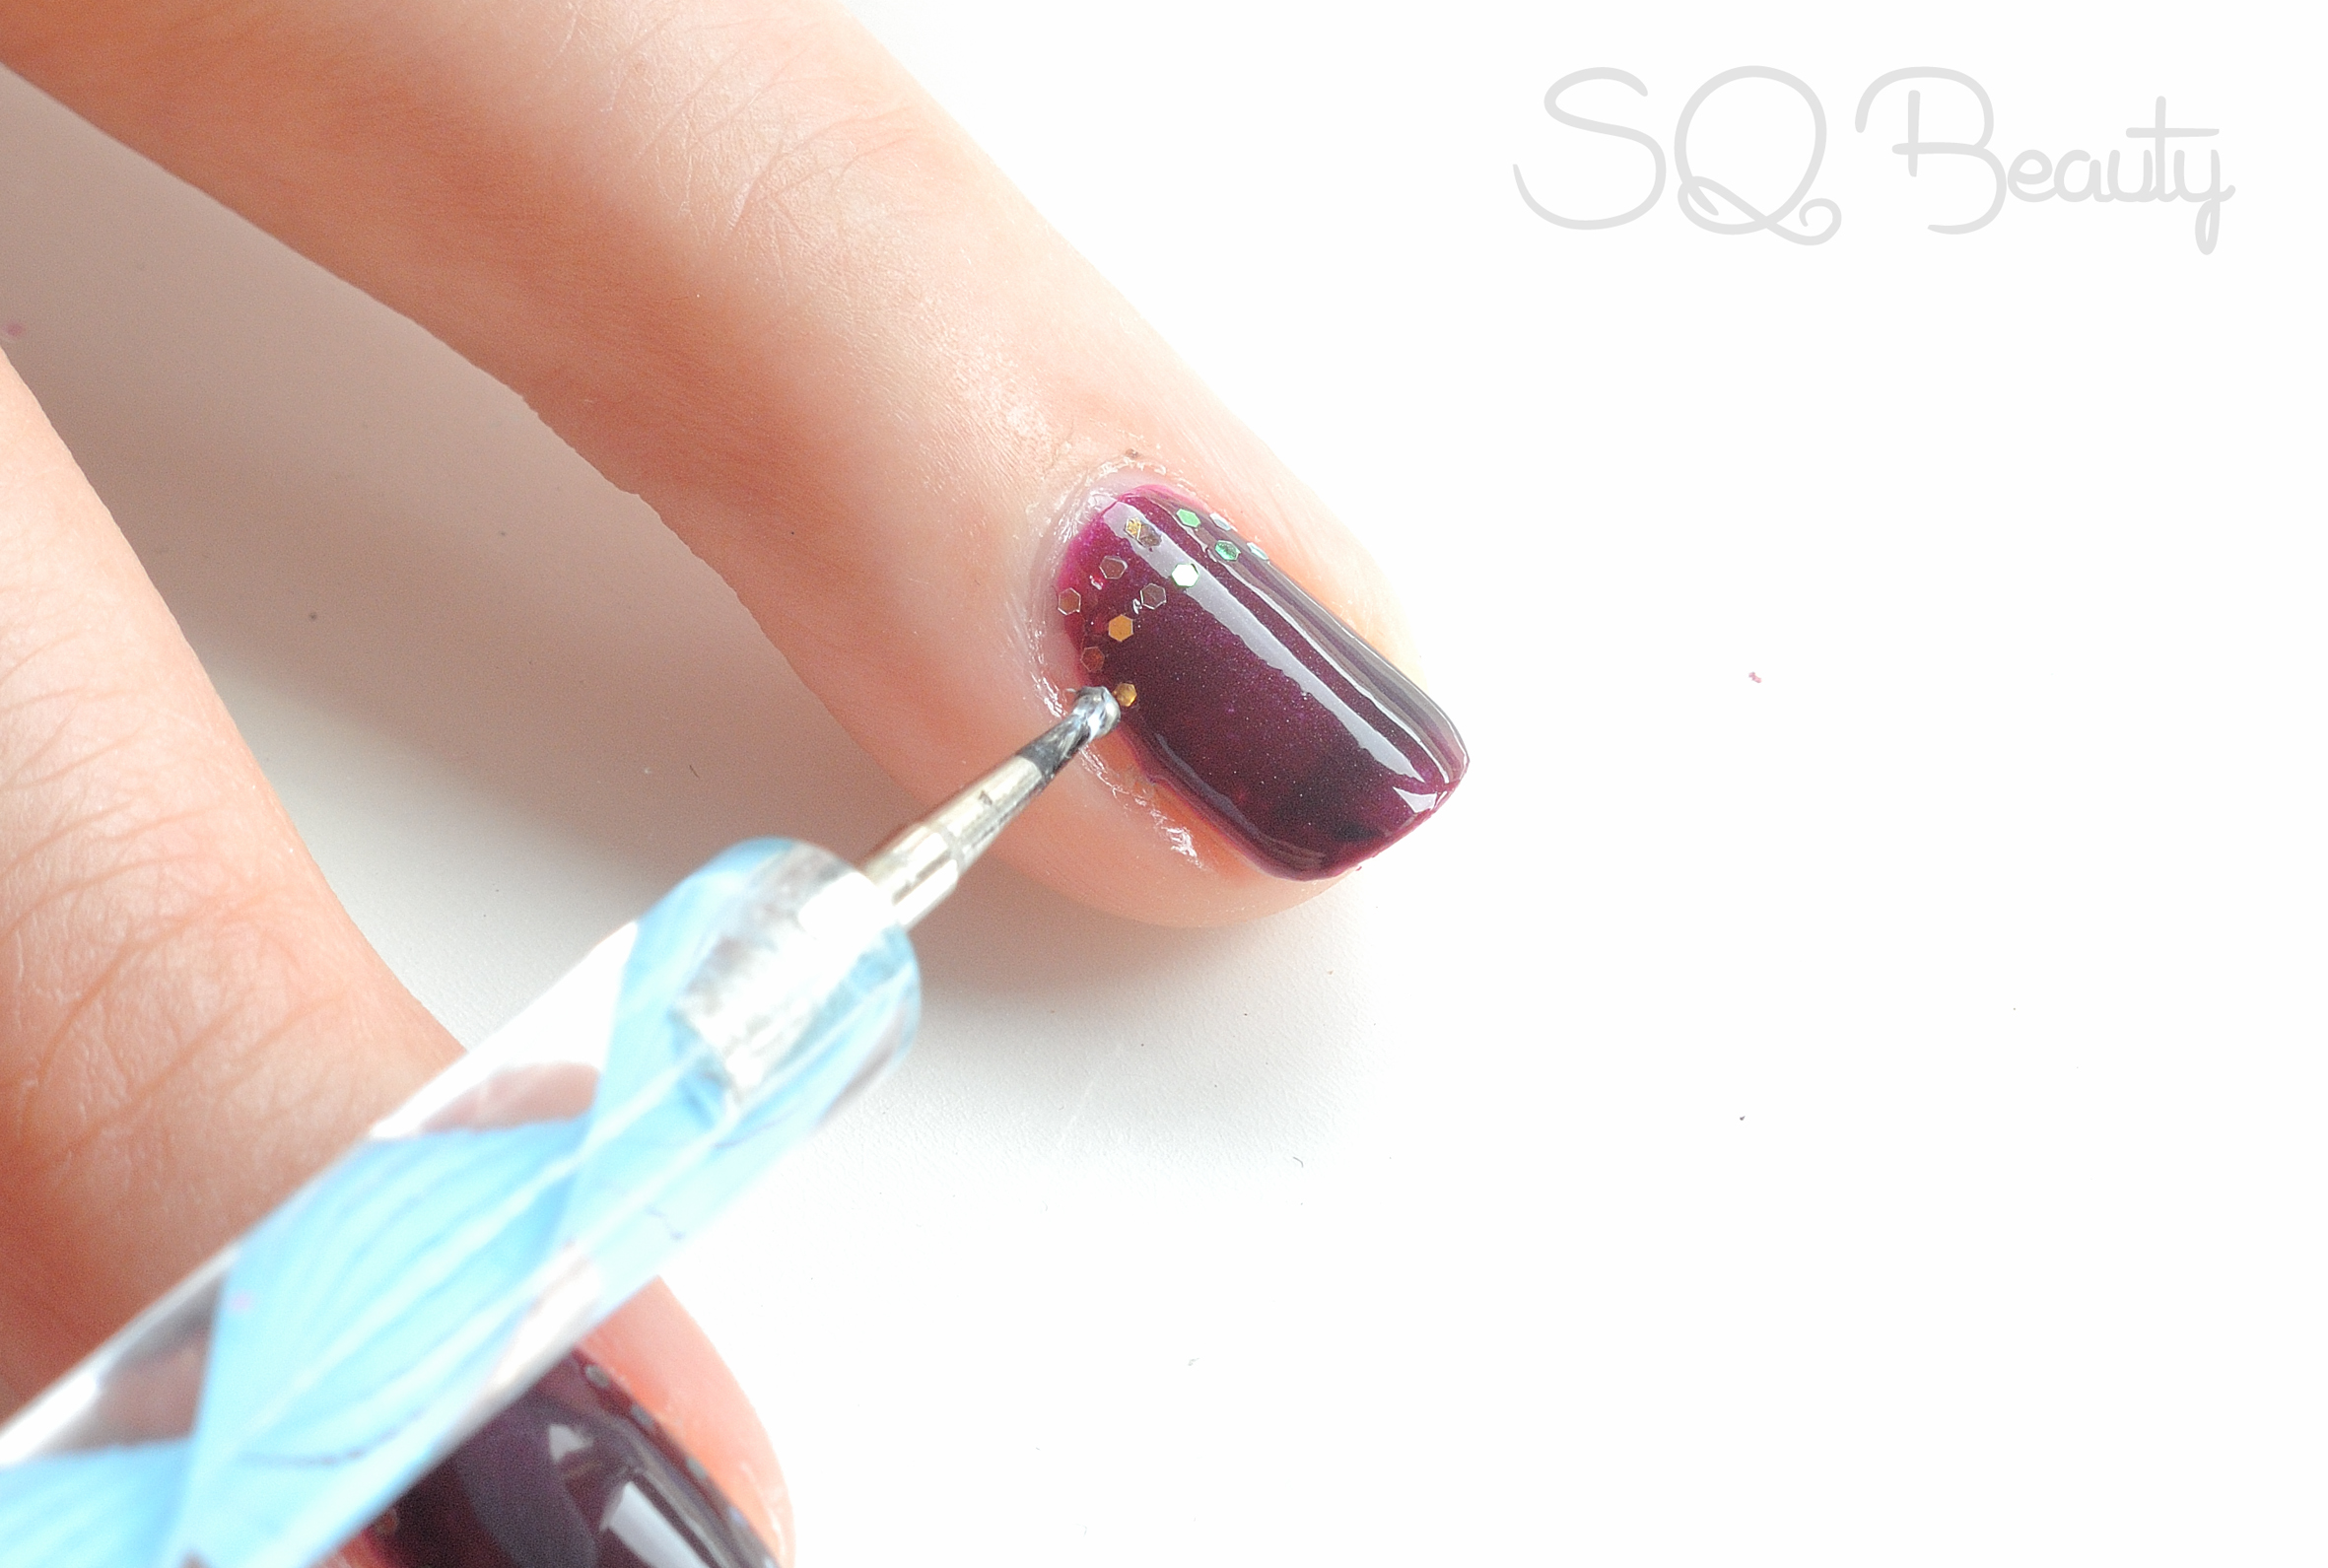
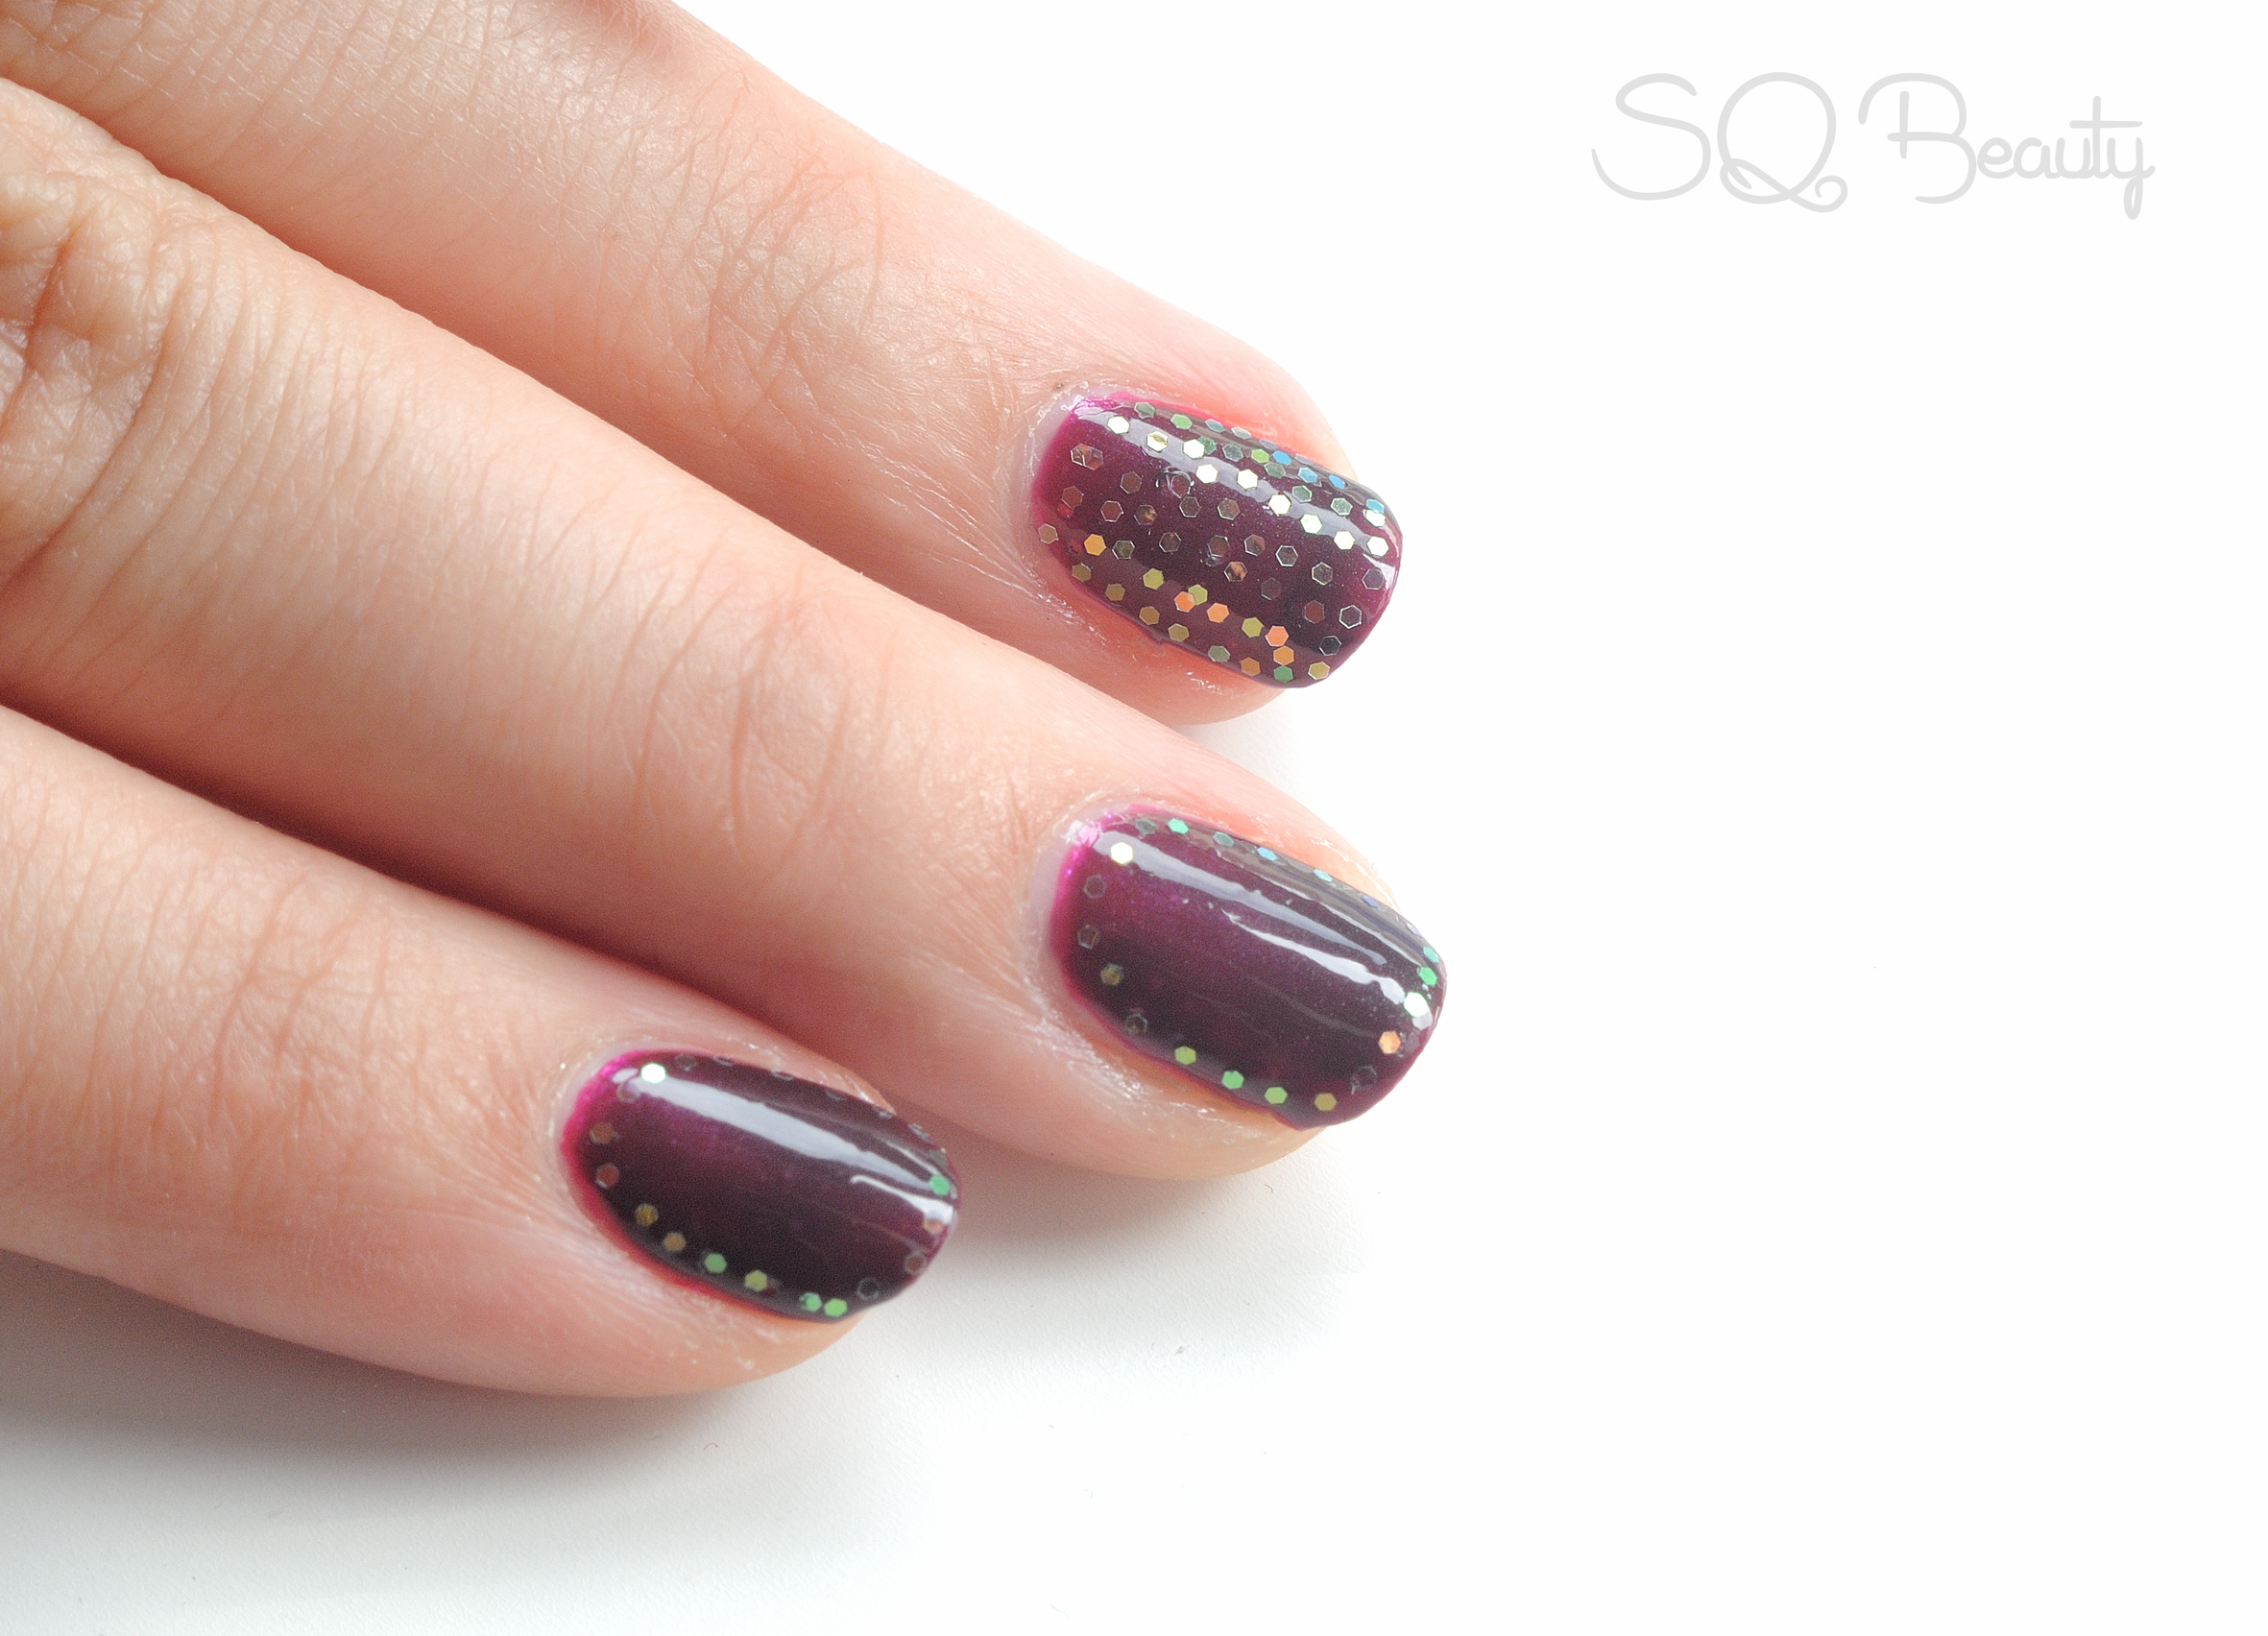
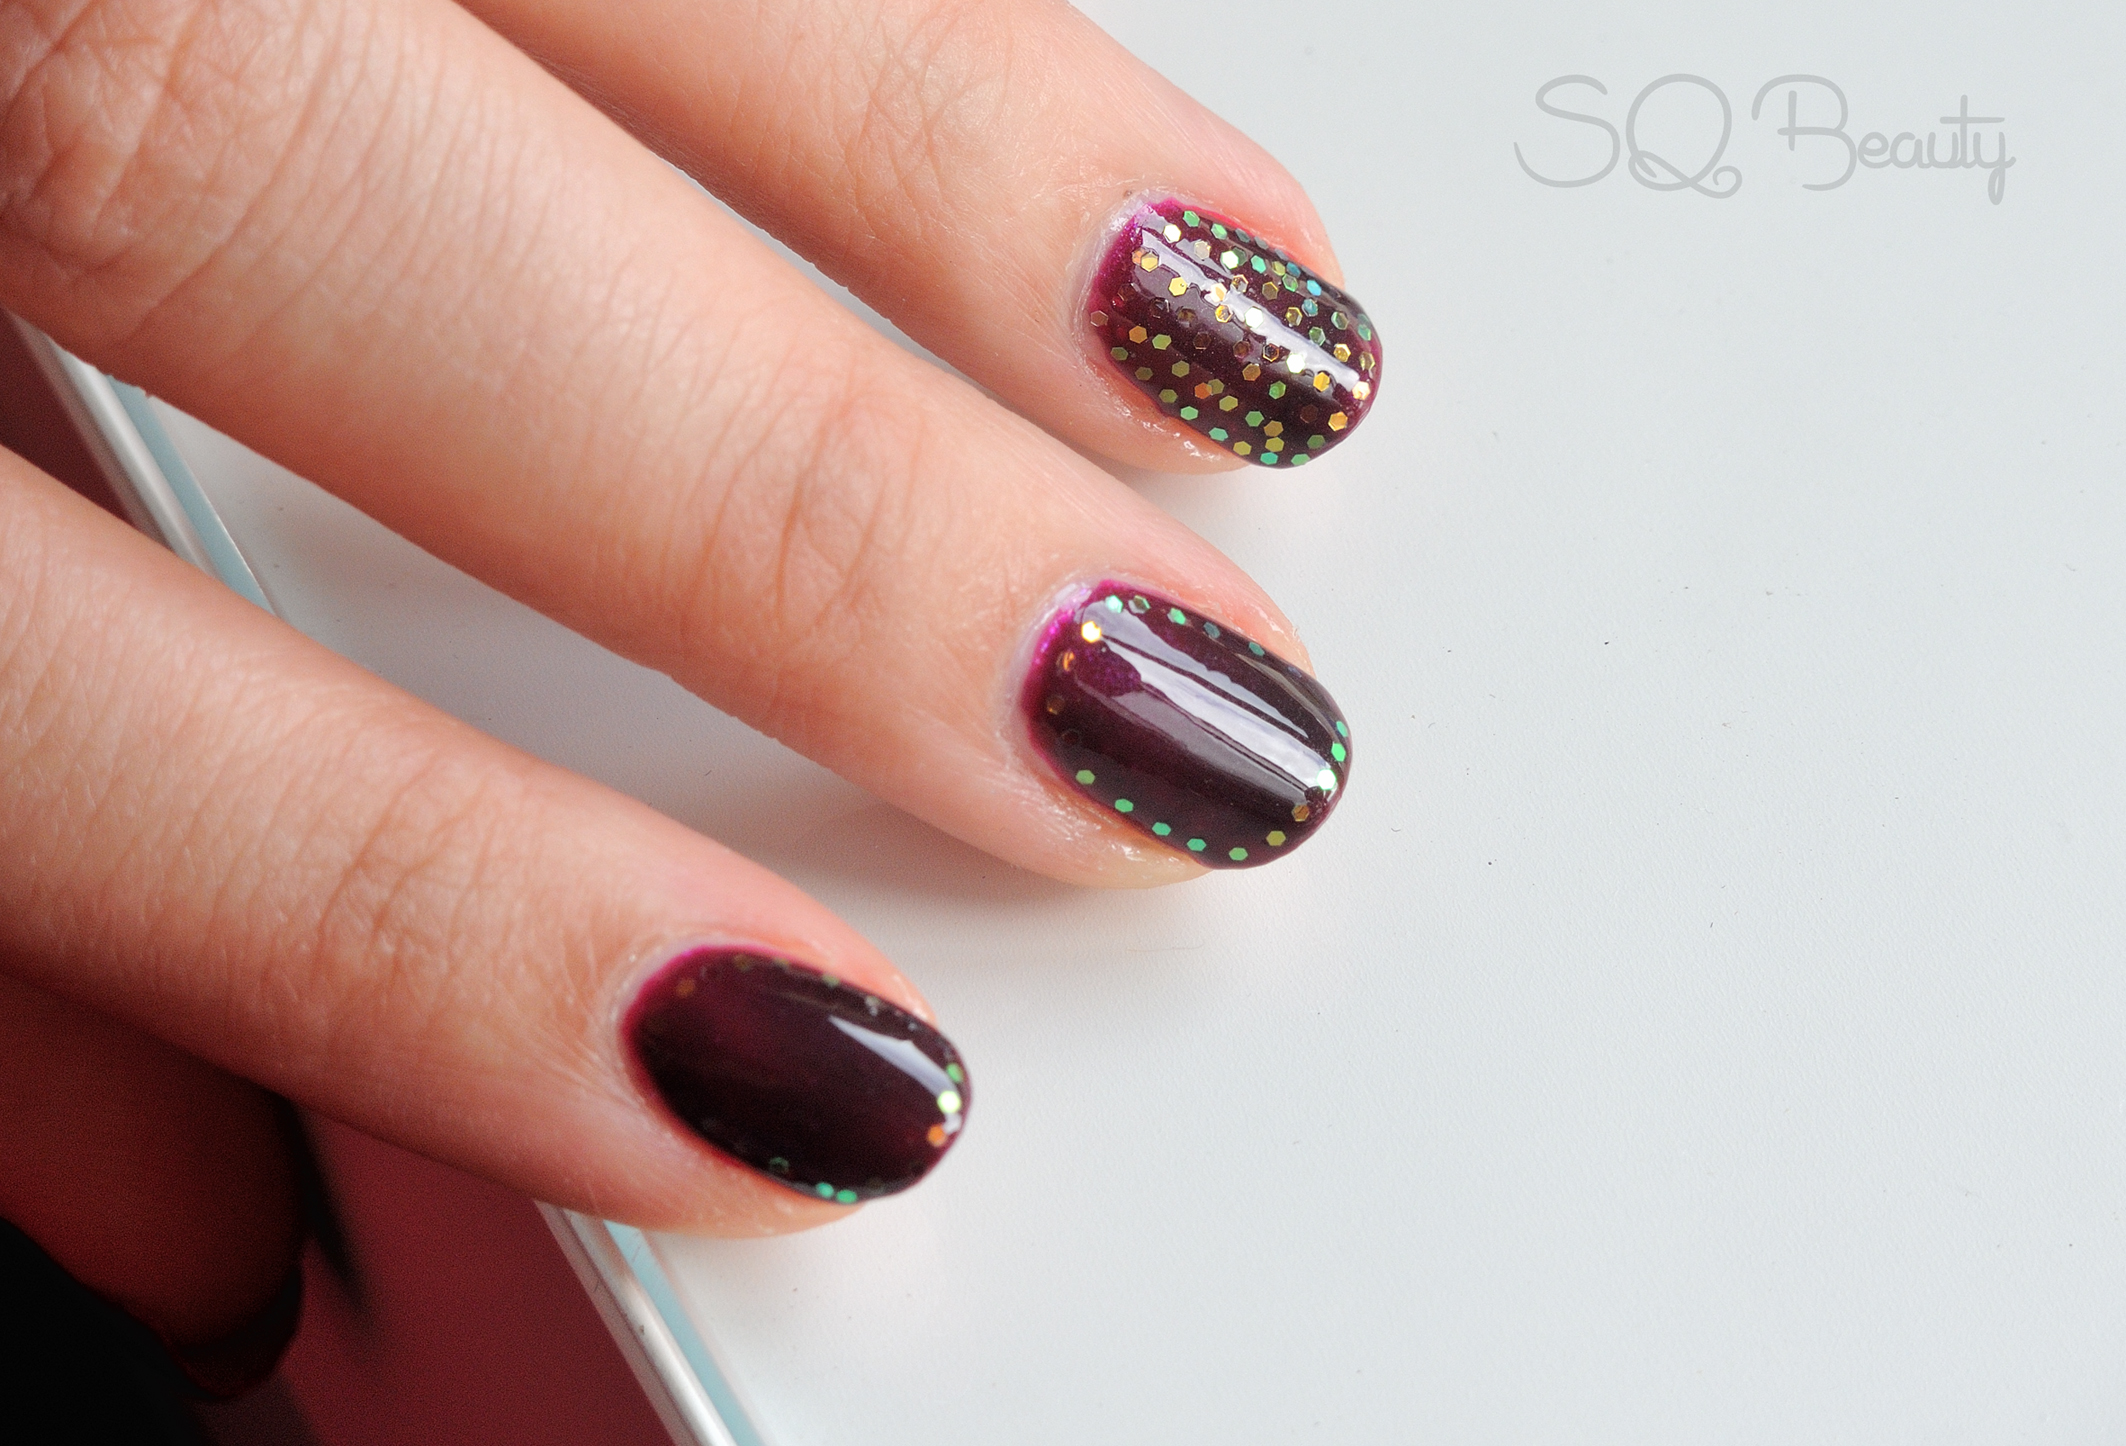
4. Do the same in the rest of the nails but one, I choice the ring finger nail where I am going to add the glitter all over the nail,

Nail Friday Manicura marco purpurina
Nail Friday Manicura marco purpurina
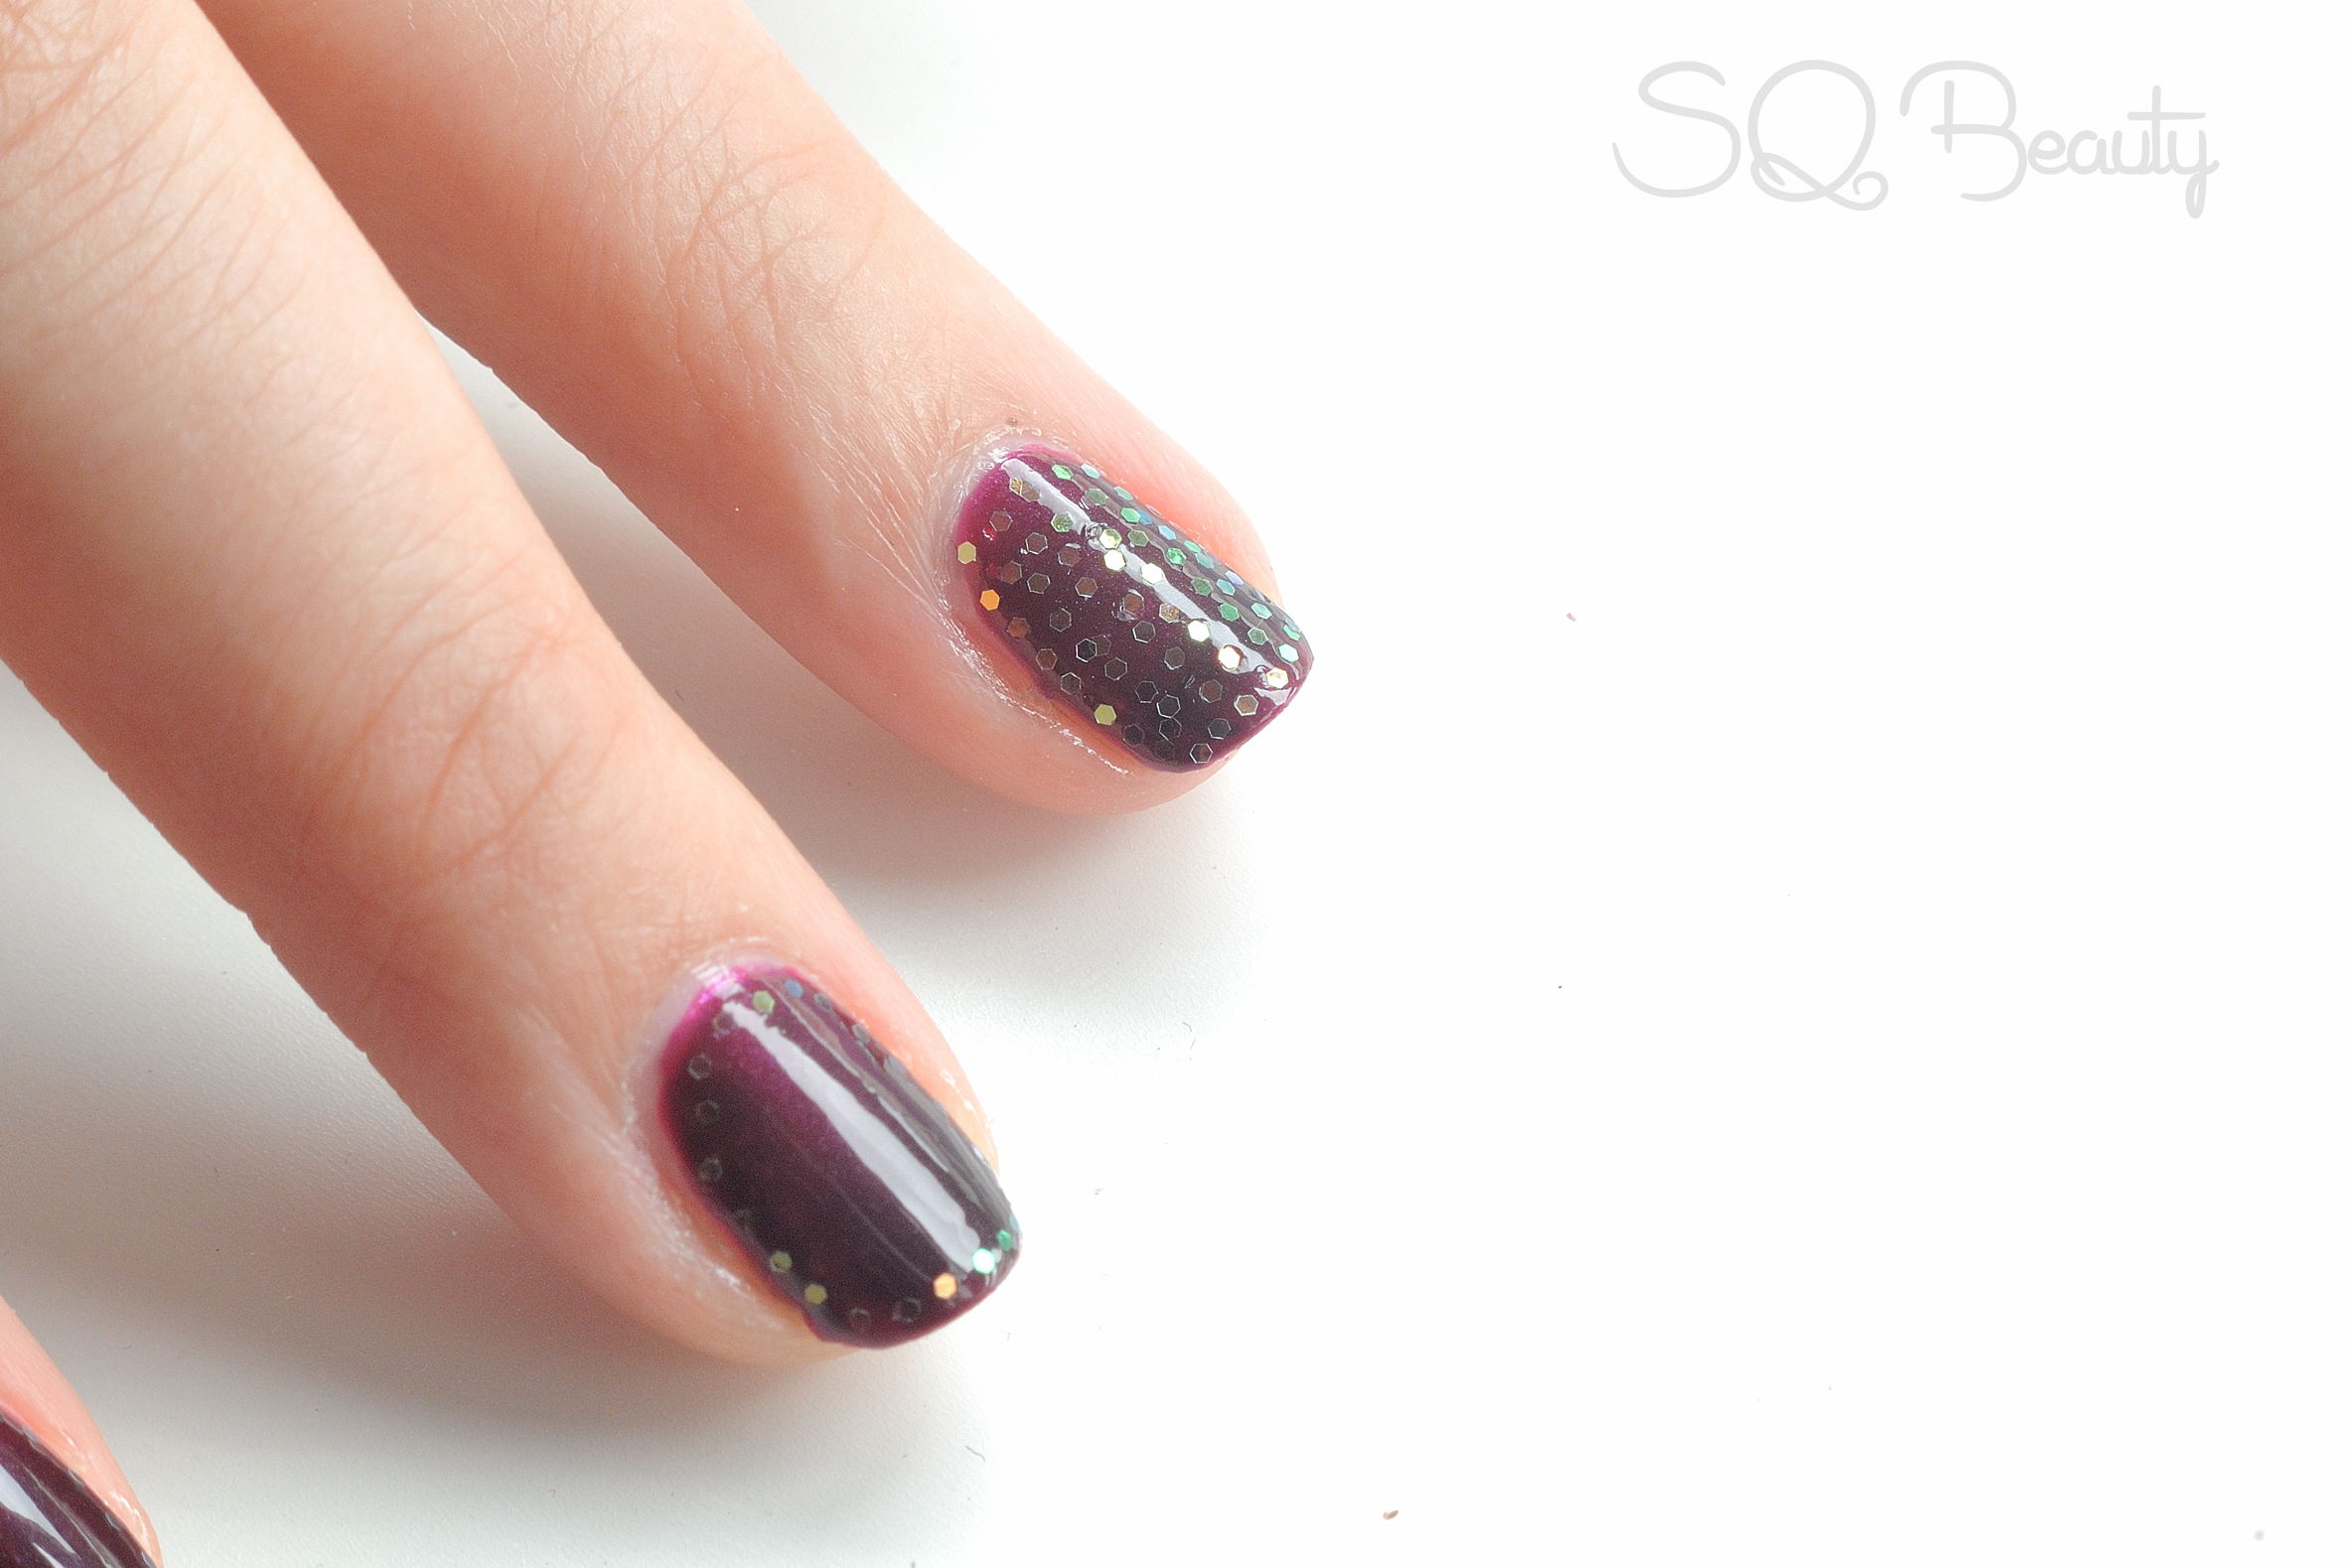
5. To do the all over glitter nail we will do the same as the other nails but we will create parallel lines from one border to other and from the base to the tip of the nail,
Nail Friday Manicura marco purpurina

Nail Friday Manicura marco purpurina
If you want you can create this design not just in one nail but in more or even in all the nails,
Nail Friday Manicura marco purpurina
Nail Friday Manicura marco purpurina
Nail Friday Manicura marco purpurina
6. We will finish by adding a top coat to protect the glitter from falling off and we are done,

Nail Friday Manicura marco purpurina

Nail Friday Manicura marco purpurina
Nail Friday Manicura marco purpurina

Nail Friday Manicura marco purpurina
Nail Friday Manicura marco purpurina

Nail Friday Manicura marco purpurina
I hope you liked it, here you have more Nail Friday chapters,
See you next week and be happy,