
In today’s Nail Friday chapter, Verónica is doing a fresh, fun, striking and easy manicure that can be adjust to our desire colors, I’ll leave you with her,
Hi everyone, toady I am doing a very easy but striking manicure, fun and very summery, we will mixing dots with stripes to create that movement that gives the freshness and fun feeling to the manicure, let’s start with the how to steps so you all can recreate it,
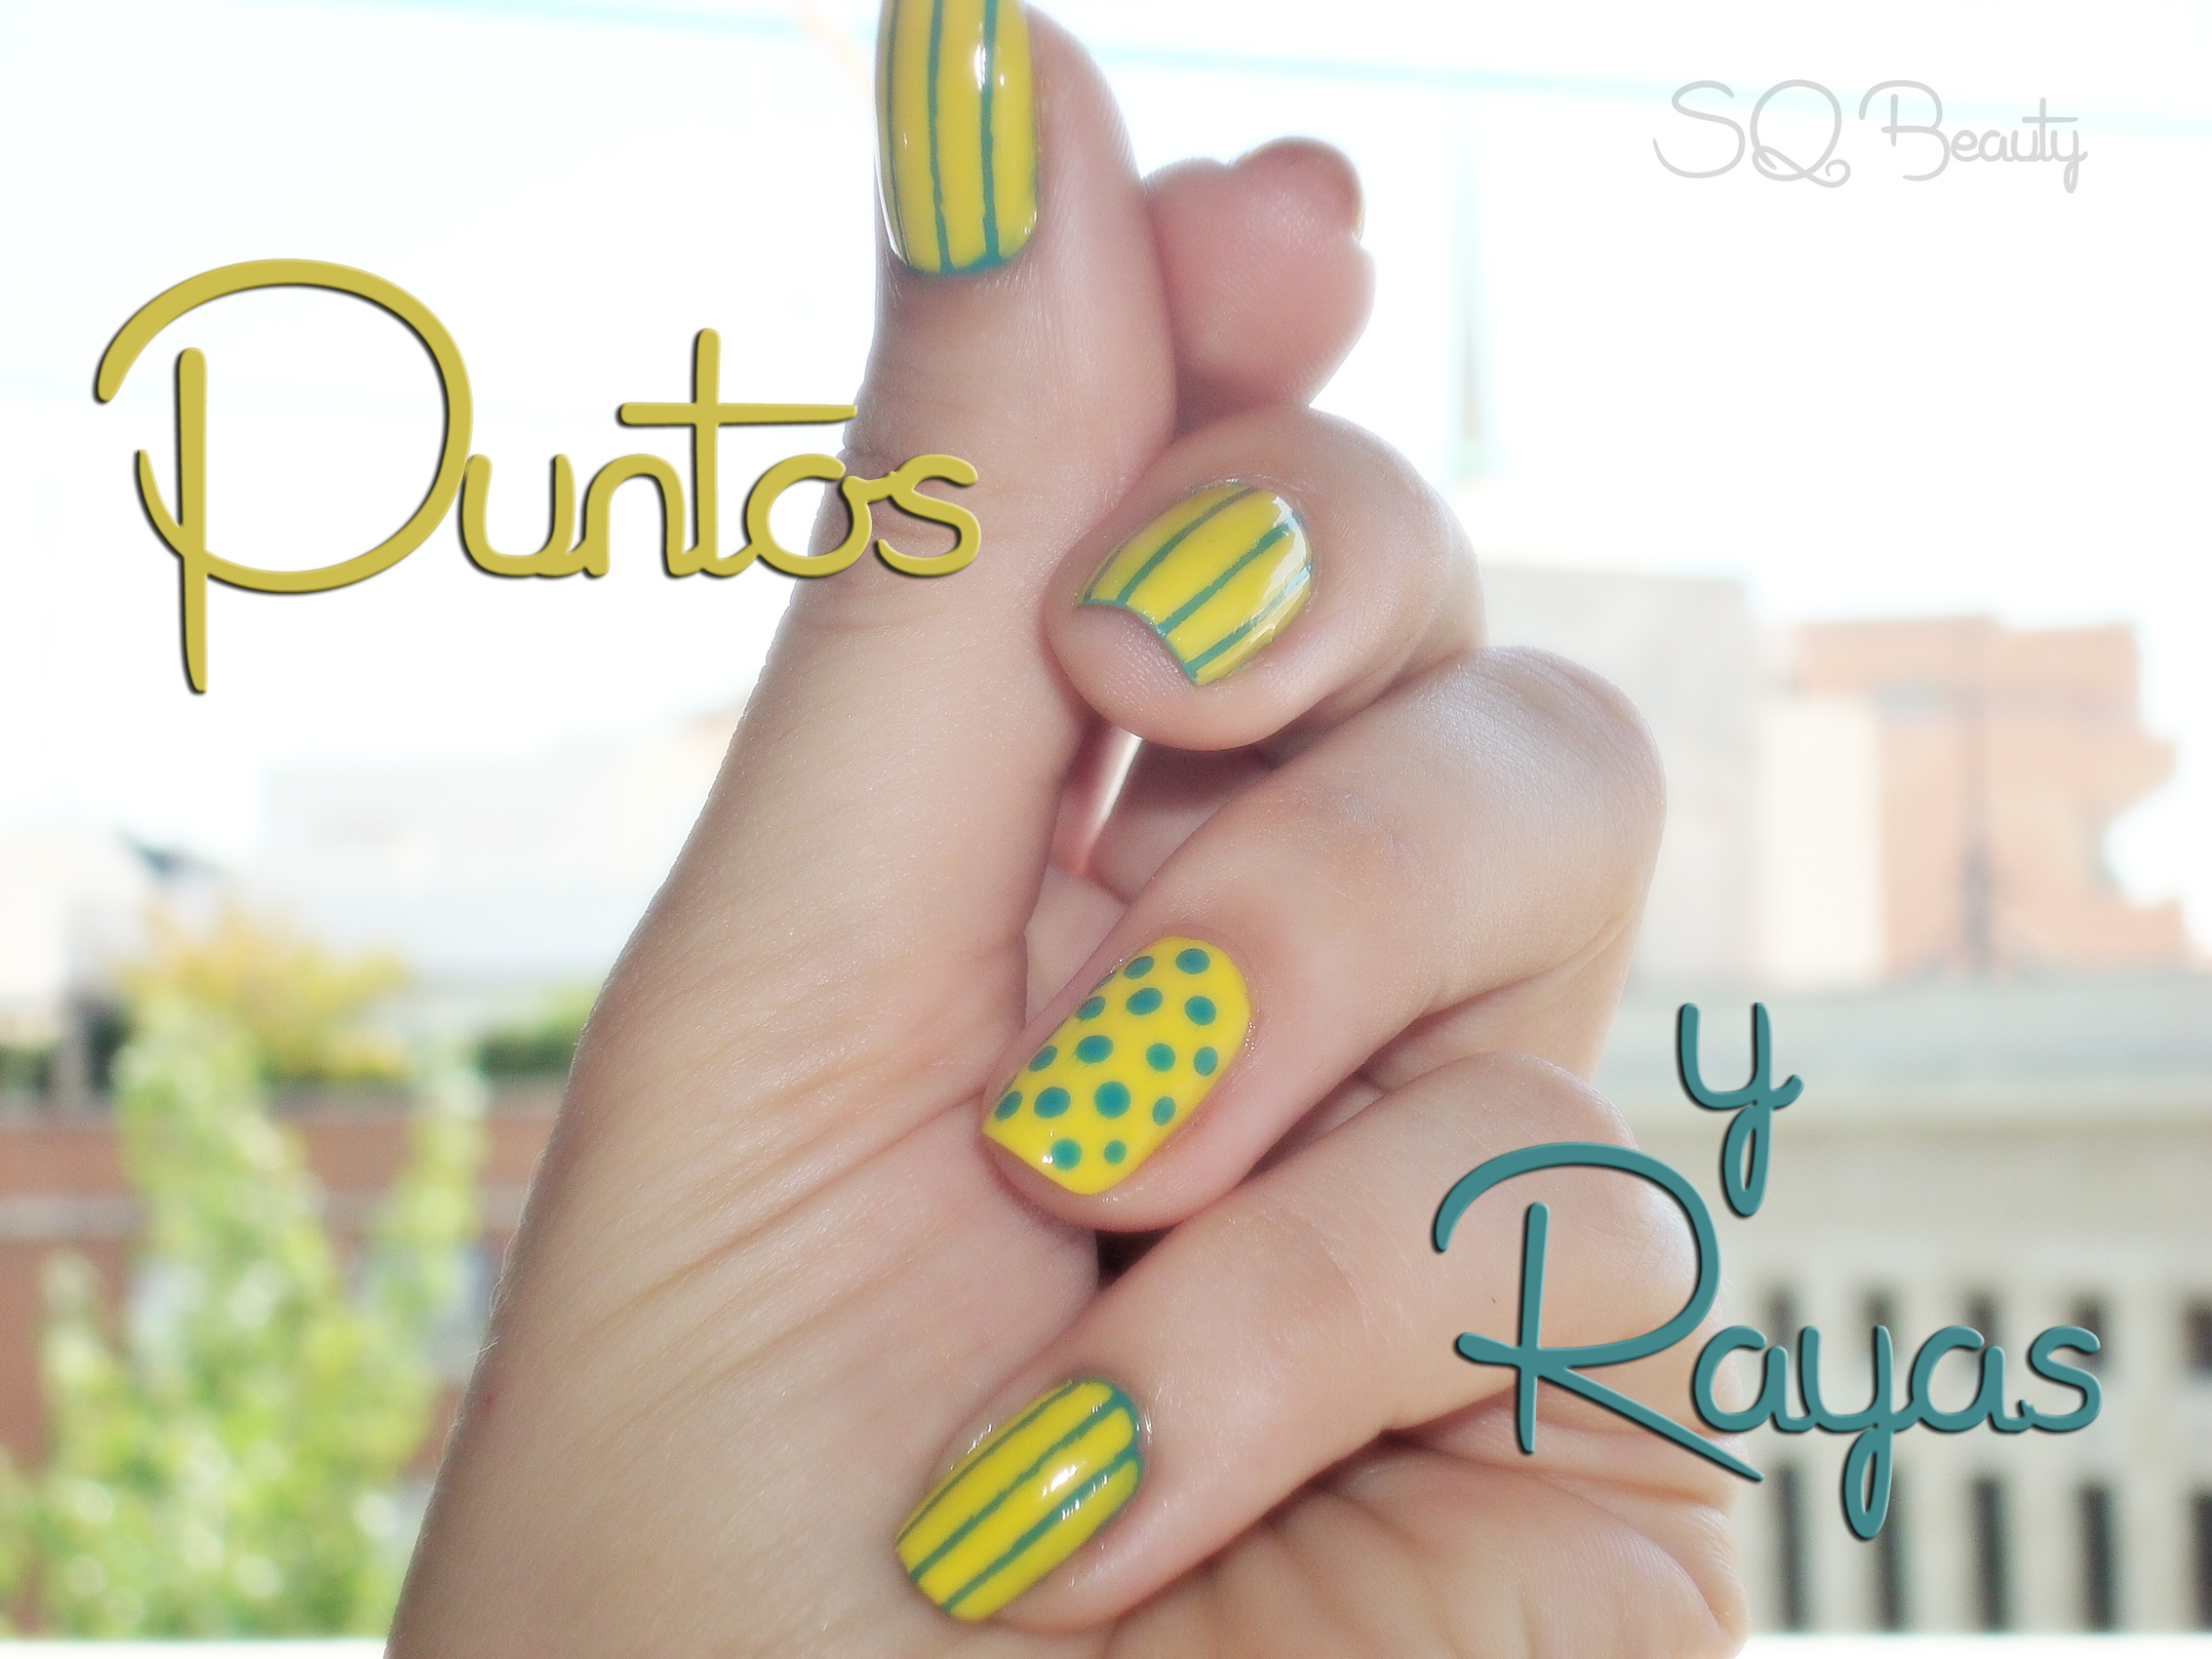
Nail Friday Manicura puntos y rayas
Products:
*Turquoise nail polish, *Yellow nail polish, *Quick dry top coat, *Picker tool for decoration, *Ribbon for decoration,
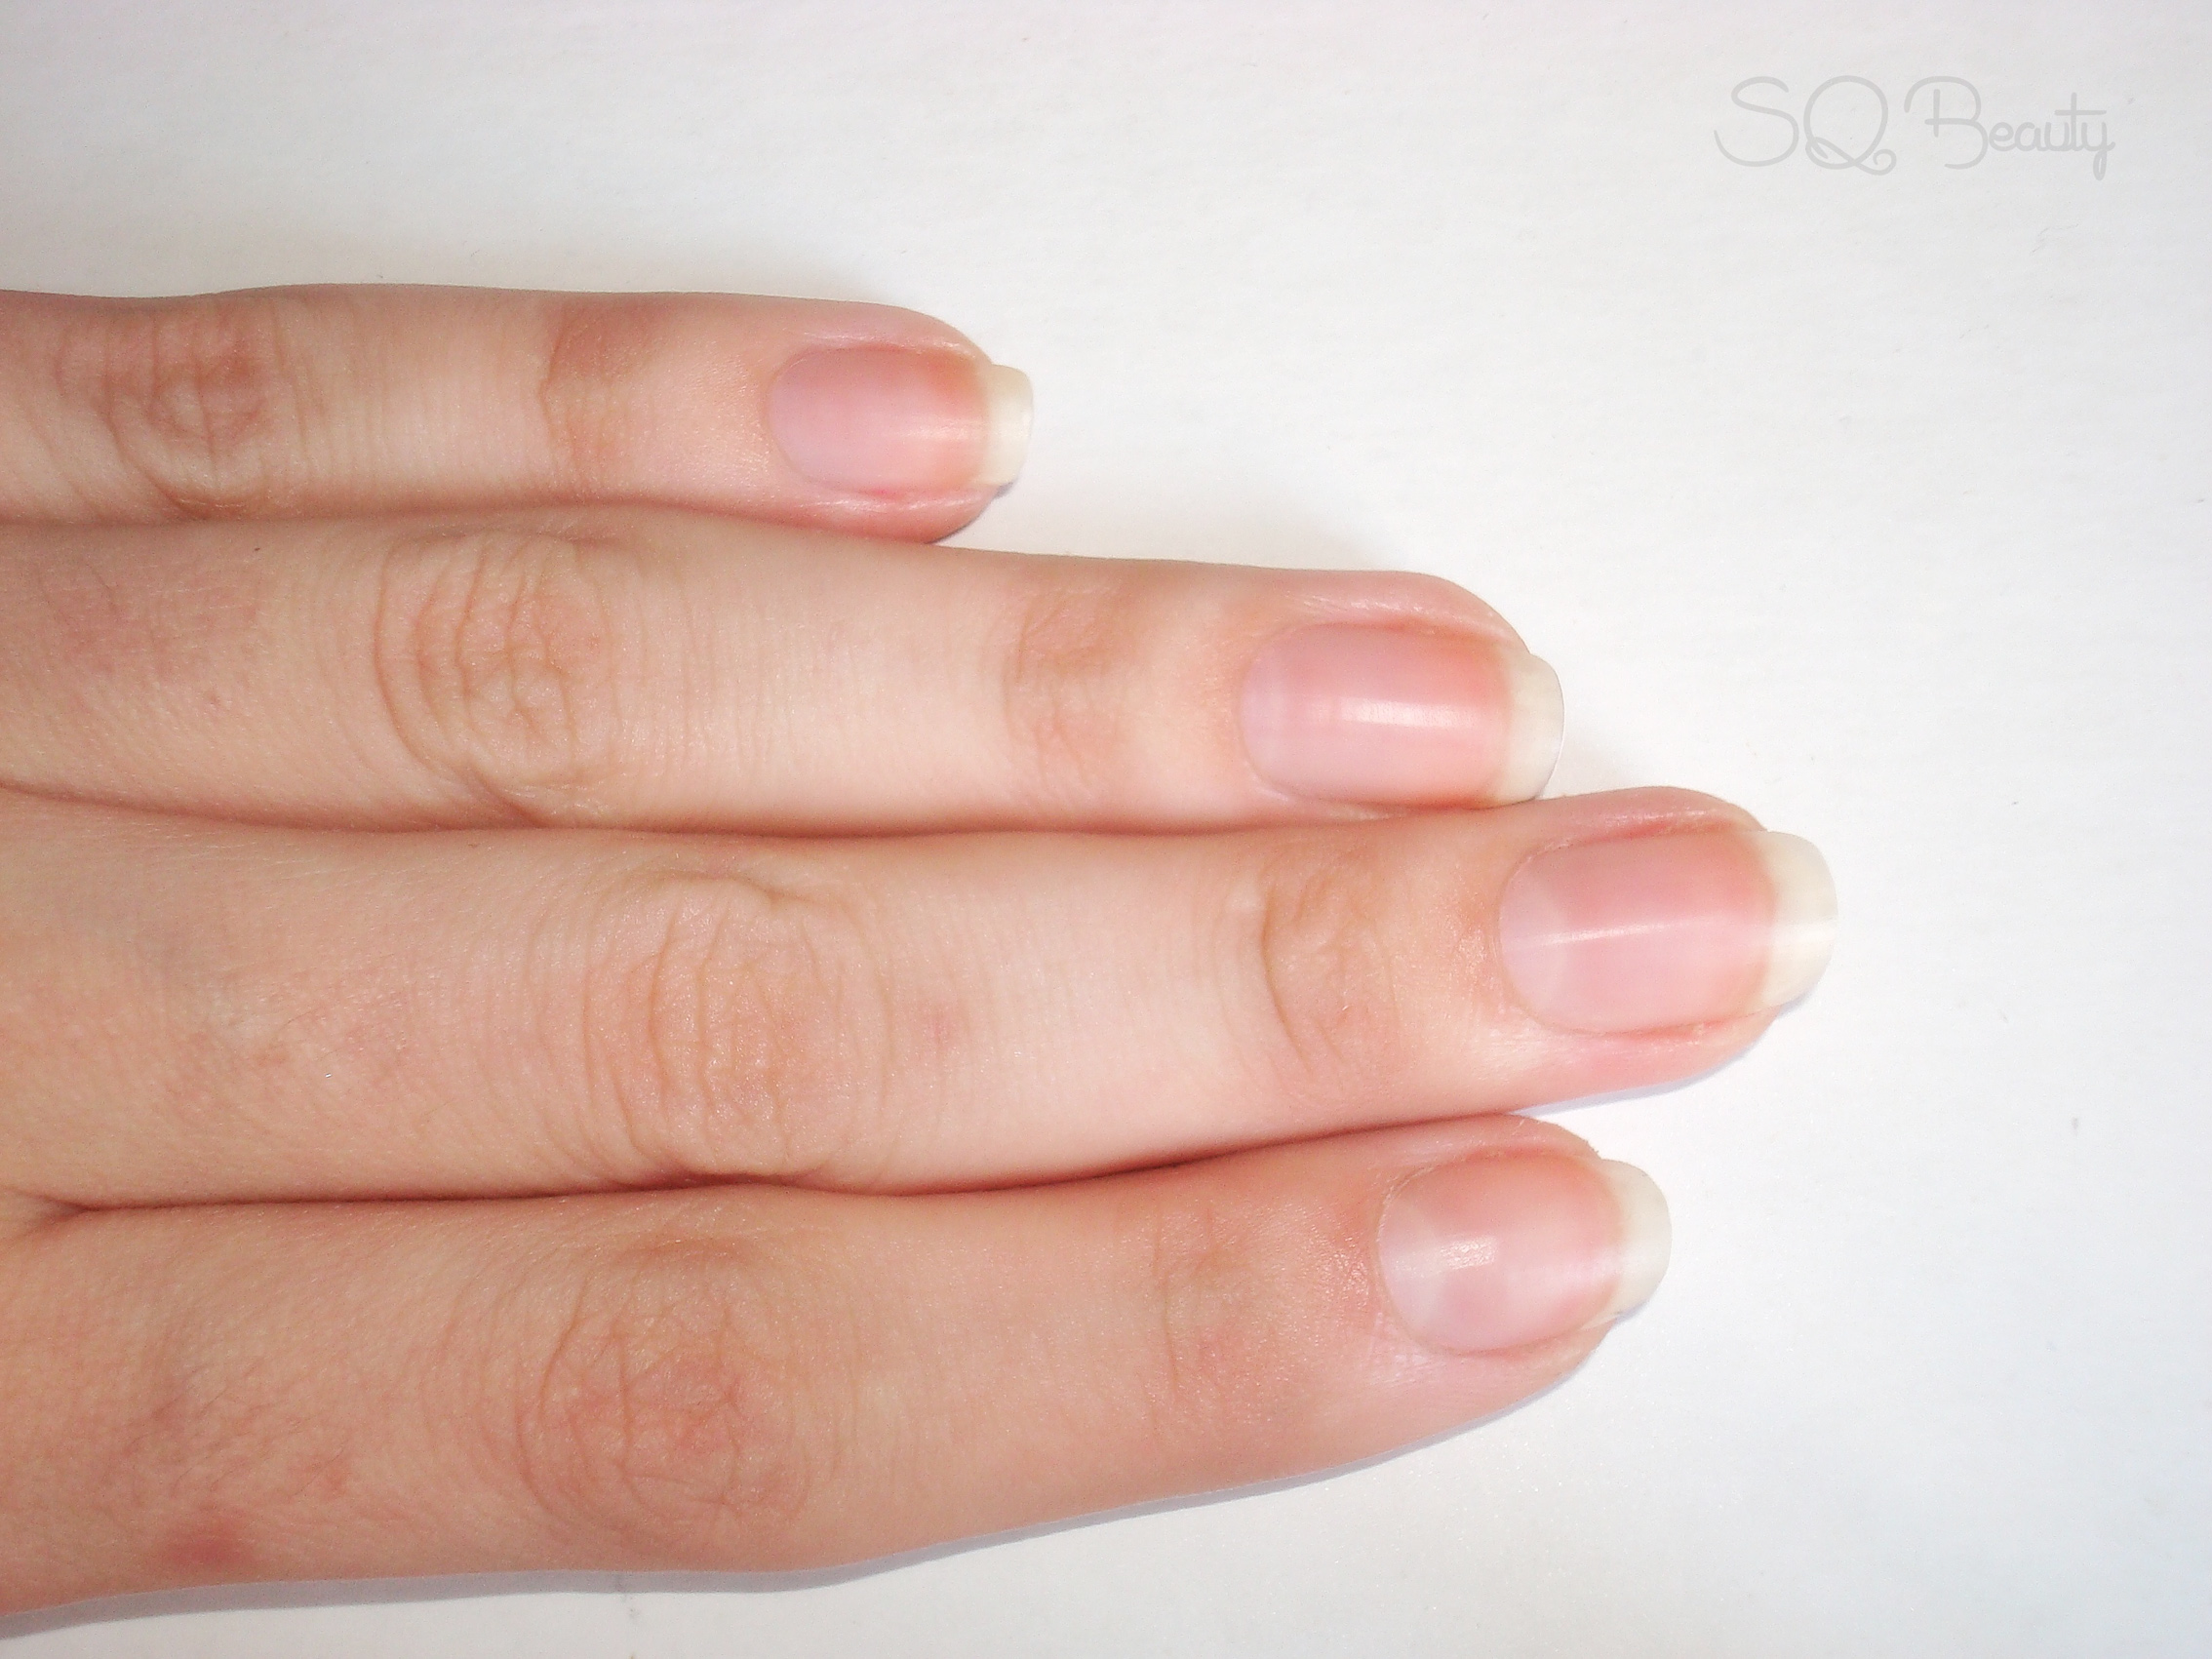
1. The first step is to apply a base, a suggestions that always advice and if you can manage to get a better quality base will see the different, that will help not to damage your nails from the nail polish and will also help you to treat problems like striations, weak nails, yellow nails or scales nails etc…
Nail Friday Manicura puntos y rayas
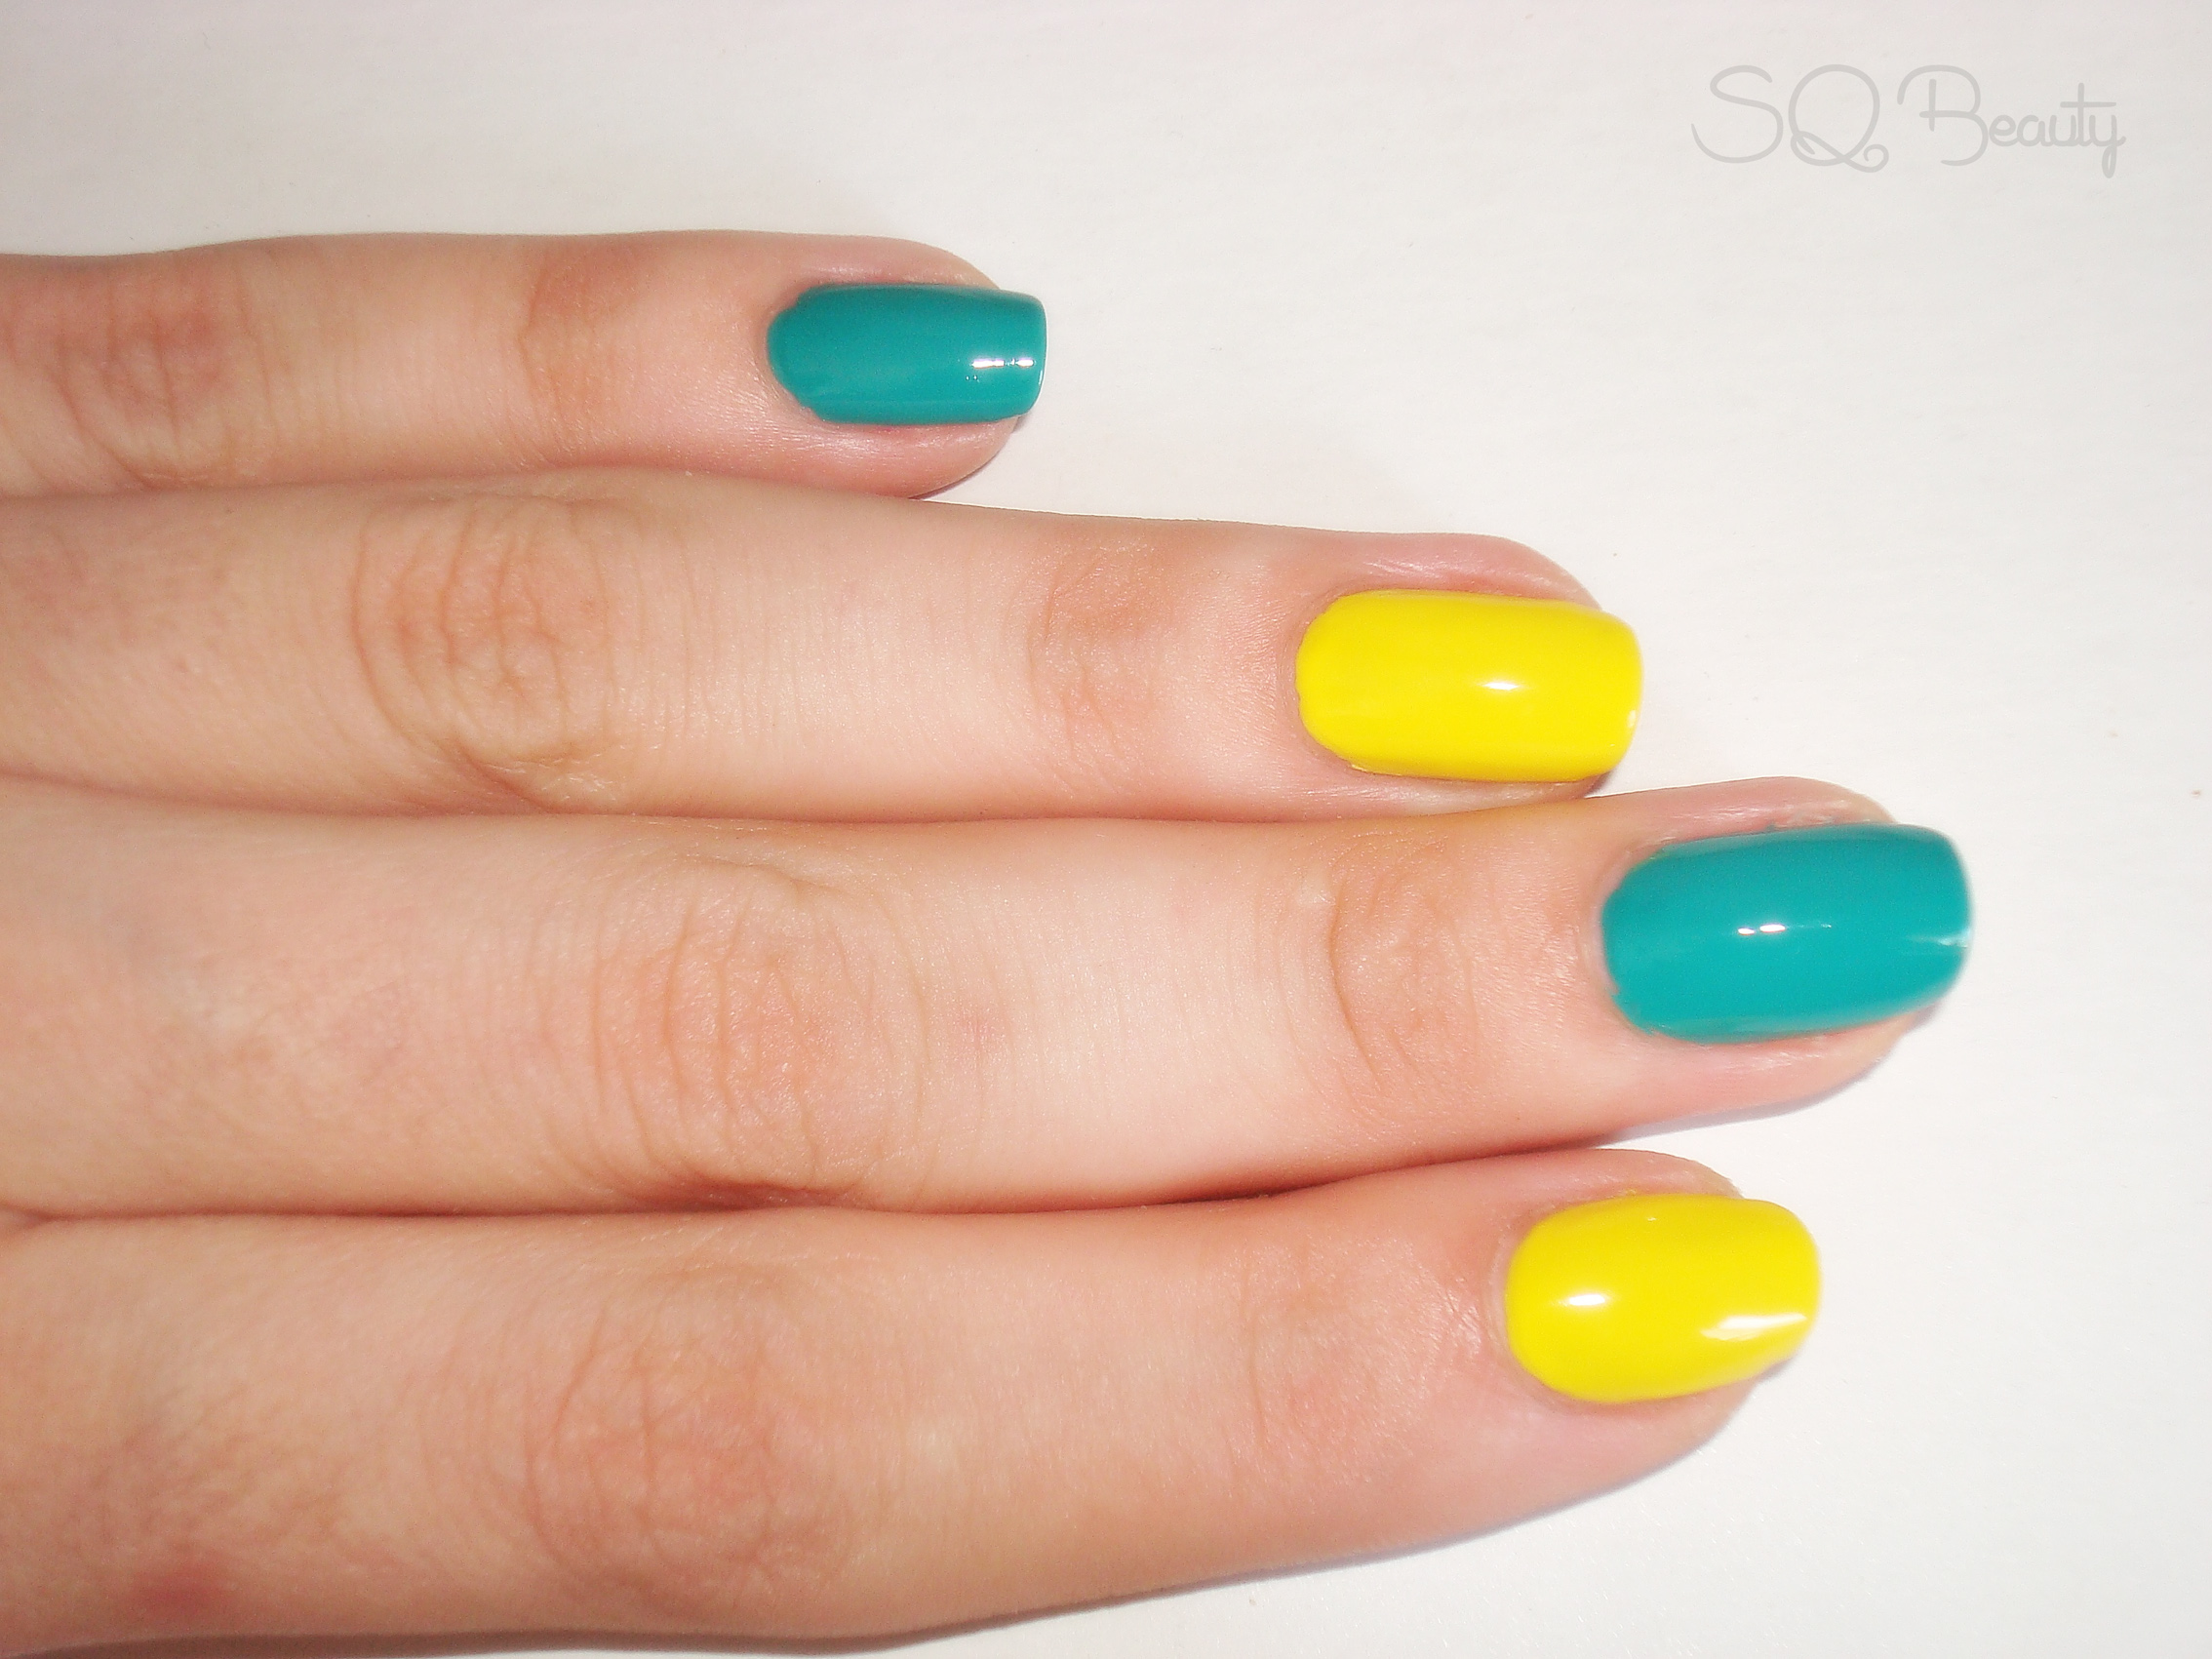
2. Now is time for the color, take the first color, in my case turquoise, in three alternative nails and with the other color, in my case yellow, in the other two nails, to know how to chose your nail polish shade the yellow will show more and the turquoise will be for decoration, add a couple of coats if necessary to get an opaque finish and let it get dry,
Nail Friday Manicura puntos y rayas
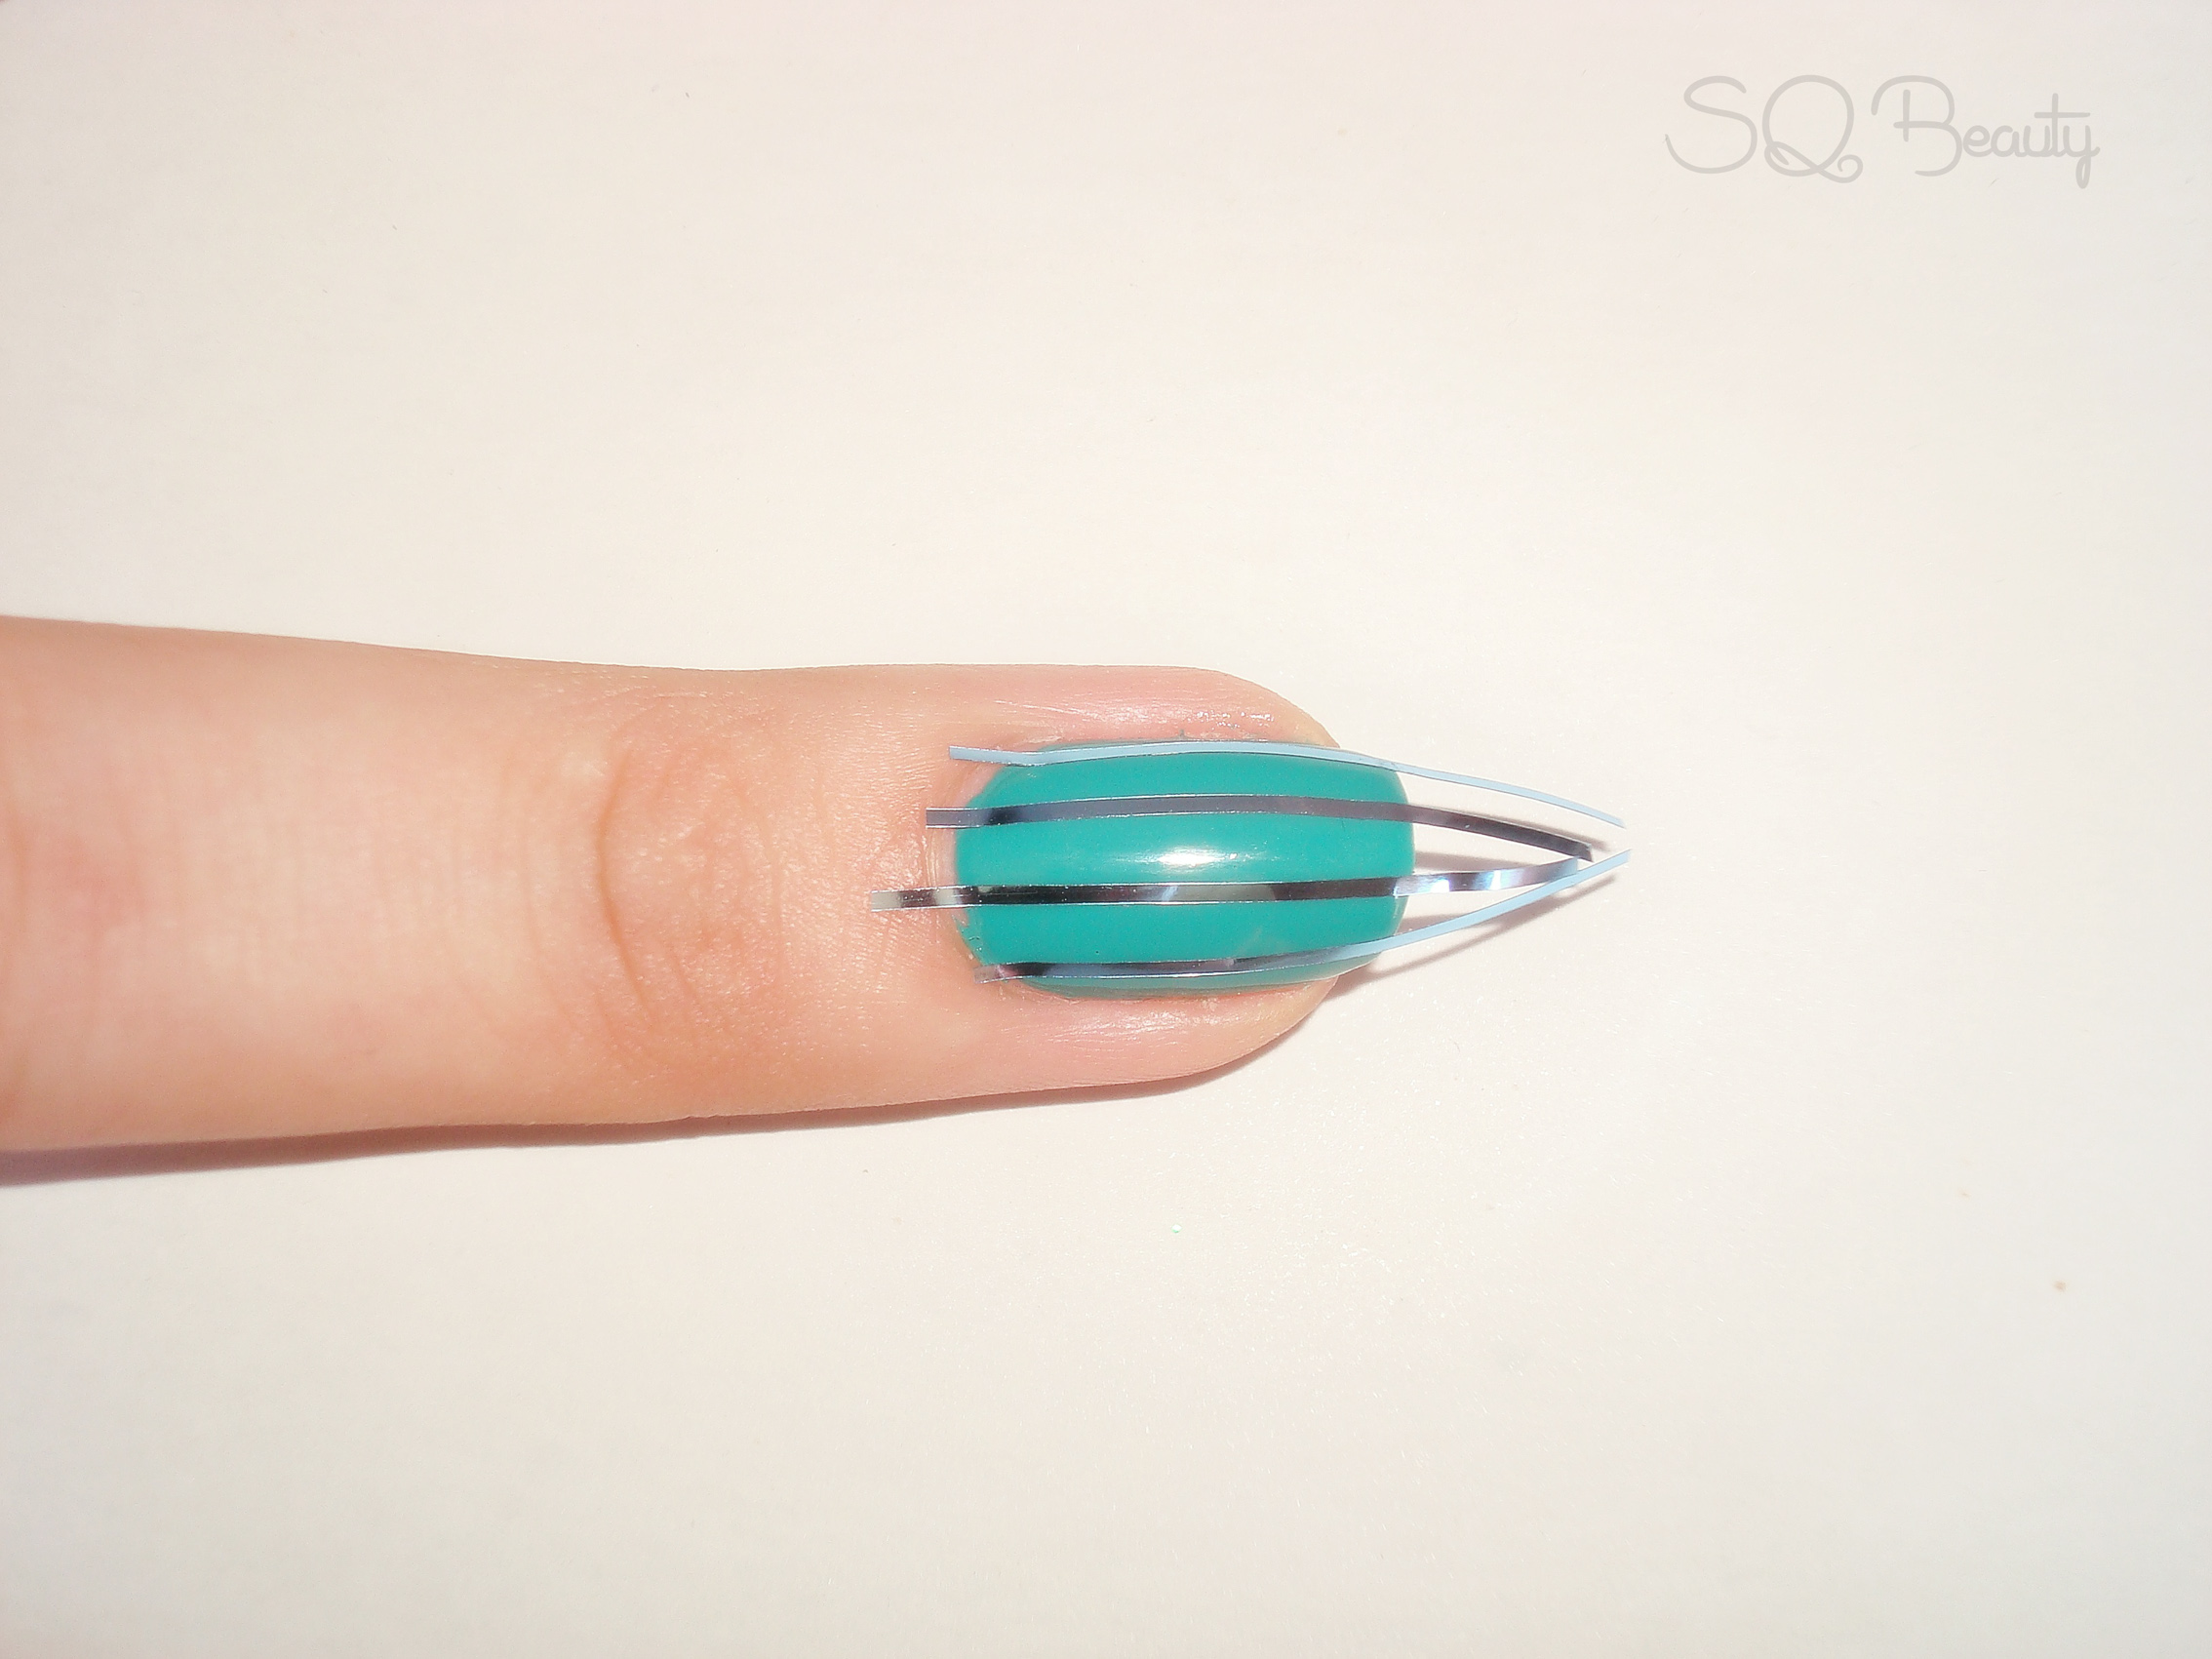
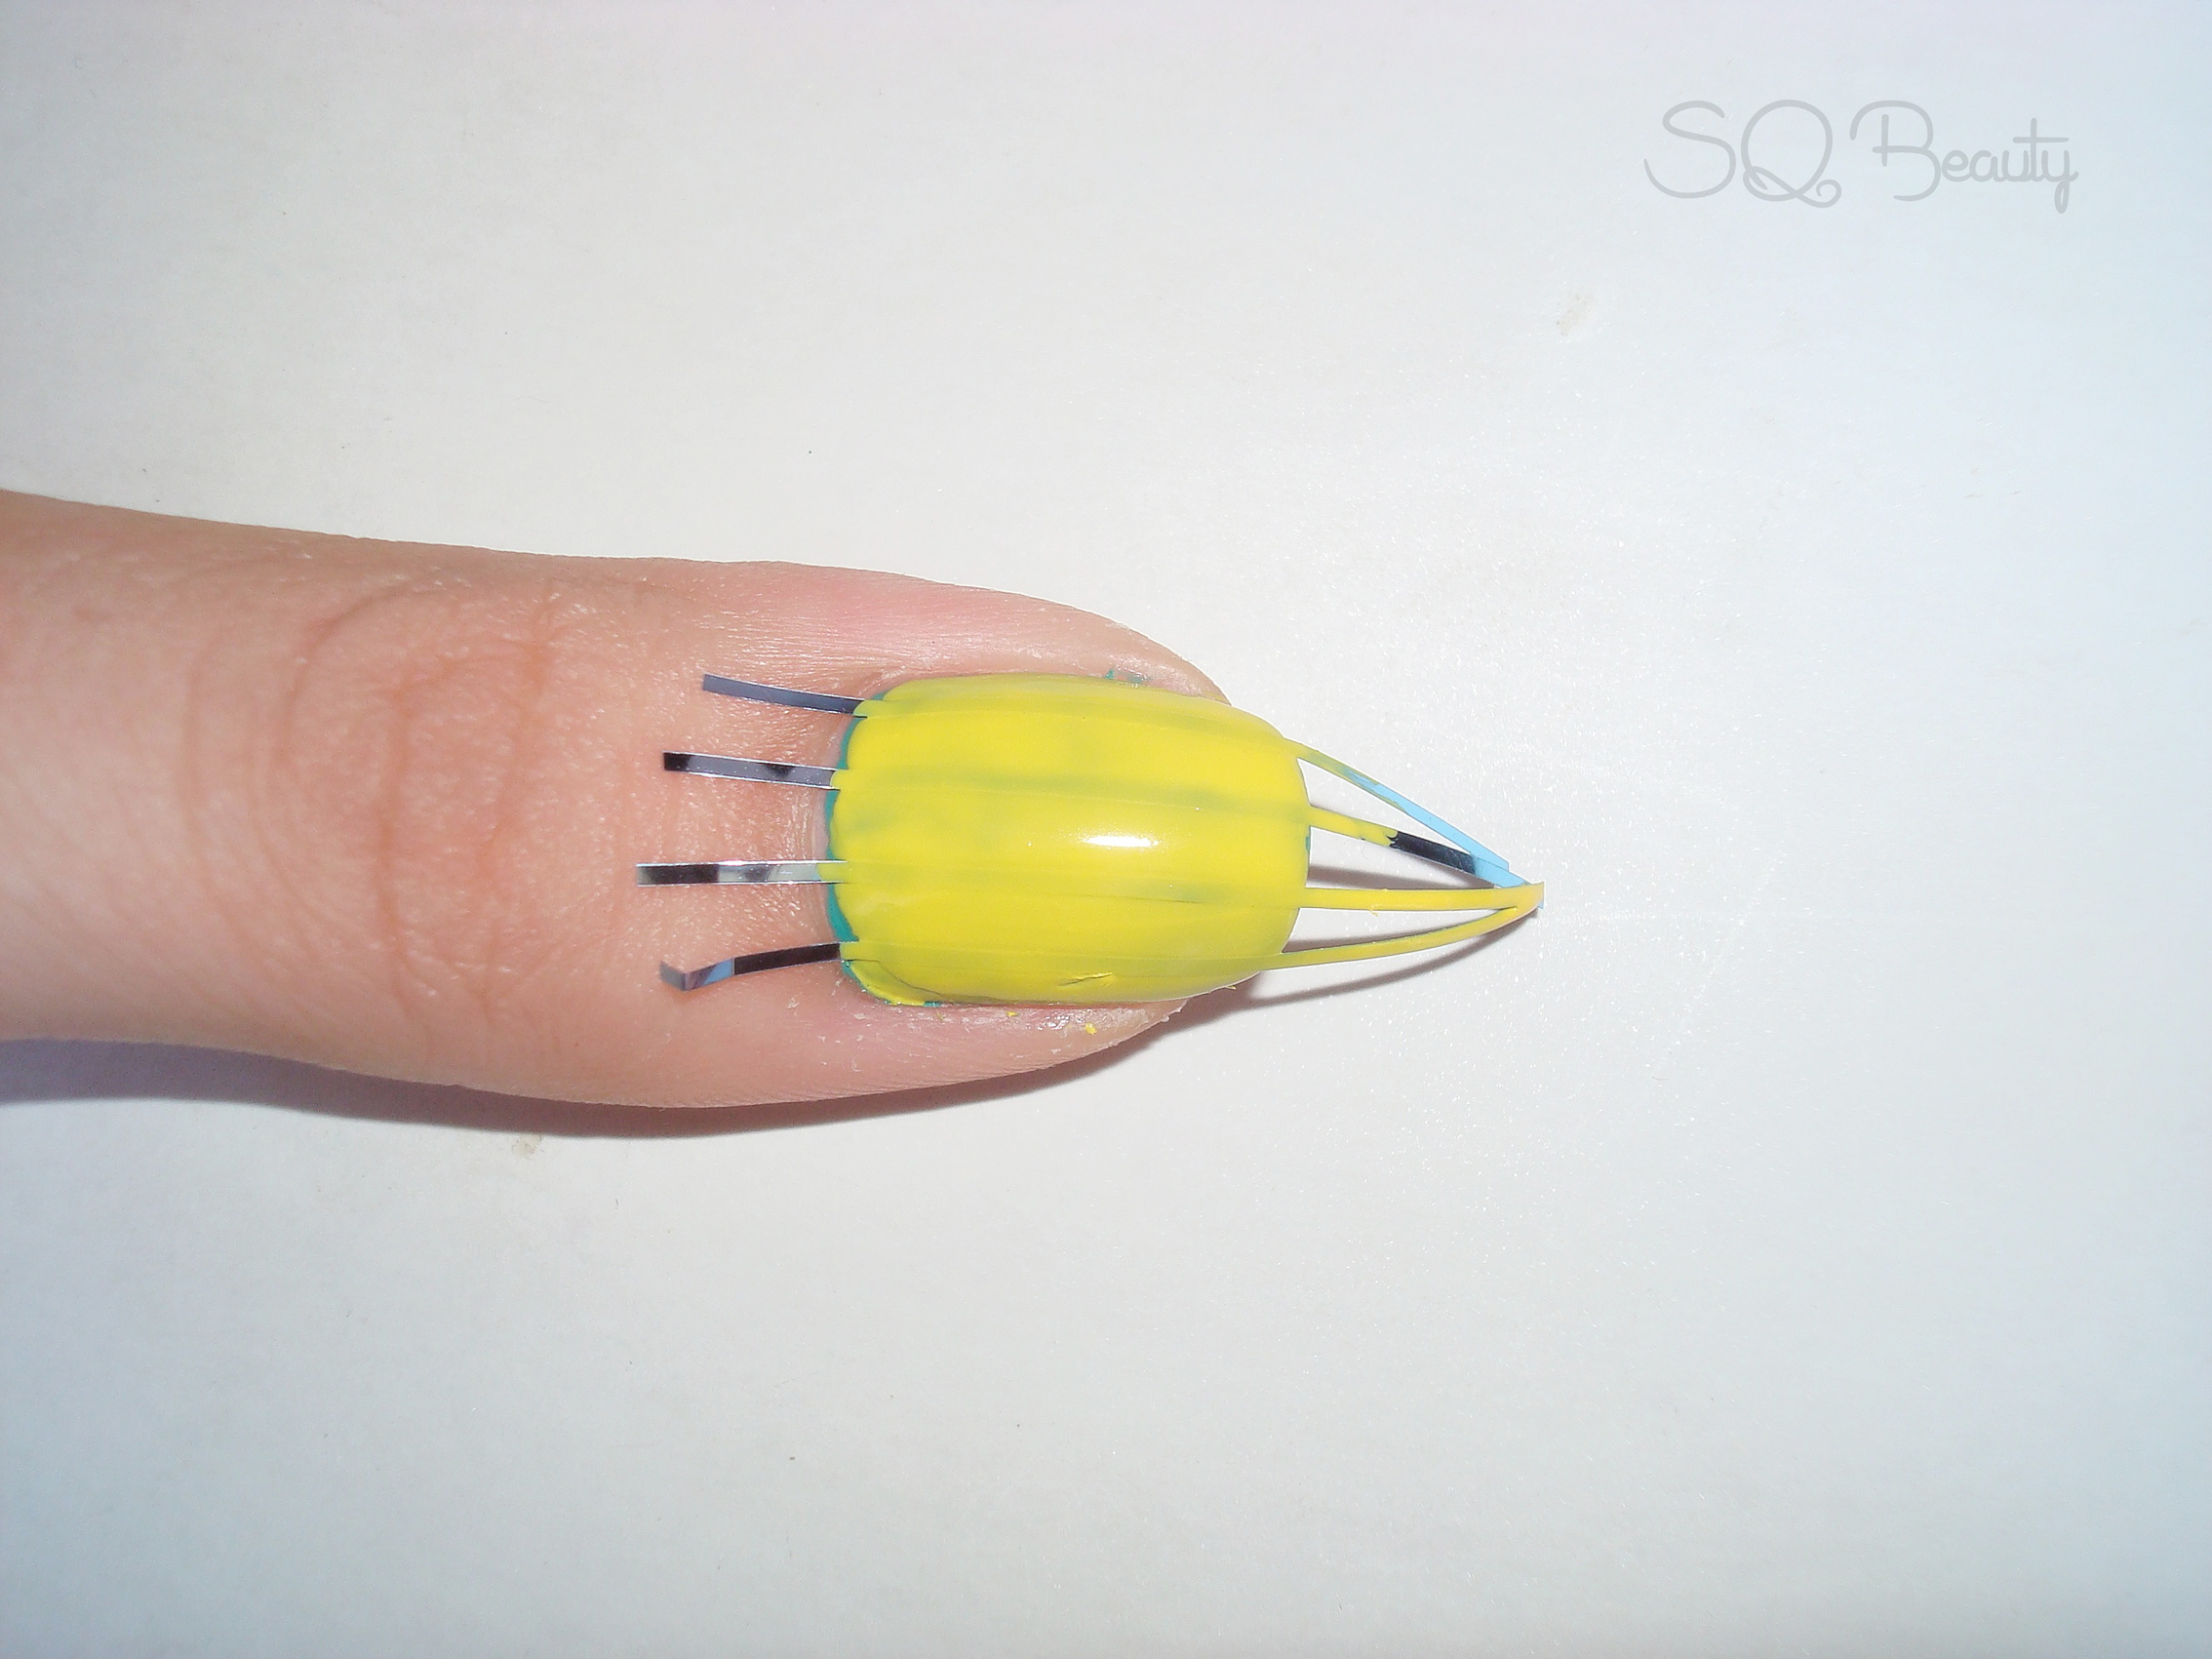
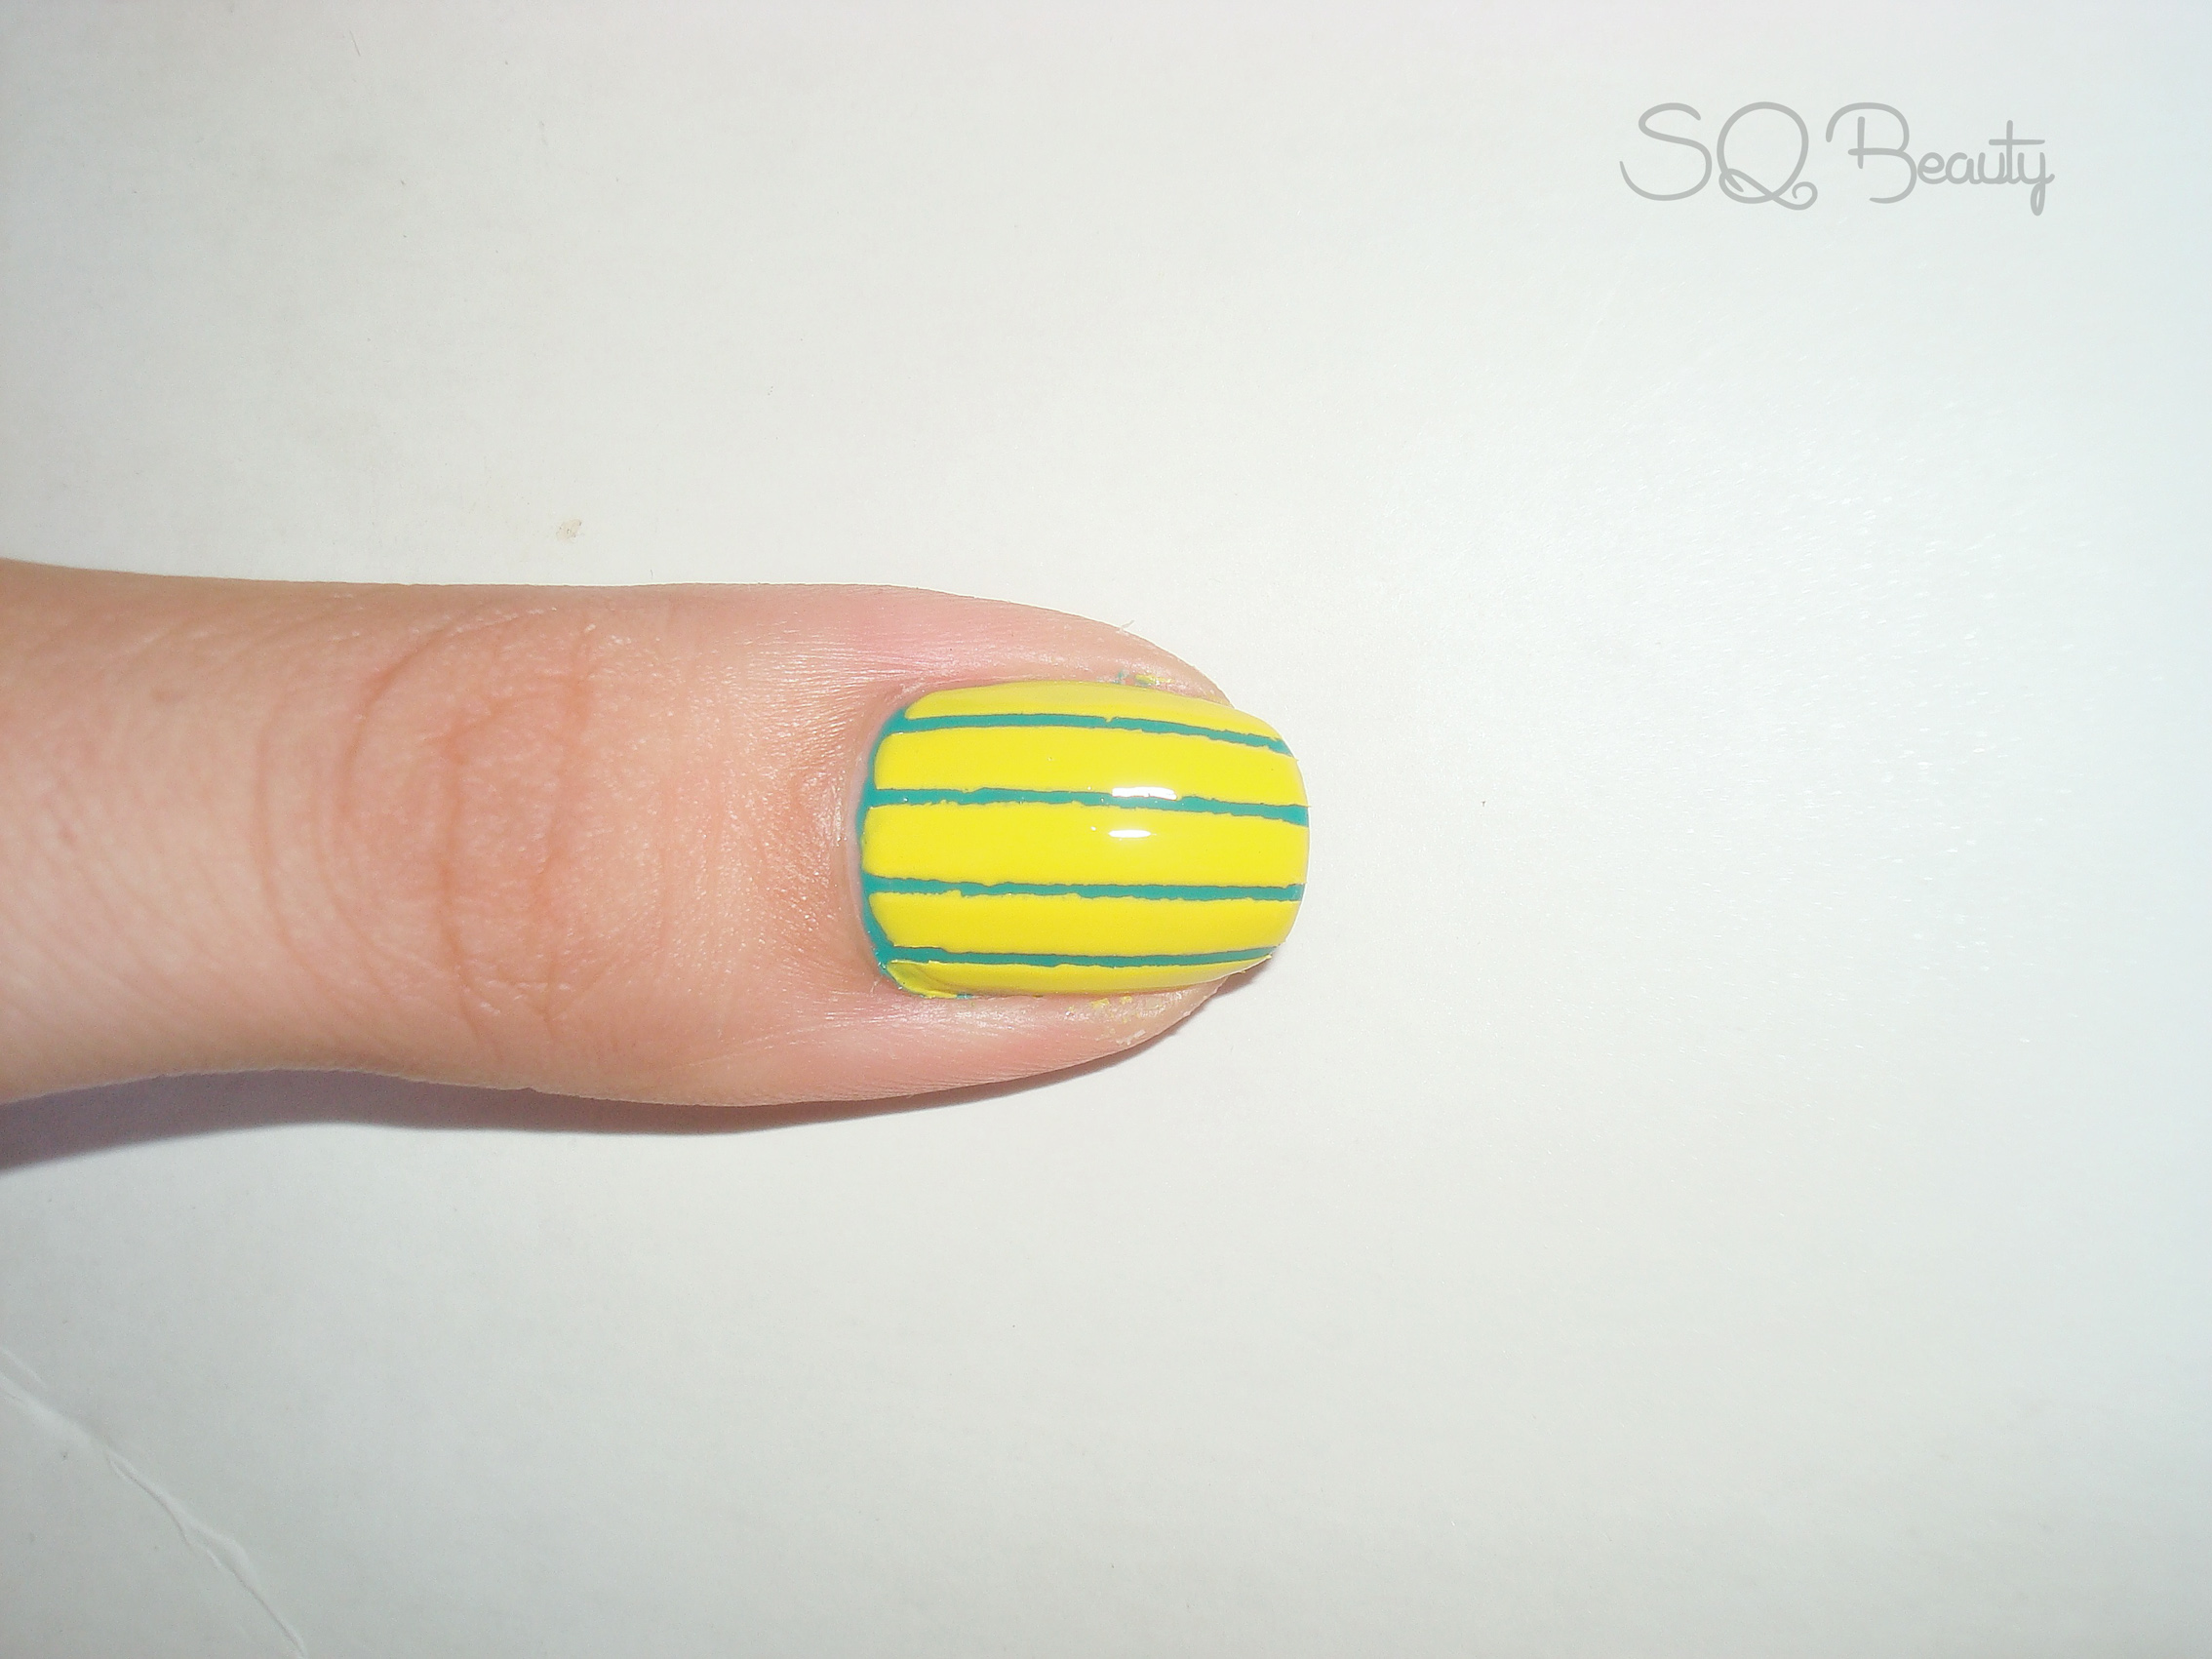
3. In this step we will start creating our guide lines for the stripes, we will use the decoration ribbon, place then on the turquoise base nails in a vertical direction, from the base of the nail to the tip of the nail, leave the space that you desire in between the ribbons, but remember the space between the ribbons will be the space for the yellow and the ribbon itself will be the turquoise shade at the end,
Nail Friday Manicura puntos y rayas
Nail Friday Manicura puntos y rayas
4. Apply the yellow coat on top of the ribbon, if you need to you can apply a second coat of yellow but before let it get dry and then apply a second coat for an opaque finish, then let them get dry,
Nail Friday Manicura puntos y rayas
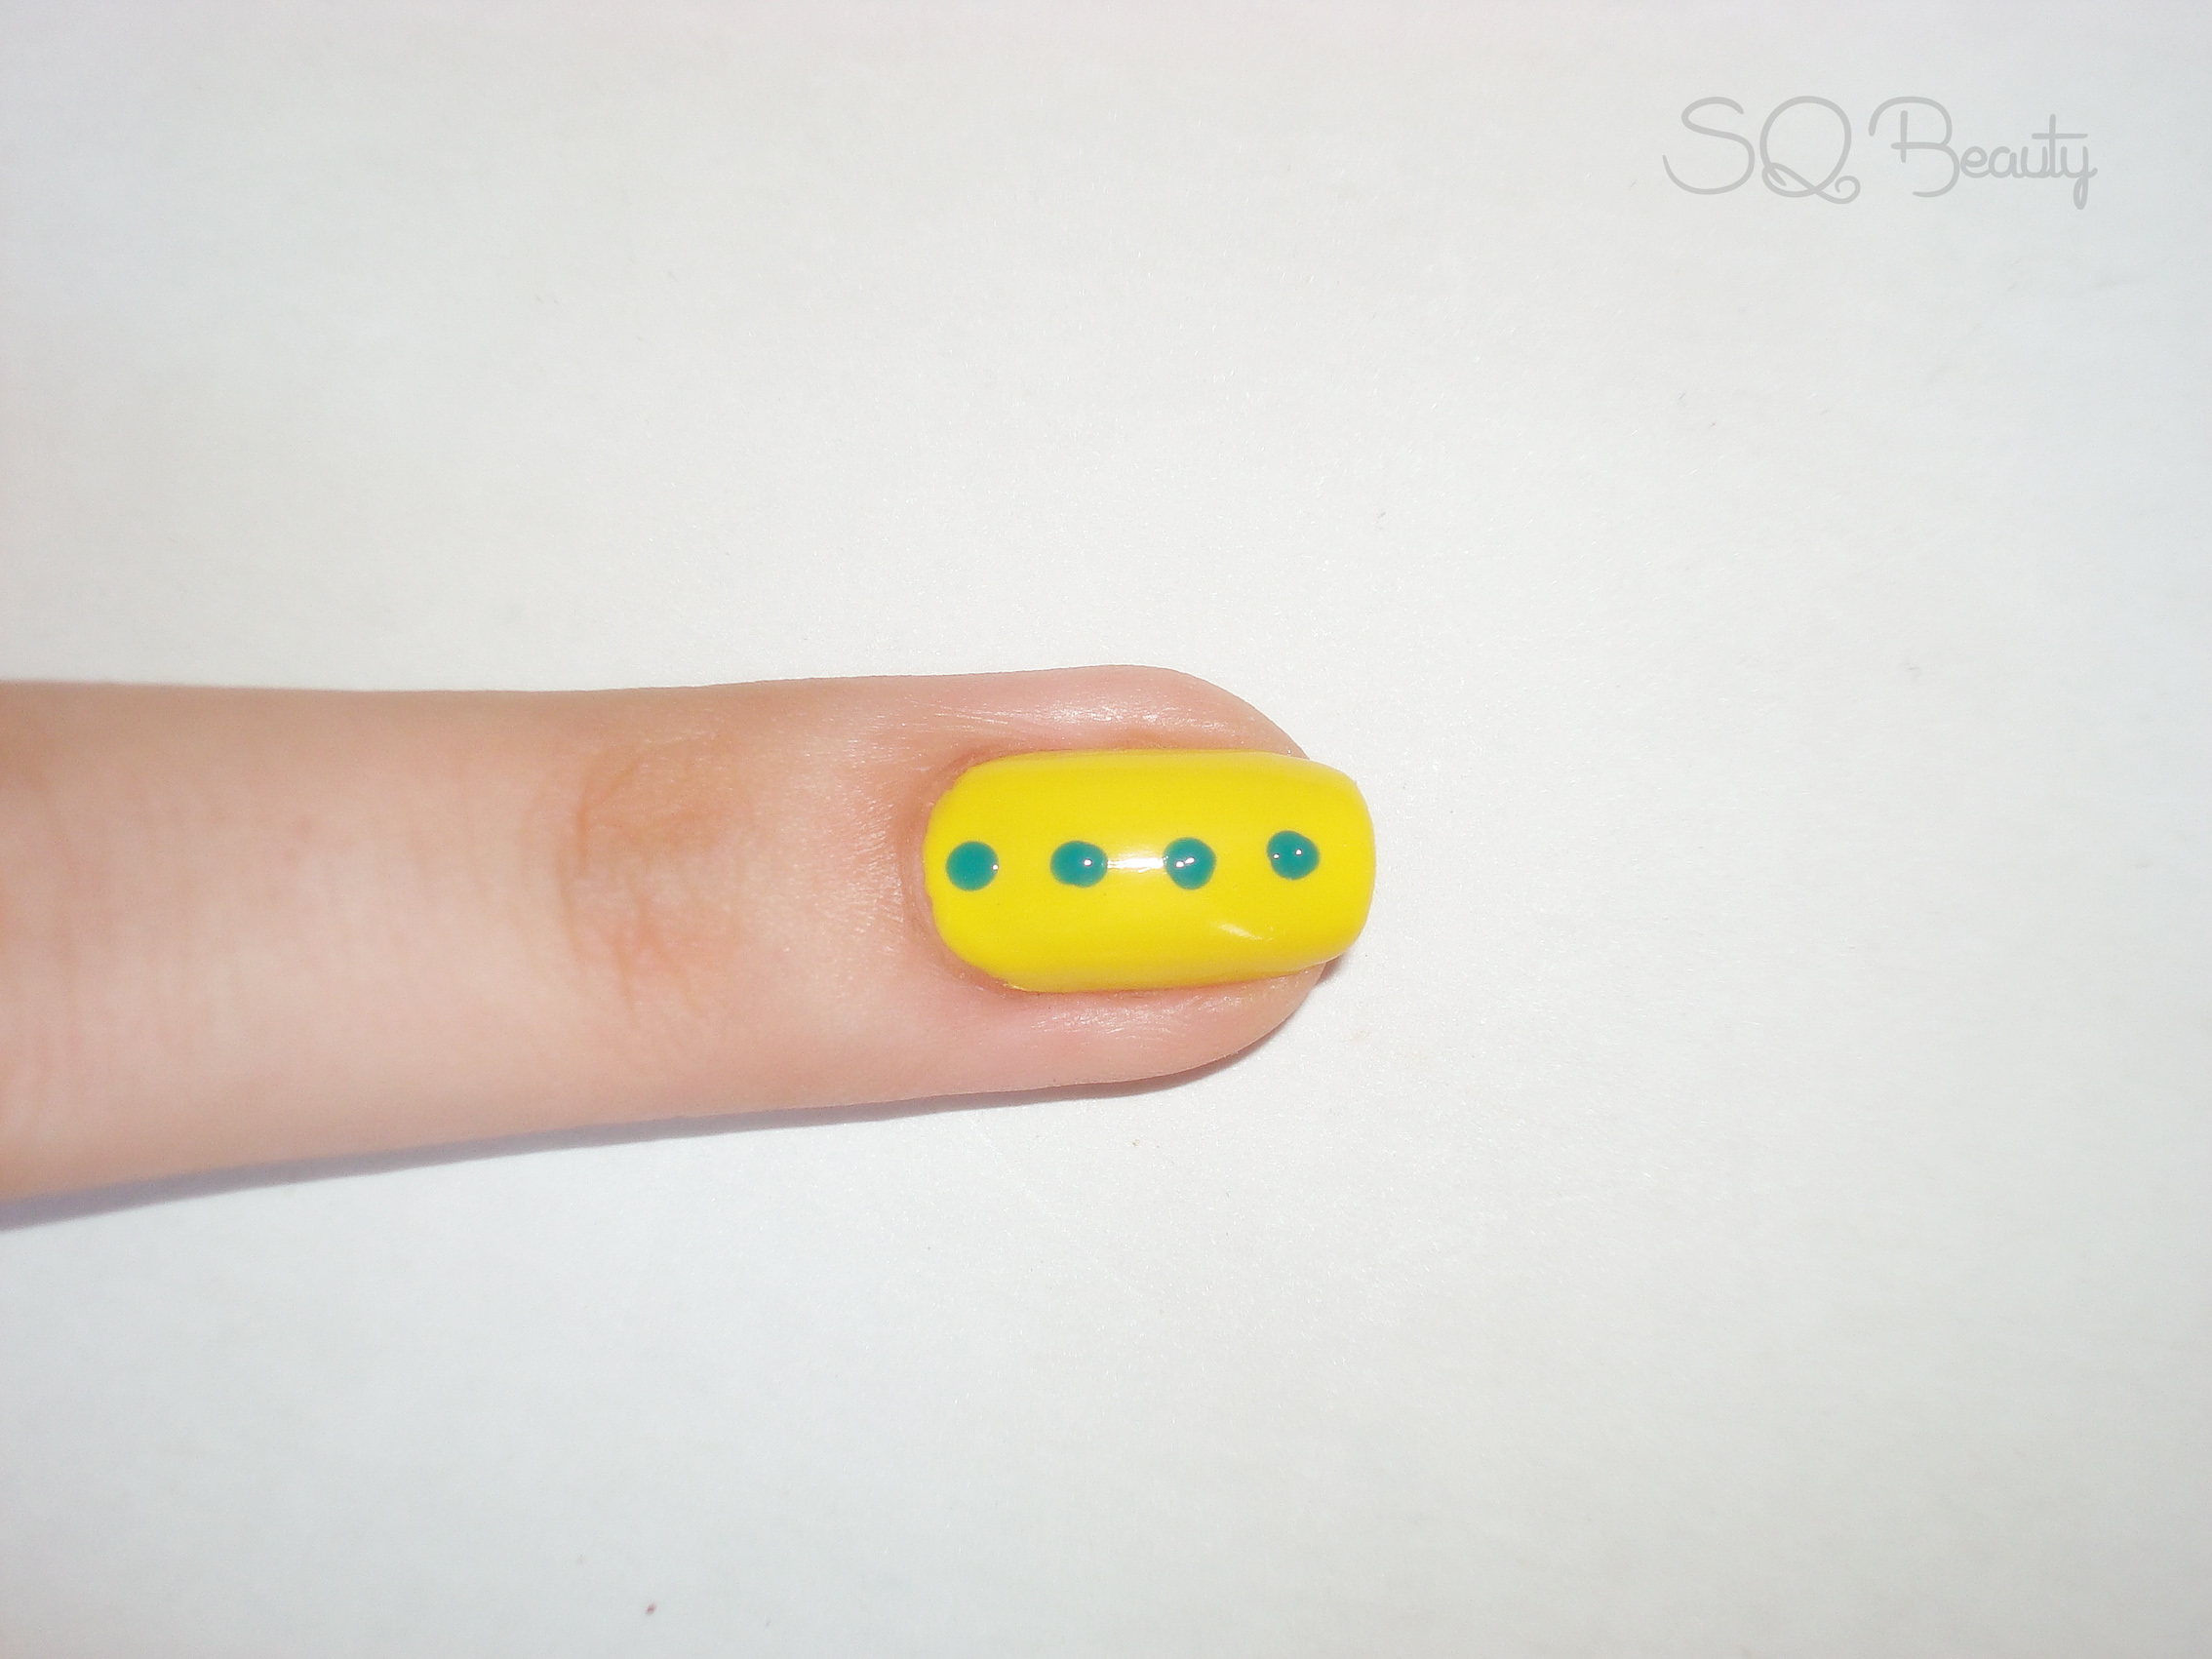
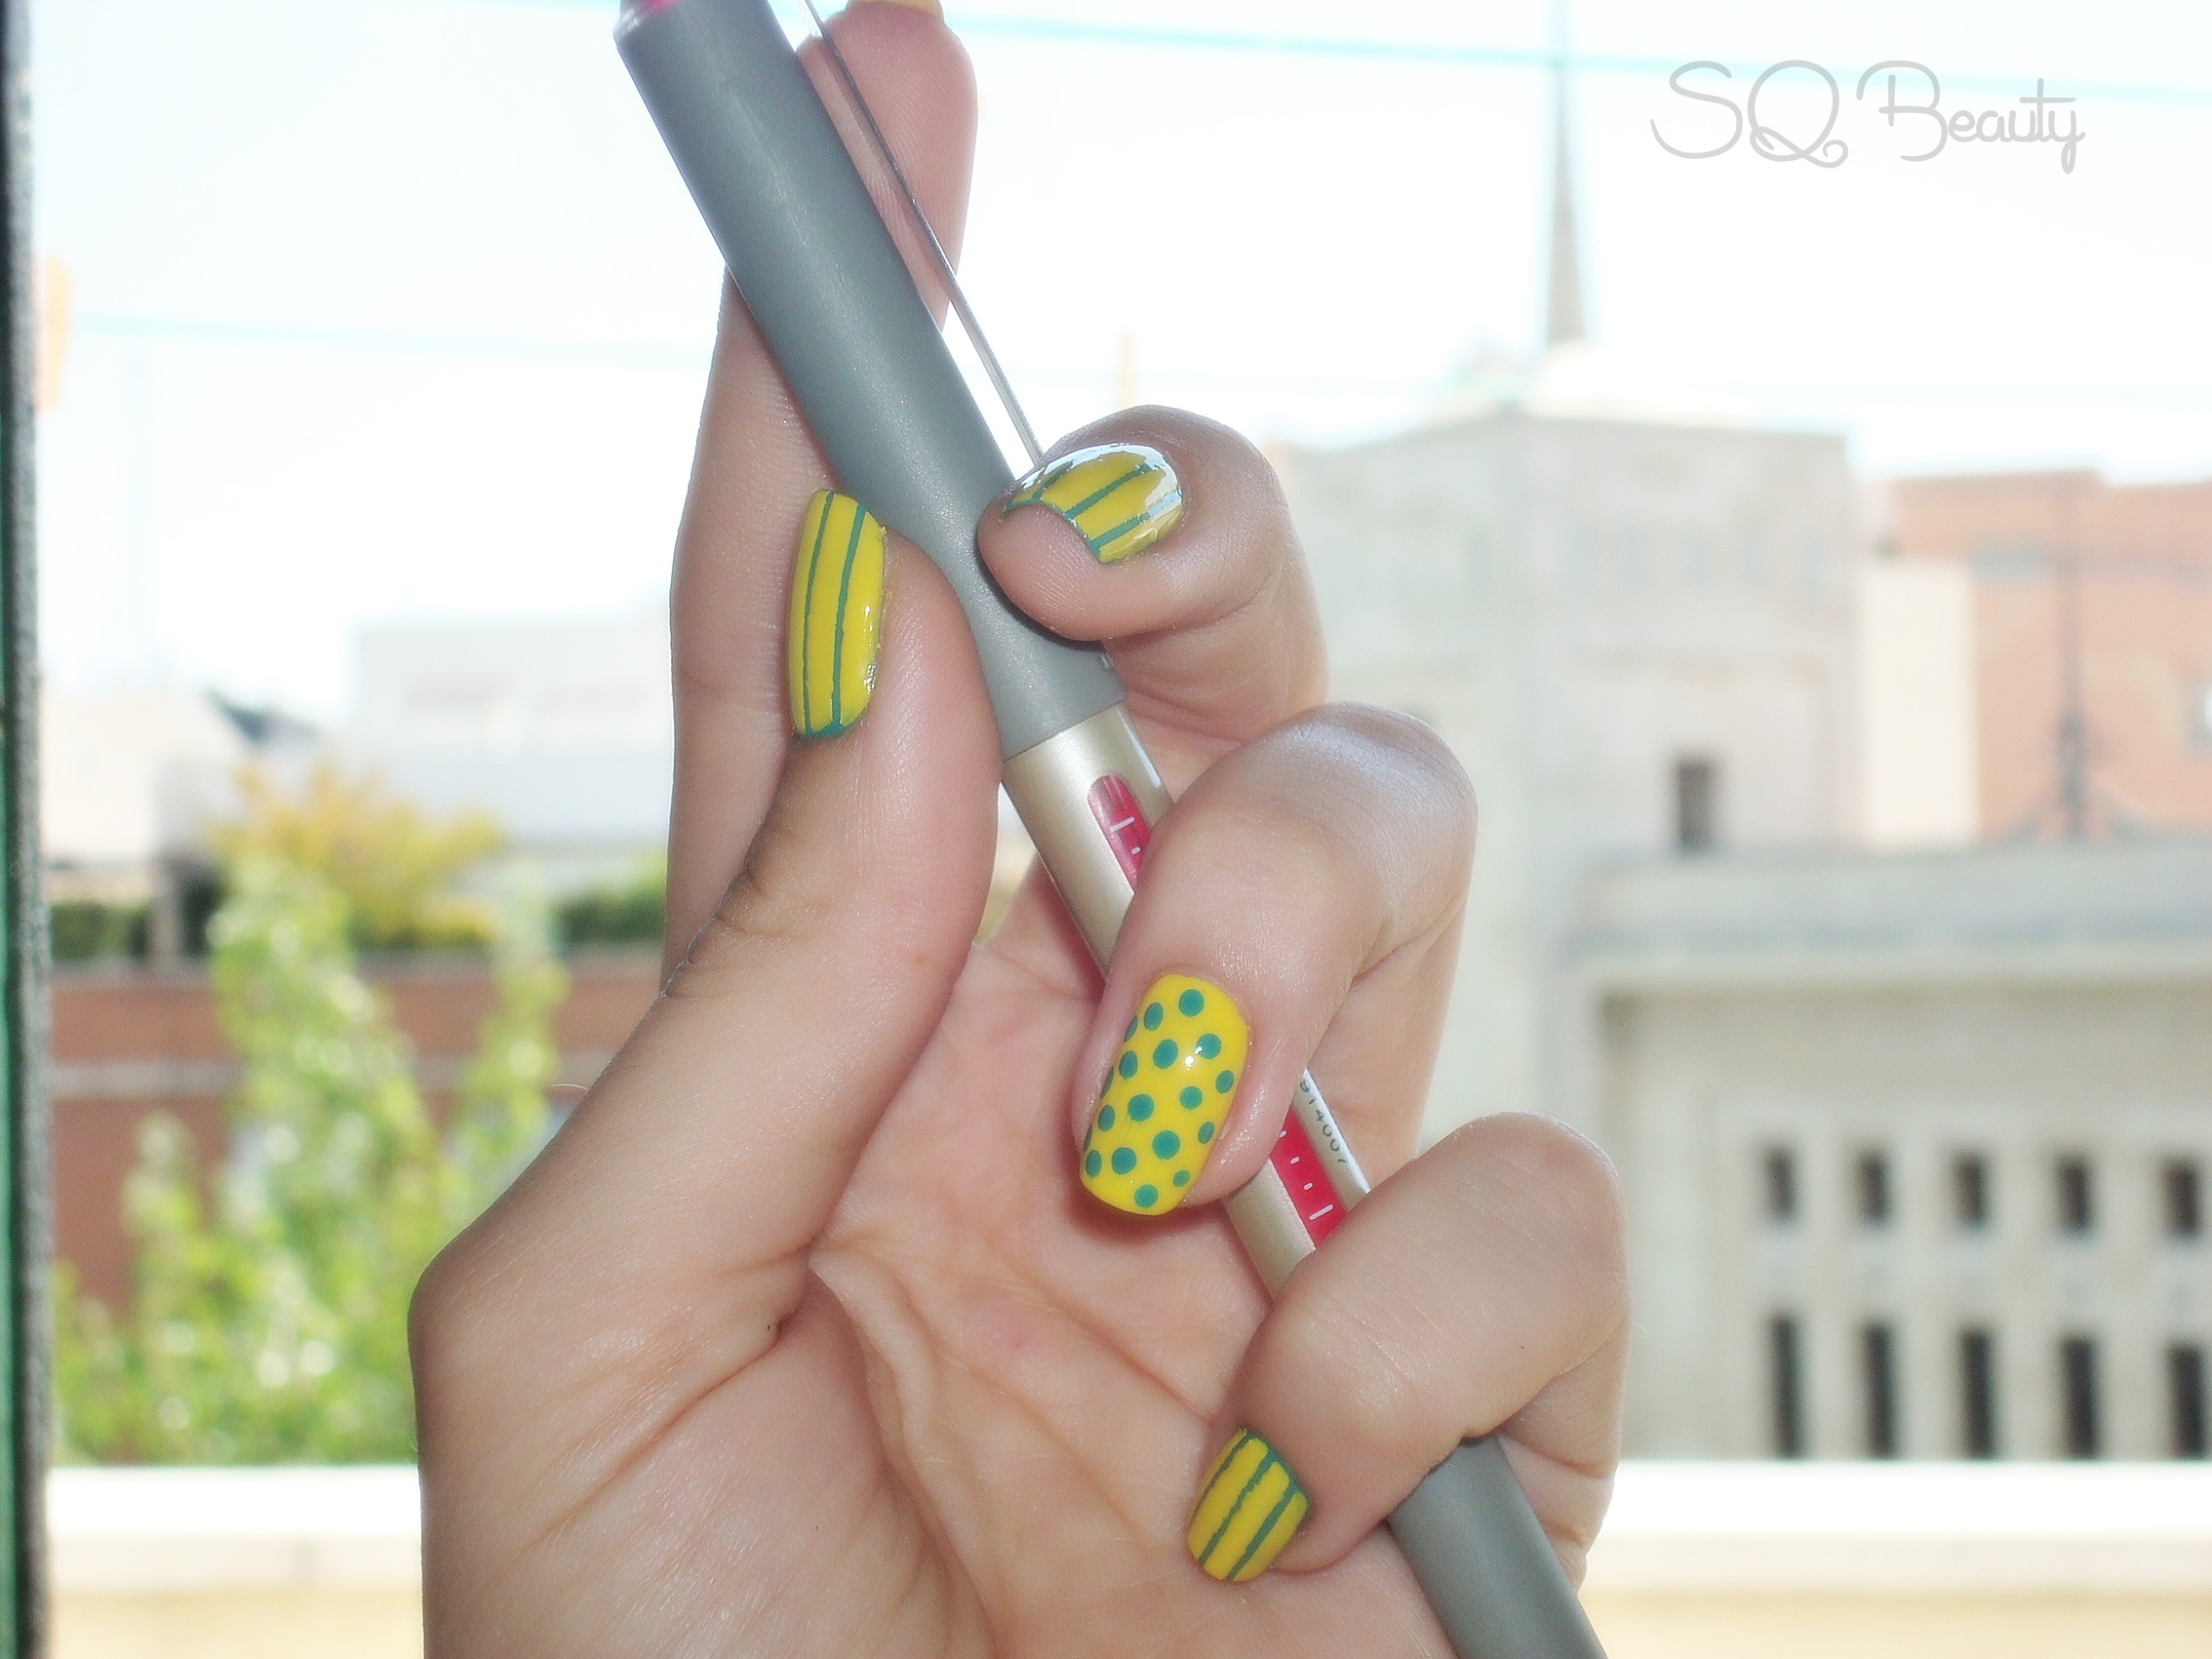
5. Now let’s move to the other nail decoration, the two nails with yellow base, we will use the picker for this decoration creating a line of dots in the center of the nail from the base to the tip of the nail, these will be the biggest of all dots, and we will leave a space between the dots minimum the same side of the dots,
Nail Friday Manicura puntos y rayas

Nail Friday Manicura puntos y rayas
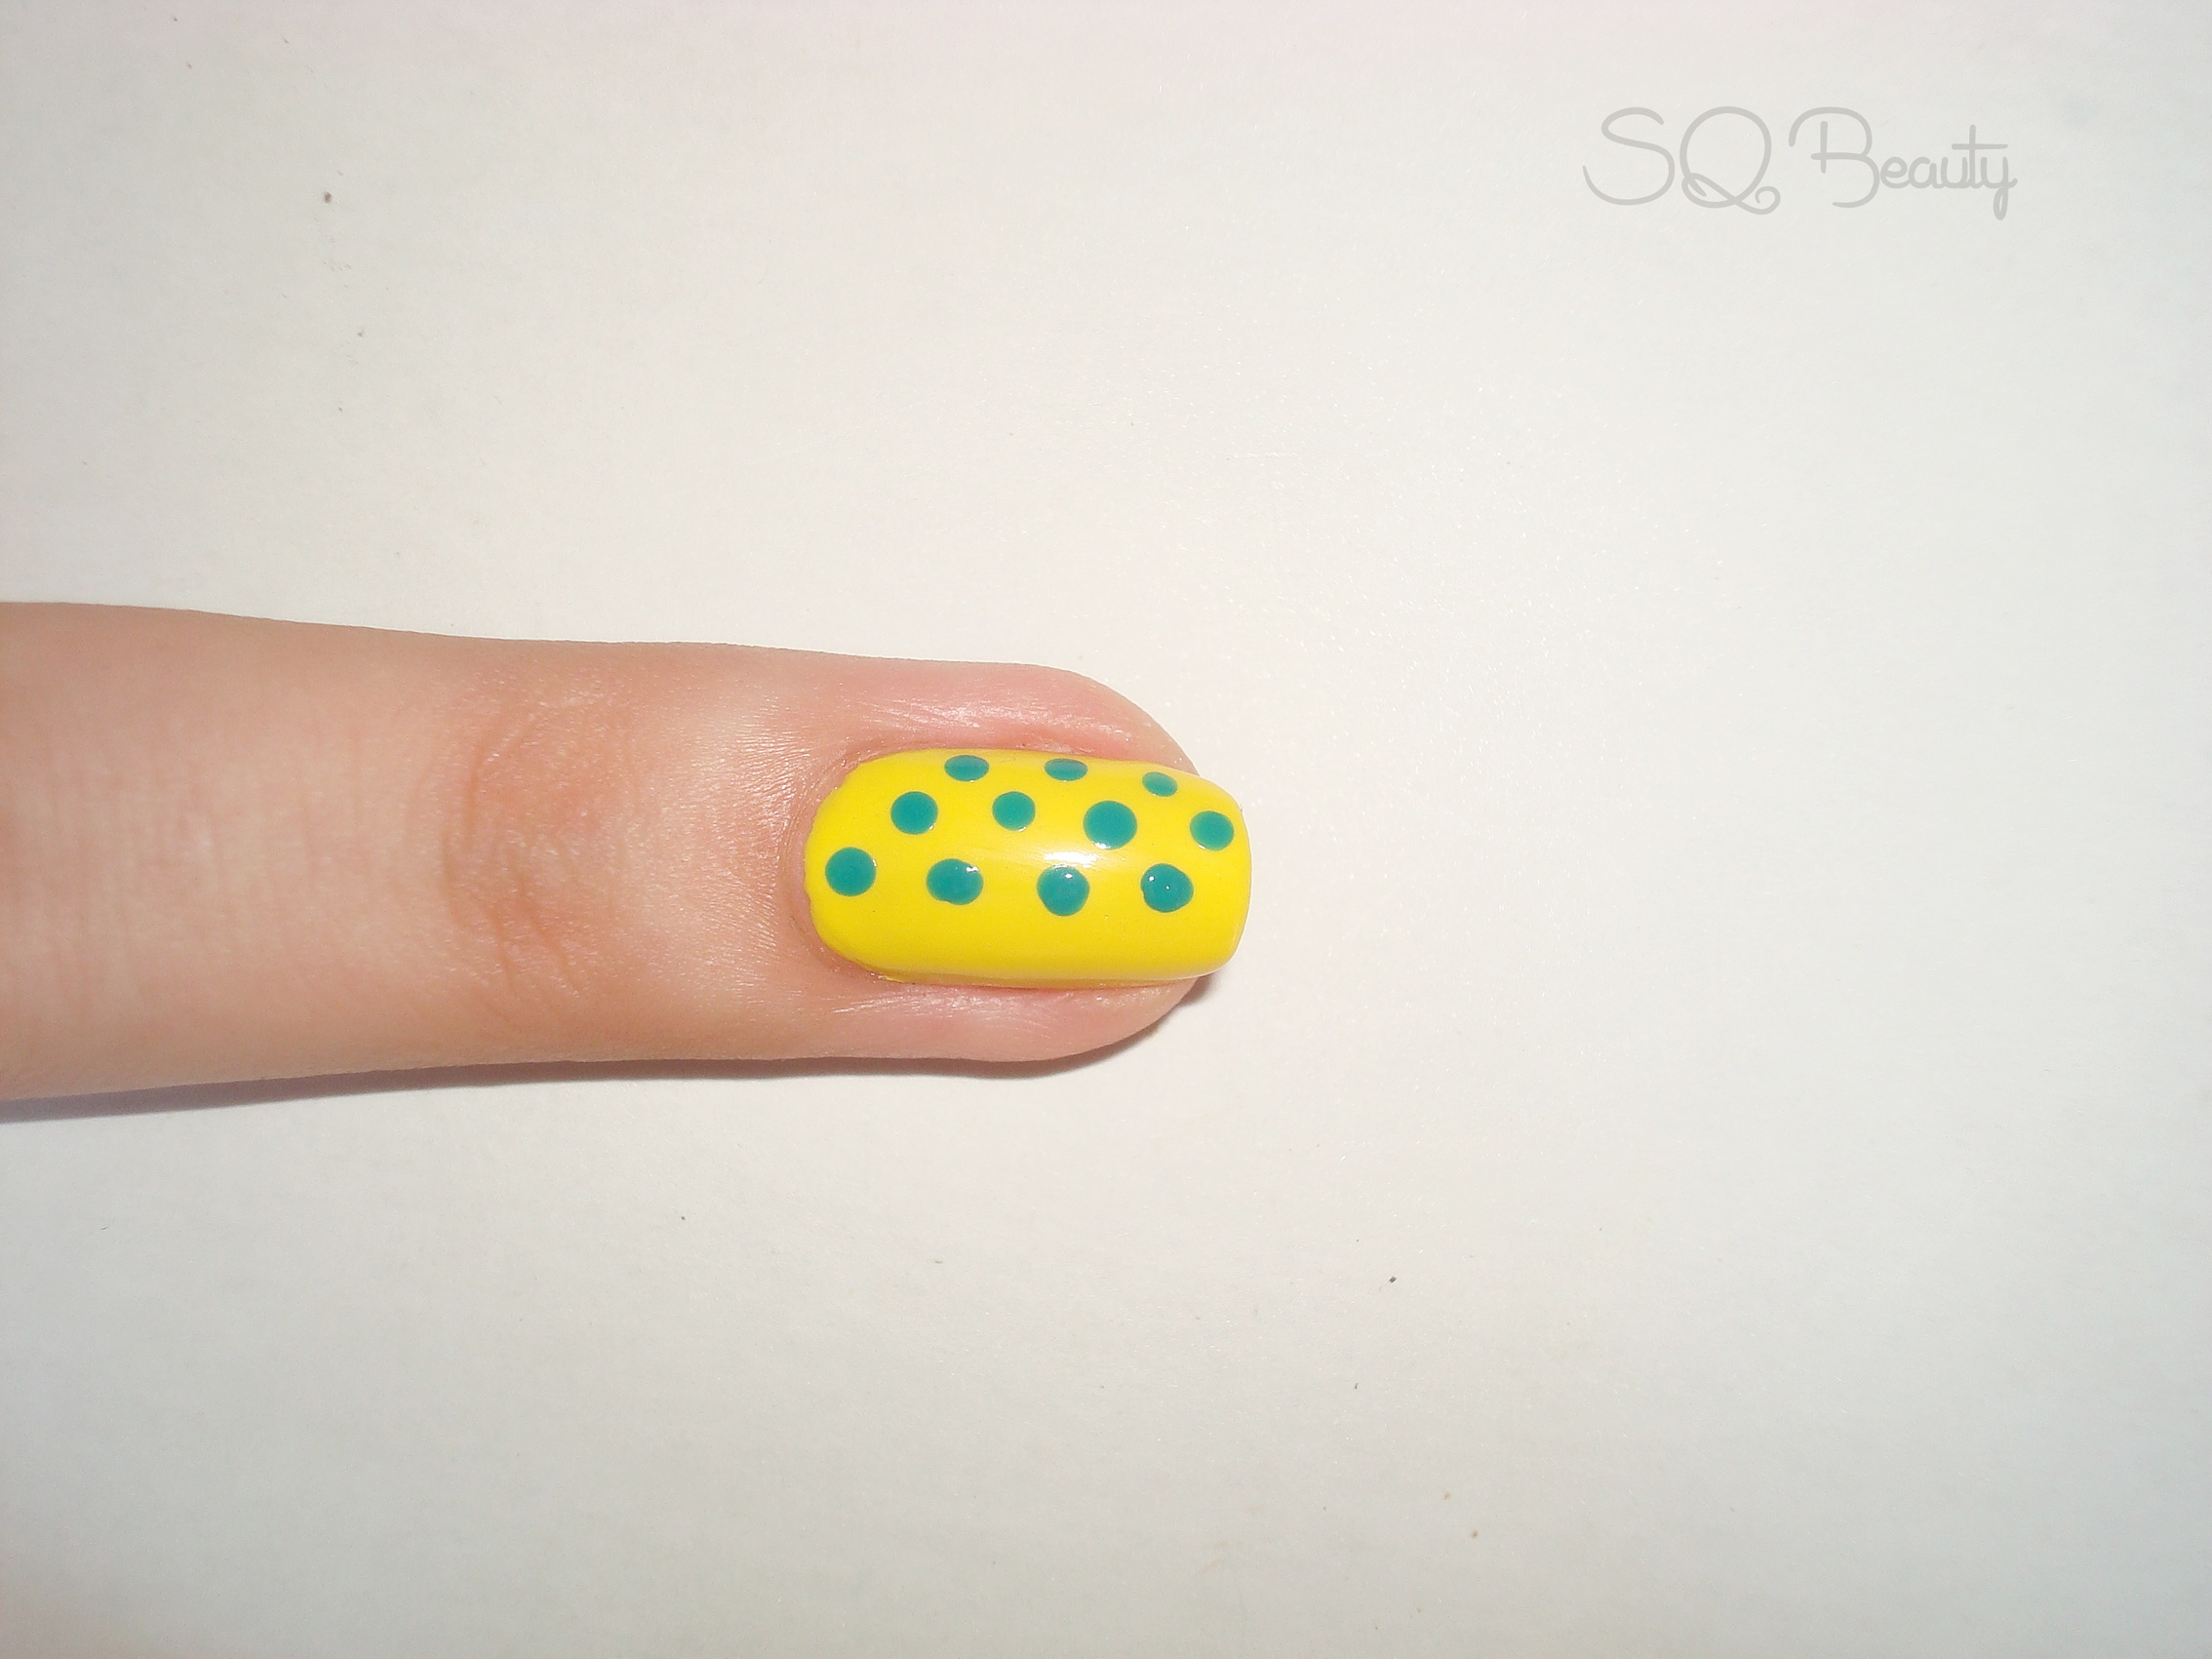
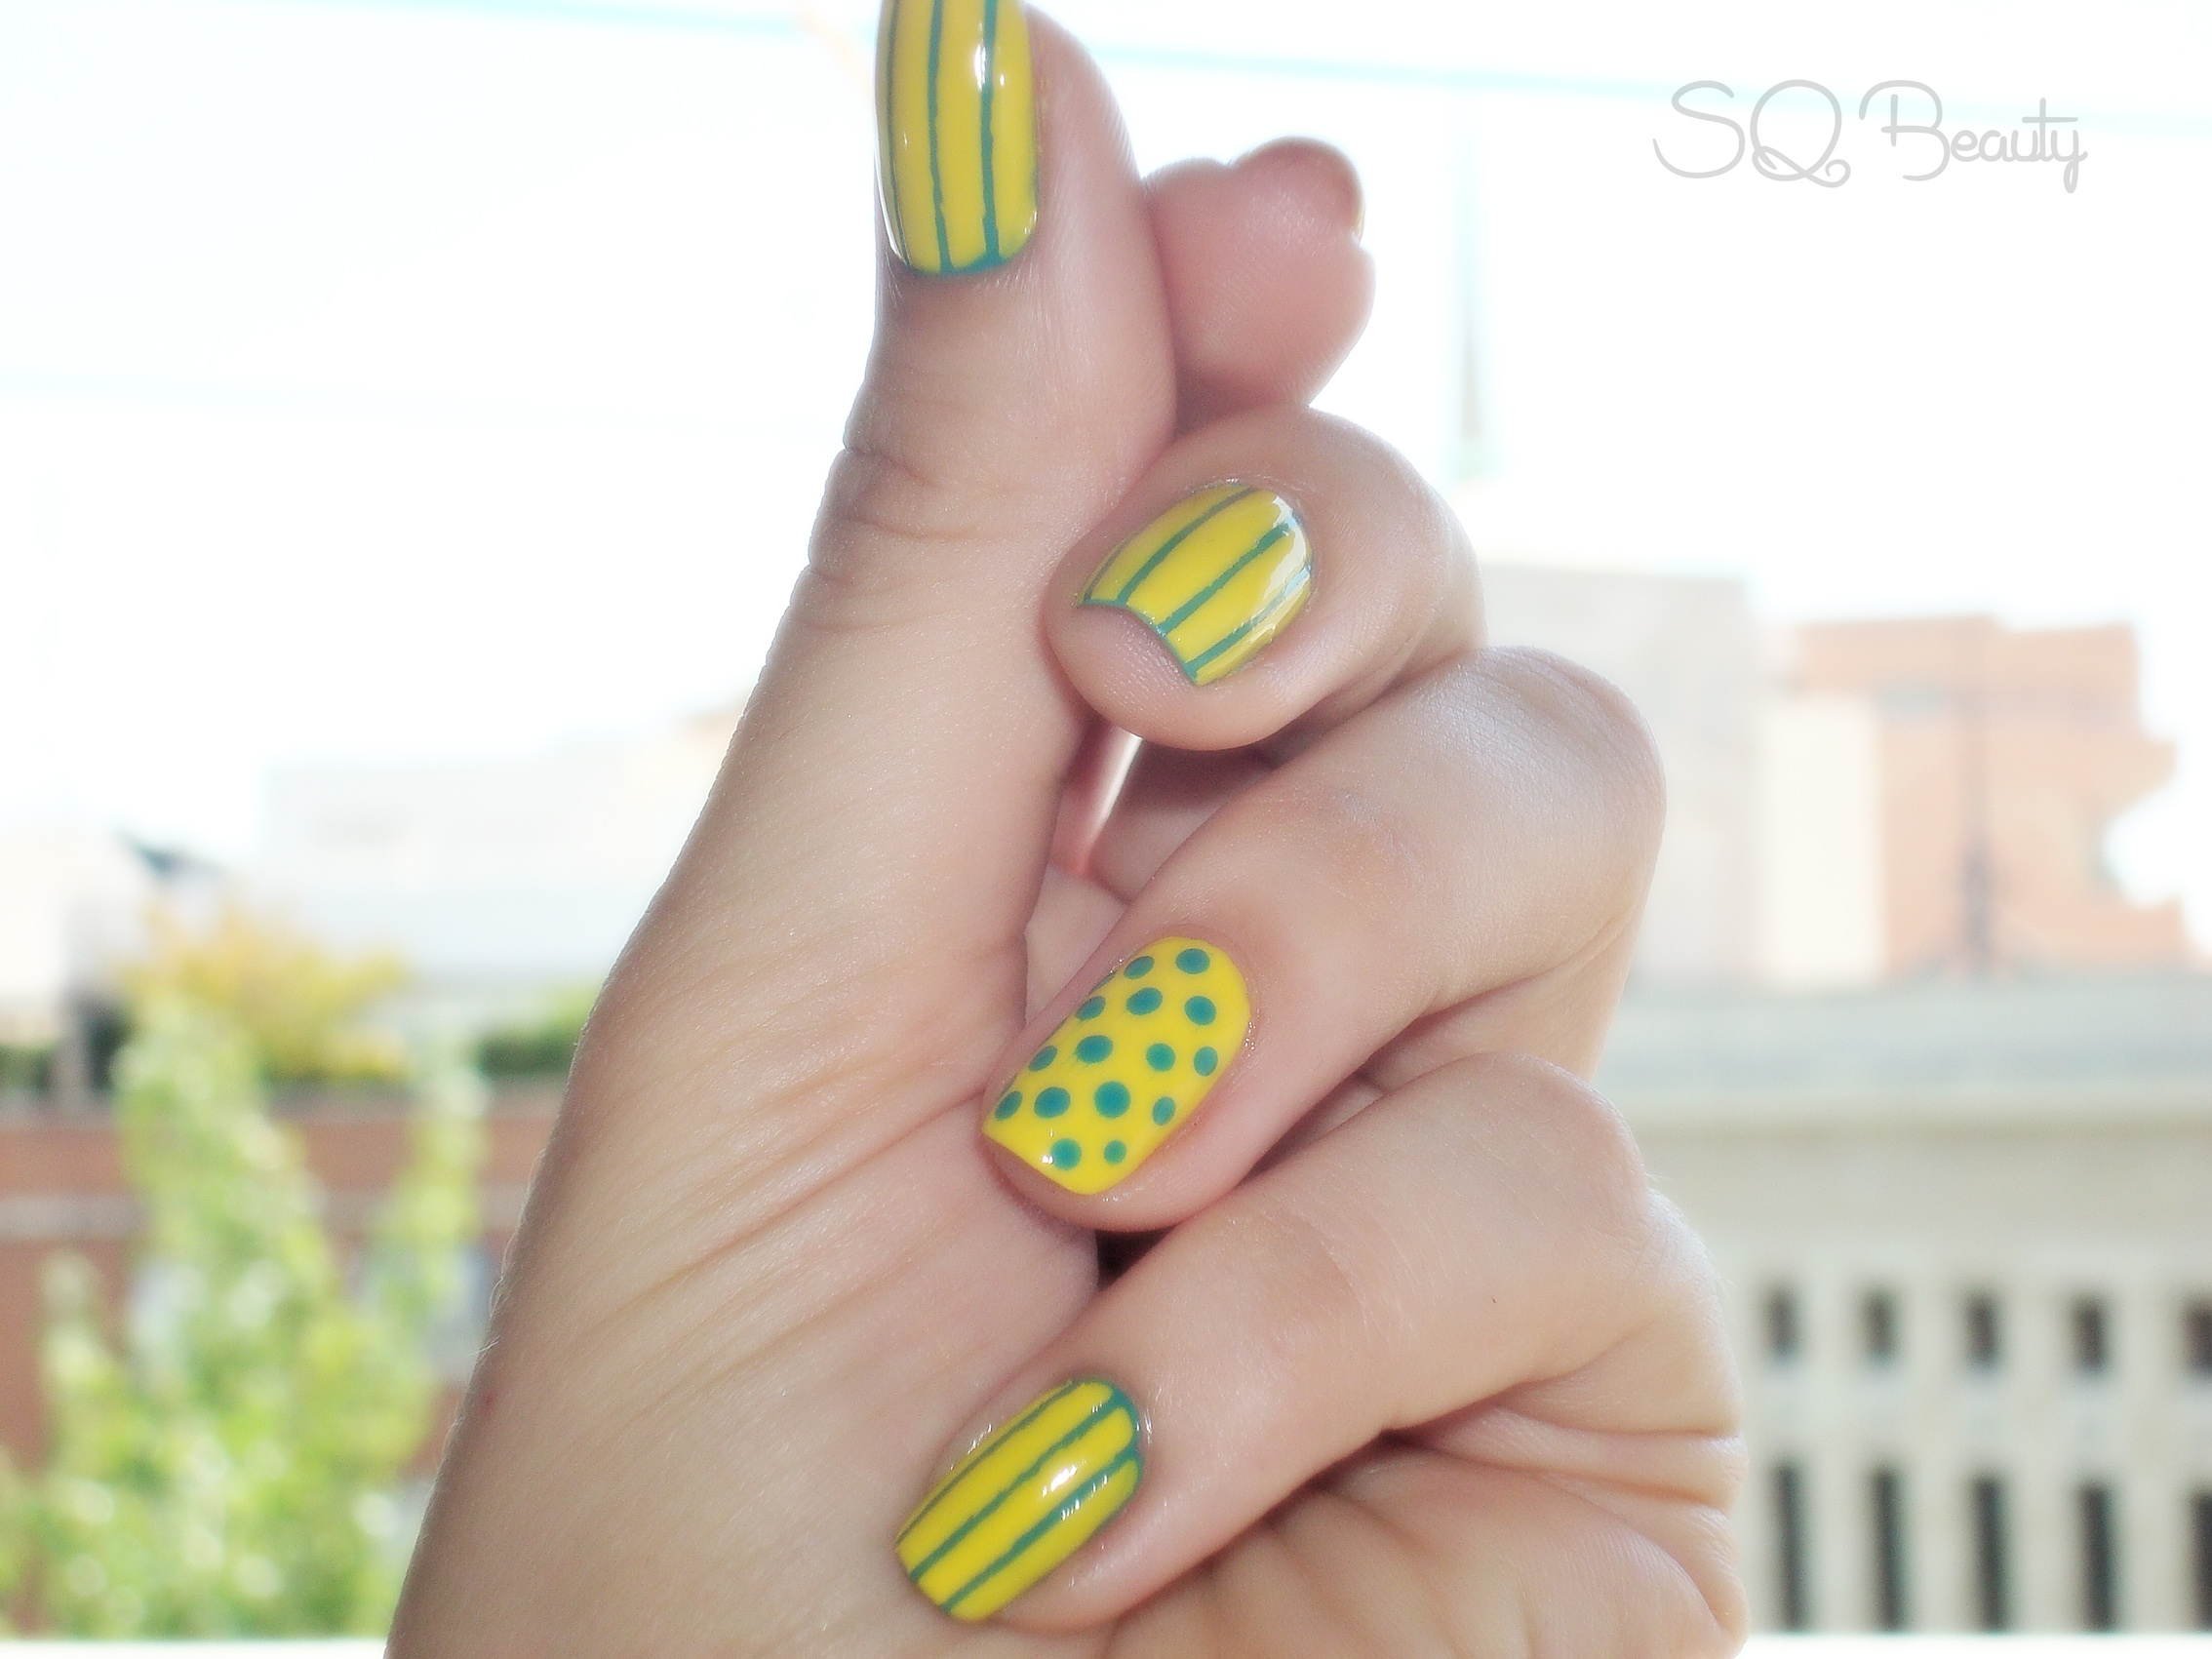
6. We will keep doing the dots on the sides of the center line, add a second line centering the dots in the spaces of the first line and in a smaller side and again a third line fixing the dots on the space of the previous line and in a smaller side, the same on the other side of the nail on both yellow base nails,
Nail Friday Manicura puntos y rayas
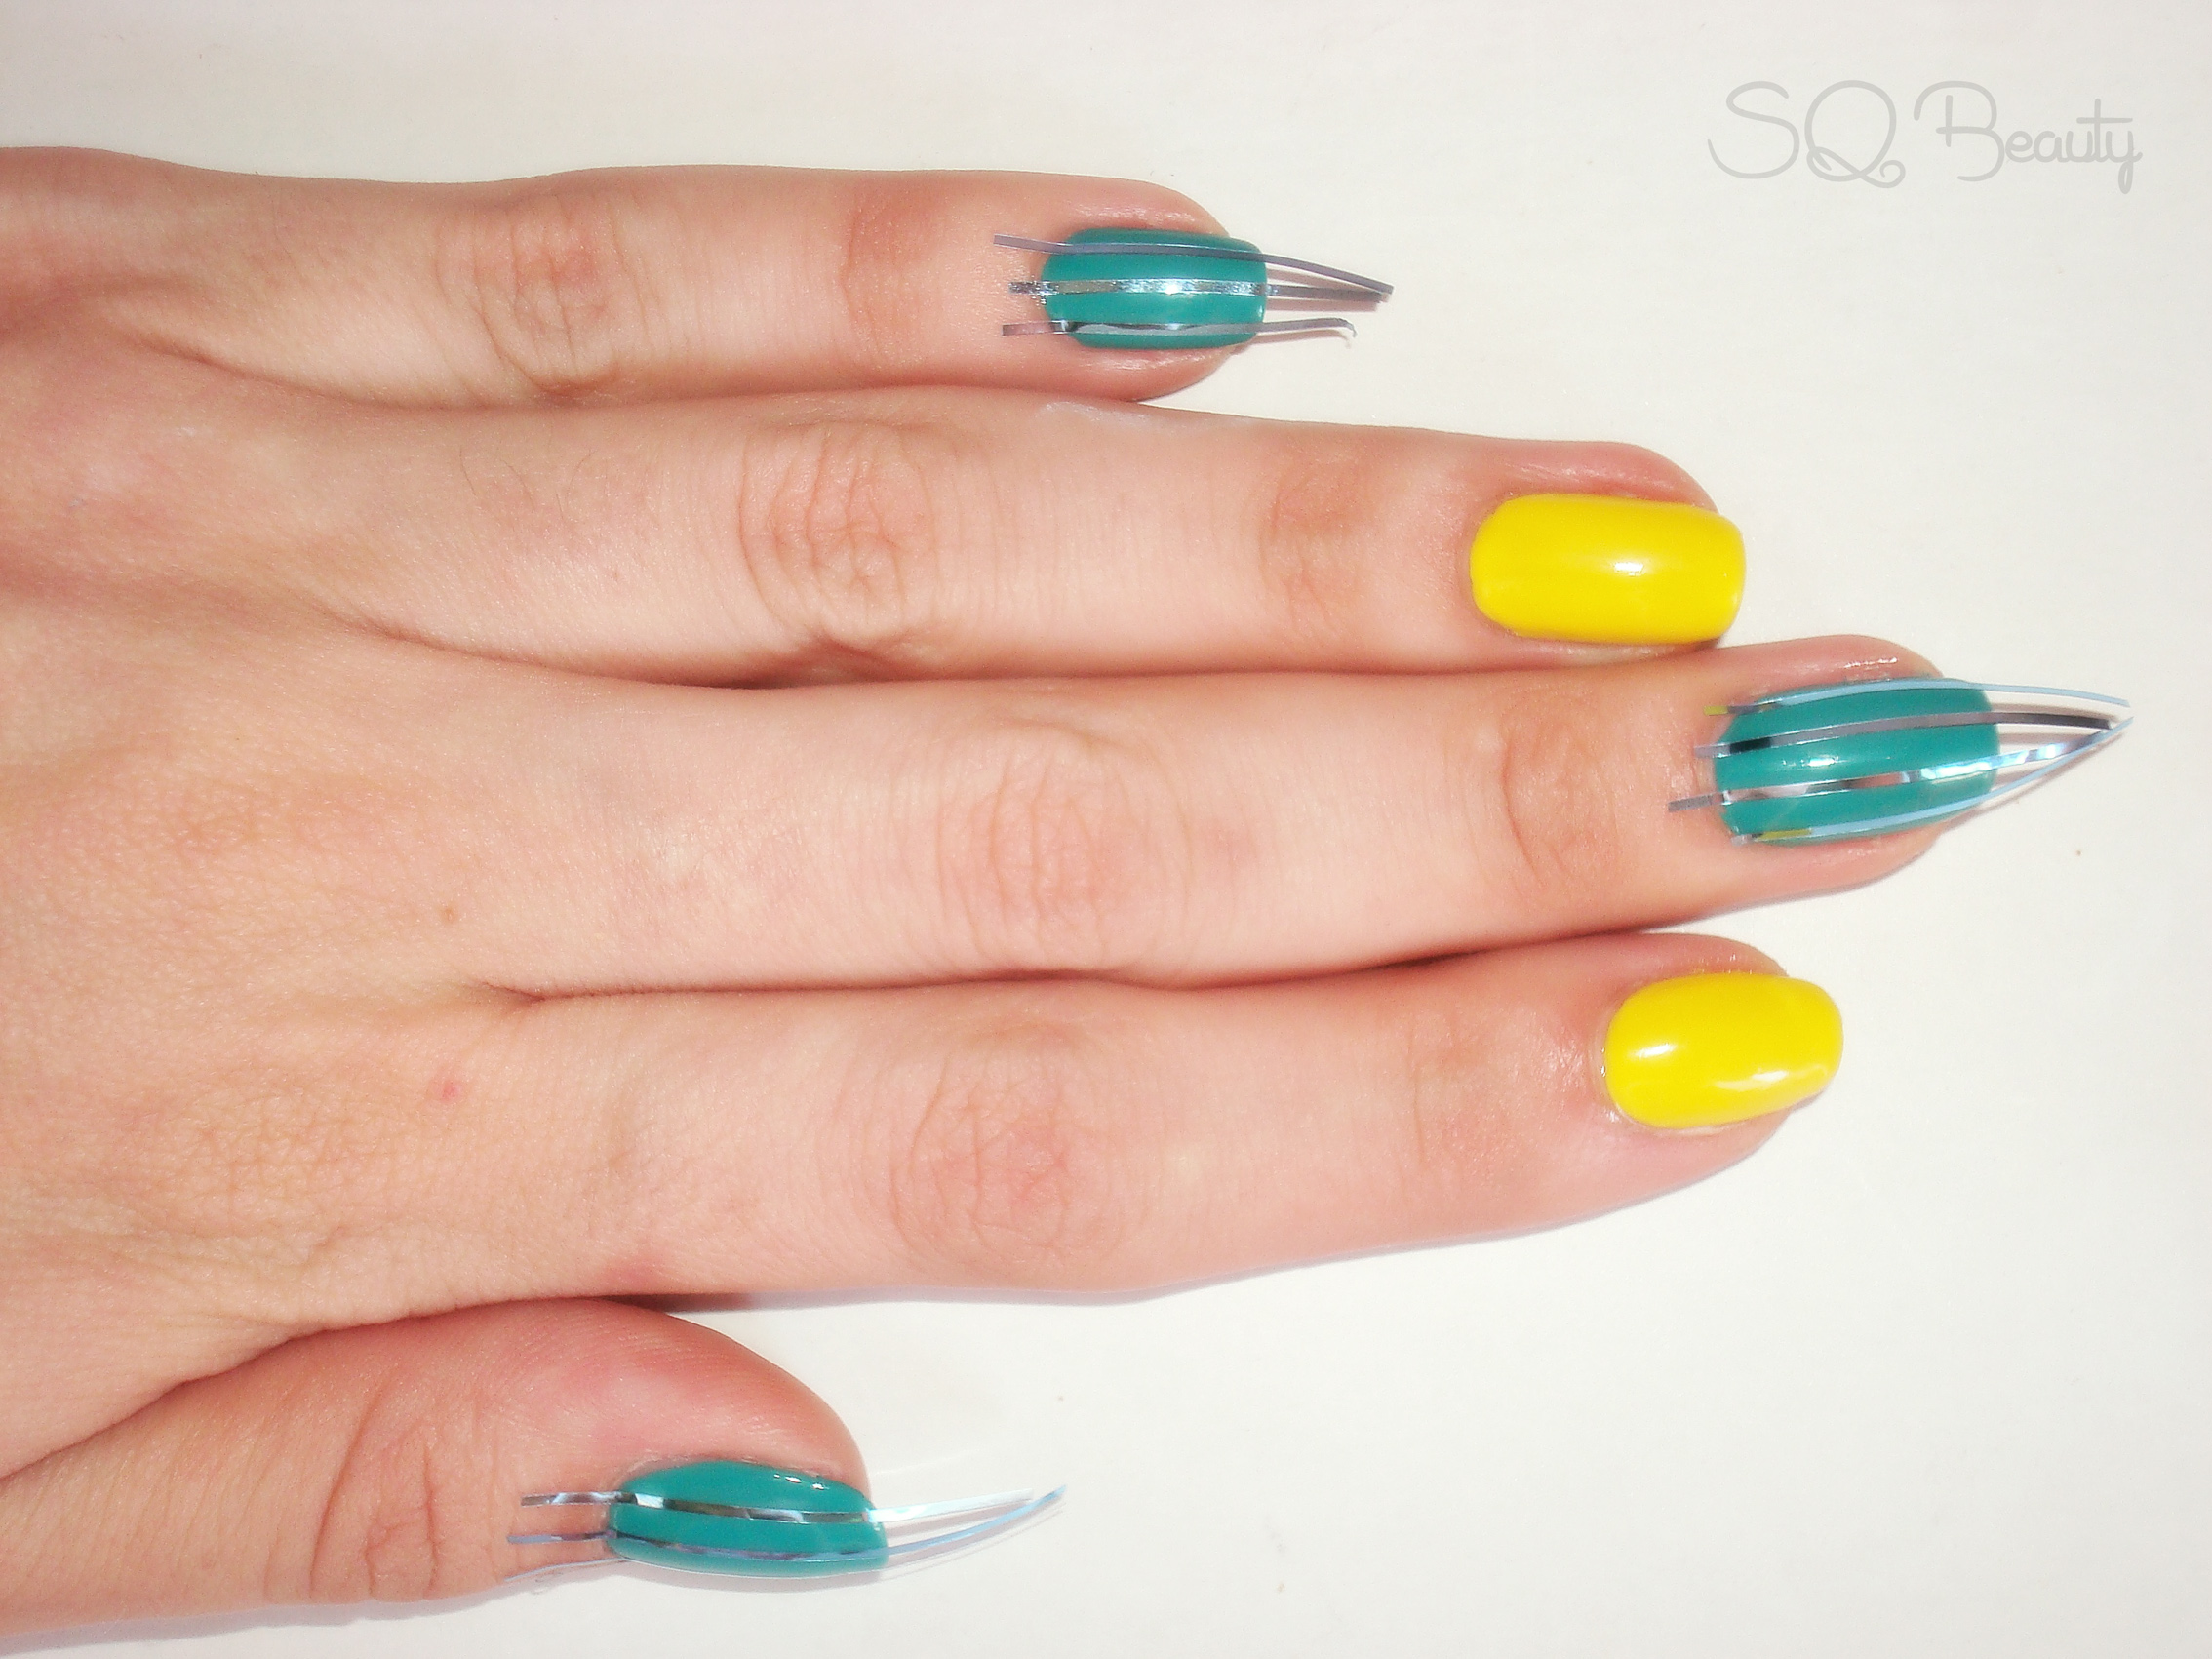
7. Once the nails with the stripes decoration are dried we will take off the decoration ribbon, we will have a very find turquoise detail in a yellow nails,
Nail Friday Manicura puntos y rayas
8. We will finish by adding a top coat to protect the nails and make the manicure last longer and we are done,
Nail Friday Manicura puntos y rayas

Nail Friday Manicura puntos y rayas
Nail Friday Manicura puntos y rayas
See you next friday,

Here you have more Nail Friday manicures,