Nail Friday is here and Verónica is bringing not just one but three different easy manicure for Valentine´s Day, cute, romantics, show off and perfect for these dyas!
So here I´ll leave you with her so she can tell you more about it!
Hi hi, another friday and another chapter of Nail Friday and today very special “Valentine´s Day manicures”!!! and today we are doing three different designs! lets go!
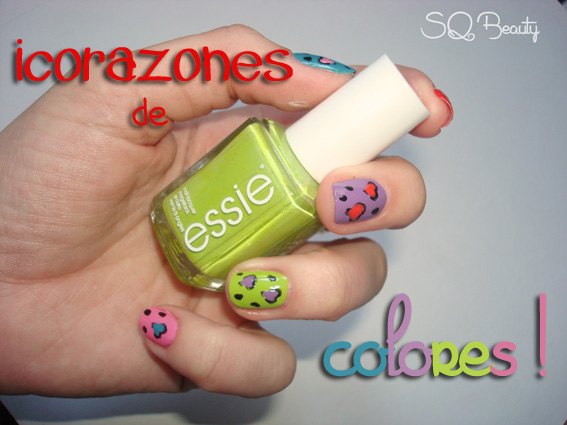
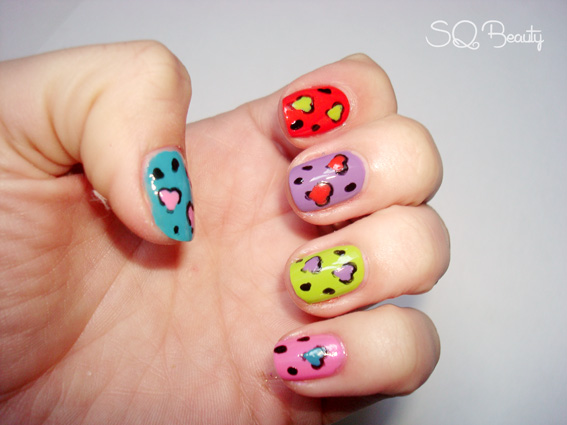
We start with colors and hearts, a multicolor manicure for a more playful and fun date!
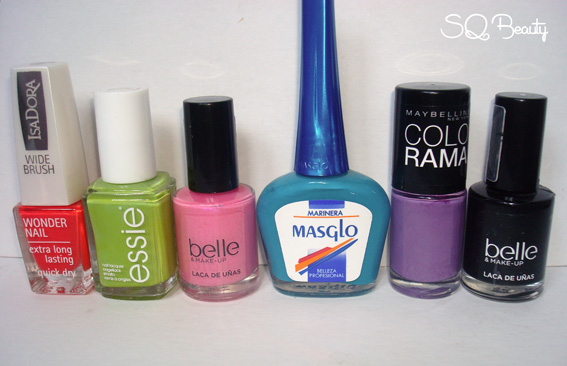
Products:
- Blue nail polish Masglo Marinera.
- Coral nail polish Isadora 756 coral reef.
- Green nail polish Essie 265.
- Purple nail polish Maybelline 554 lavander lies colorama.
- Pink nail polish Belle 60 popping candy.
- Black nail polish Belle 70 black on the road.
1. We will start as always applying a base coat to protect the nails.
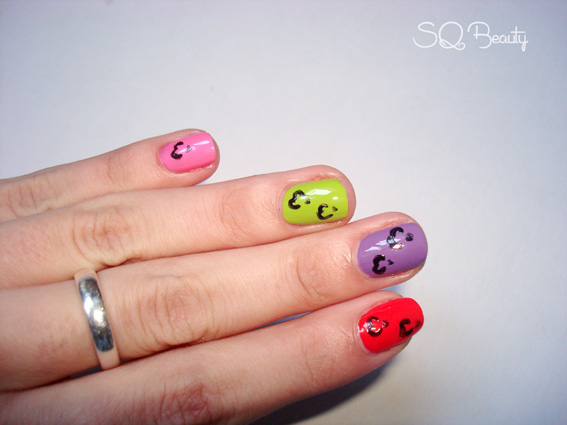
2. Start adding the color bases, add a couple of coats of color in each nail to create an opaque base, choice the color you most desire, I decided to use pink, green, purple, red and blue. And we will let it get completely dry before starting the design.
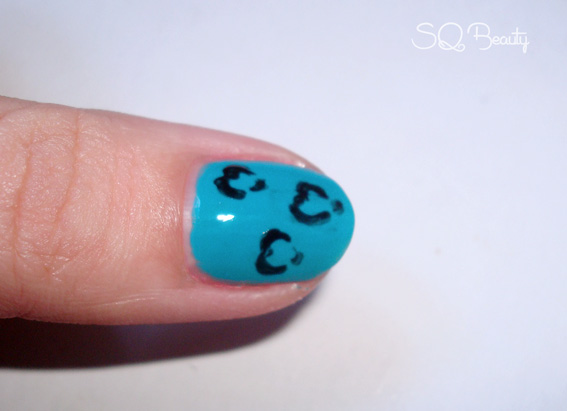
3. We will use the black nail polish to create the heart design but without completing the shape, we will create the upper part of the hearts and for the bottom part of the heart we will add a dot, that will create a heart shape effect but much more fun. We leave it to get it completely dry.
4. We will fill the heart shapes using the nail polish we used for the base, creating contraste and a more fun and playful look.
5. We will finish the manicure as always with a top coat and we are done.
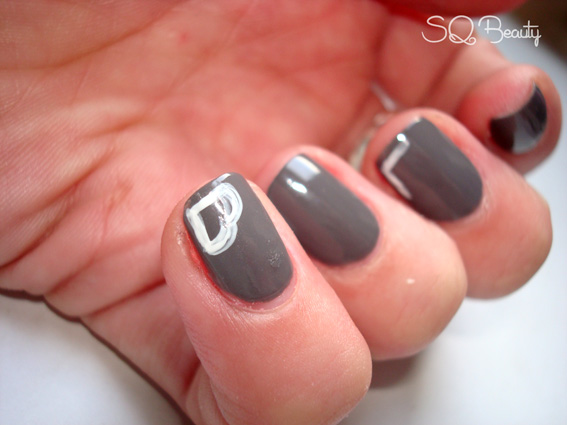
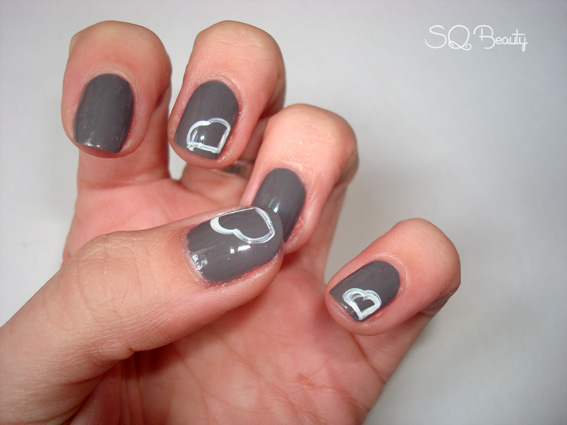
We will continue with a more classic and elegant manicure but we will keep adding a heart shape so still cute and sweet.
Products:
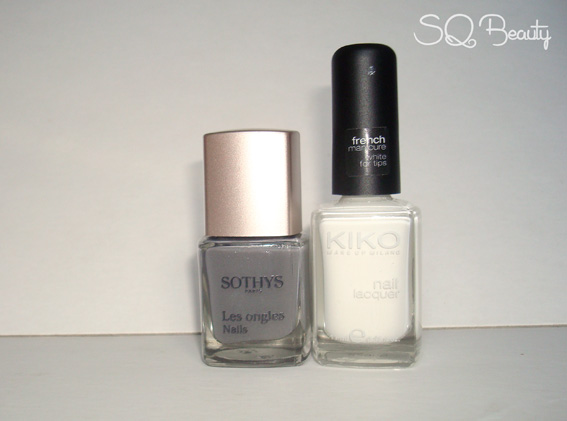
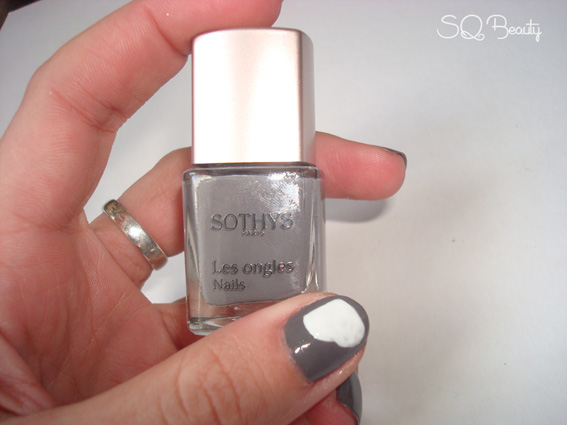
- Grey nail polish Sothys París n 25.
- White nail polish KiKo french manicura.
1. We will start by adding a base coat to protect the nails.
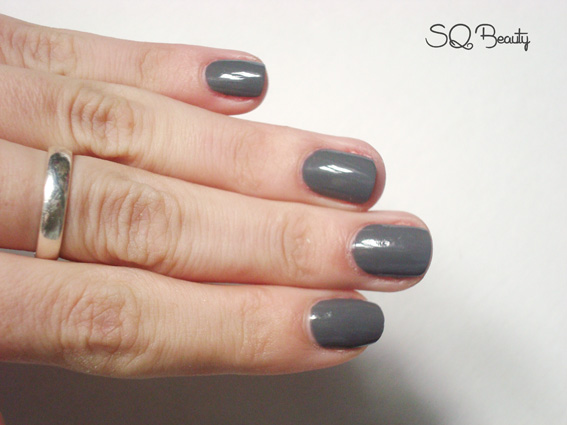
2. We apply a couple of coats of the base nail polish, in my case I am using this taupe grey and we leave it to get completely dry.
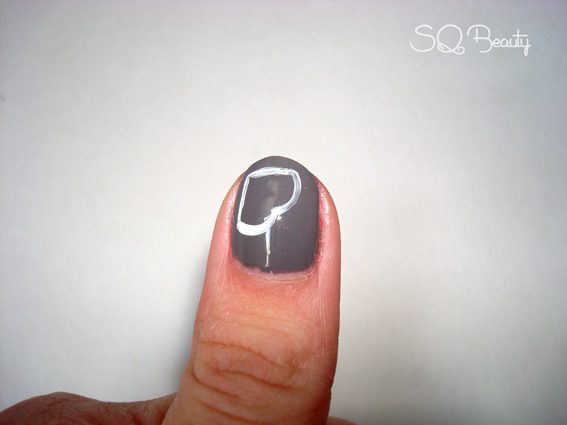
3. To create the shape heart design in alternative nails, we will create a square angle, for me is the perfect base to create a heart shape, and then we continue with the design, we will fill in the shape with nail polish.
4. We will add as a final step a top coat to make it last longer and we are done.
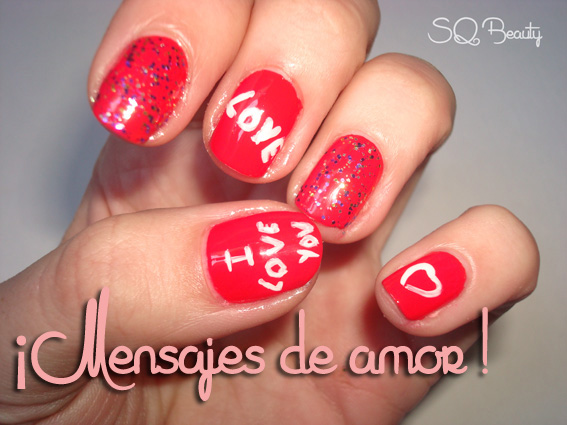
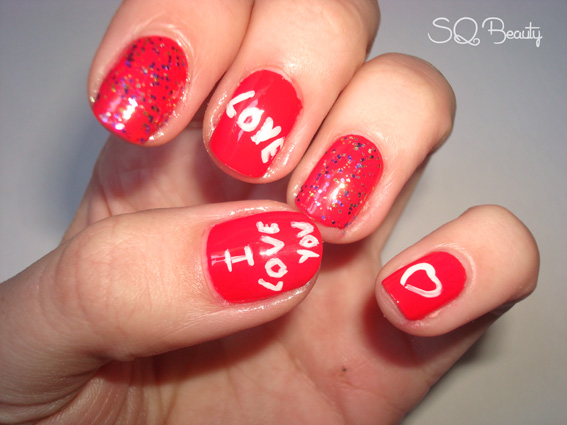
As the last manicure we will use it to say things, add messages to the nails makes them more playful and cute for Valentine´s day, tell what you feel to that person even on the nails!
Products:
- Red nail polish Isadora 735 hoy hibiscus.
- White nail polish Kiko french manicura.
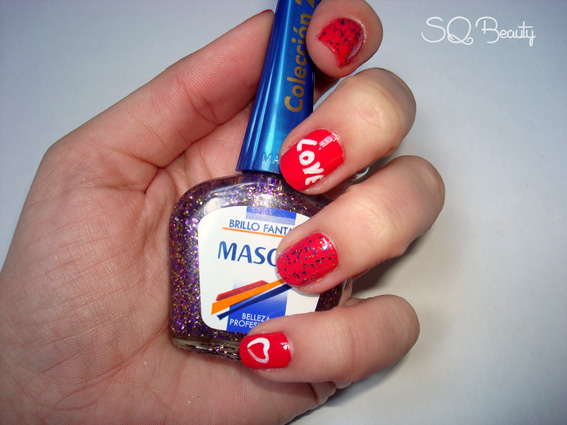
- Glitter top coat Masglo fantasía.
1. We will start adding the base coat to protect the nails.
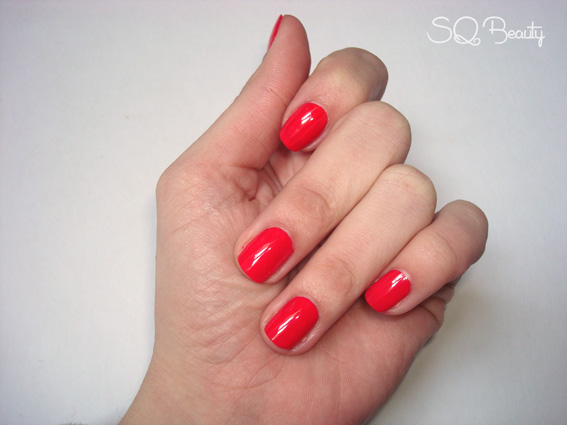
2. We will create a opaque base in red and we will leave it to dry completely before starting with the design.
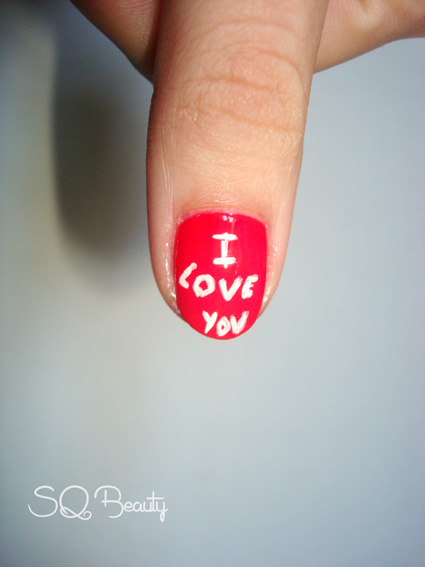
3. And now is time for the messages, write them with a fine brush, I decided to write “I love you” on the thumb and “love” on the middle finger.
4. Add the glitter top coat to those nails that doesn´t have the messages and a clear top coat on all of them and we are done.
I hope you think is an easy and full of love manicure, I will be back a couple of weeks… take care.


