
Today Verónica is back with another chapter of Nail Friday, today she is doing a very easy and summery manicure, I leave you with her and with her step by step manicure,
Hi guys, today I am doing a very fun and cute manicure, small daisies! let’s begin!

Nail Friday Manicura Margaritas amarillas
Products:
*Light blue nail polish. *Yellow nail polish. *White nail polish for the design. *Top coat. *Picker for the design.1. We will start by apply a base coat, that will prevent the nails from absorbing the color and getting yellow and if you have a necessity use this base to be your treatment for your problem.
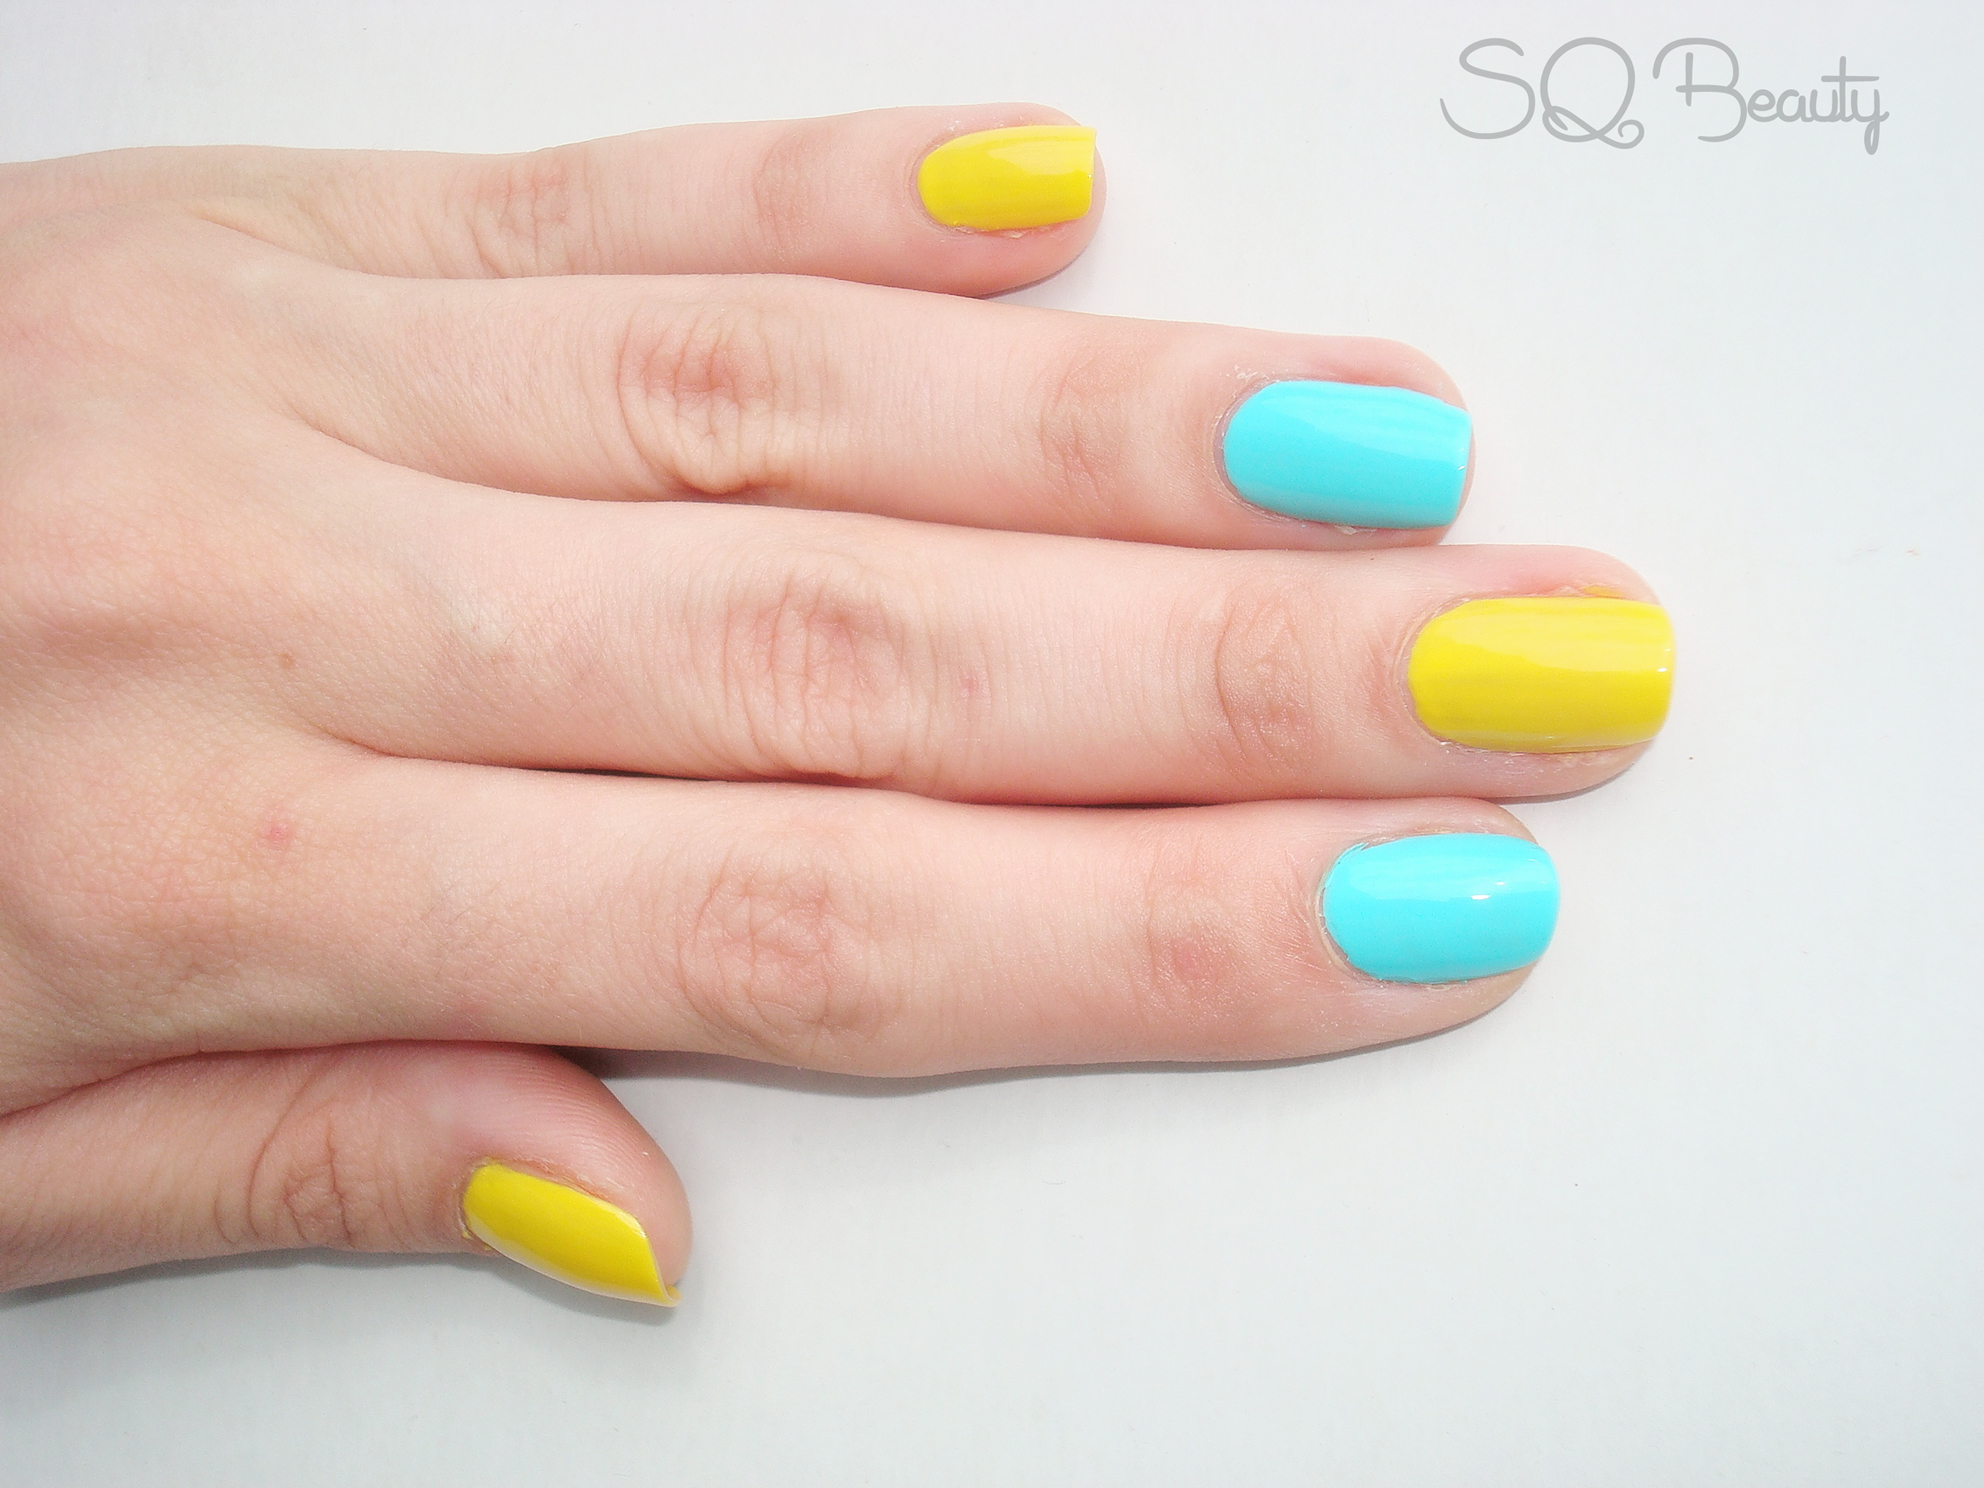
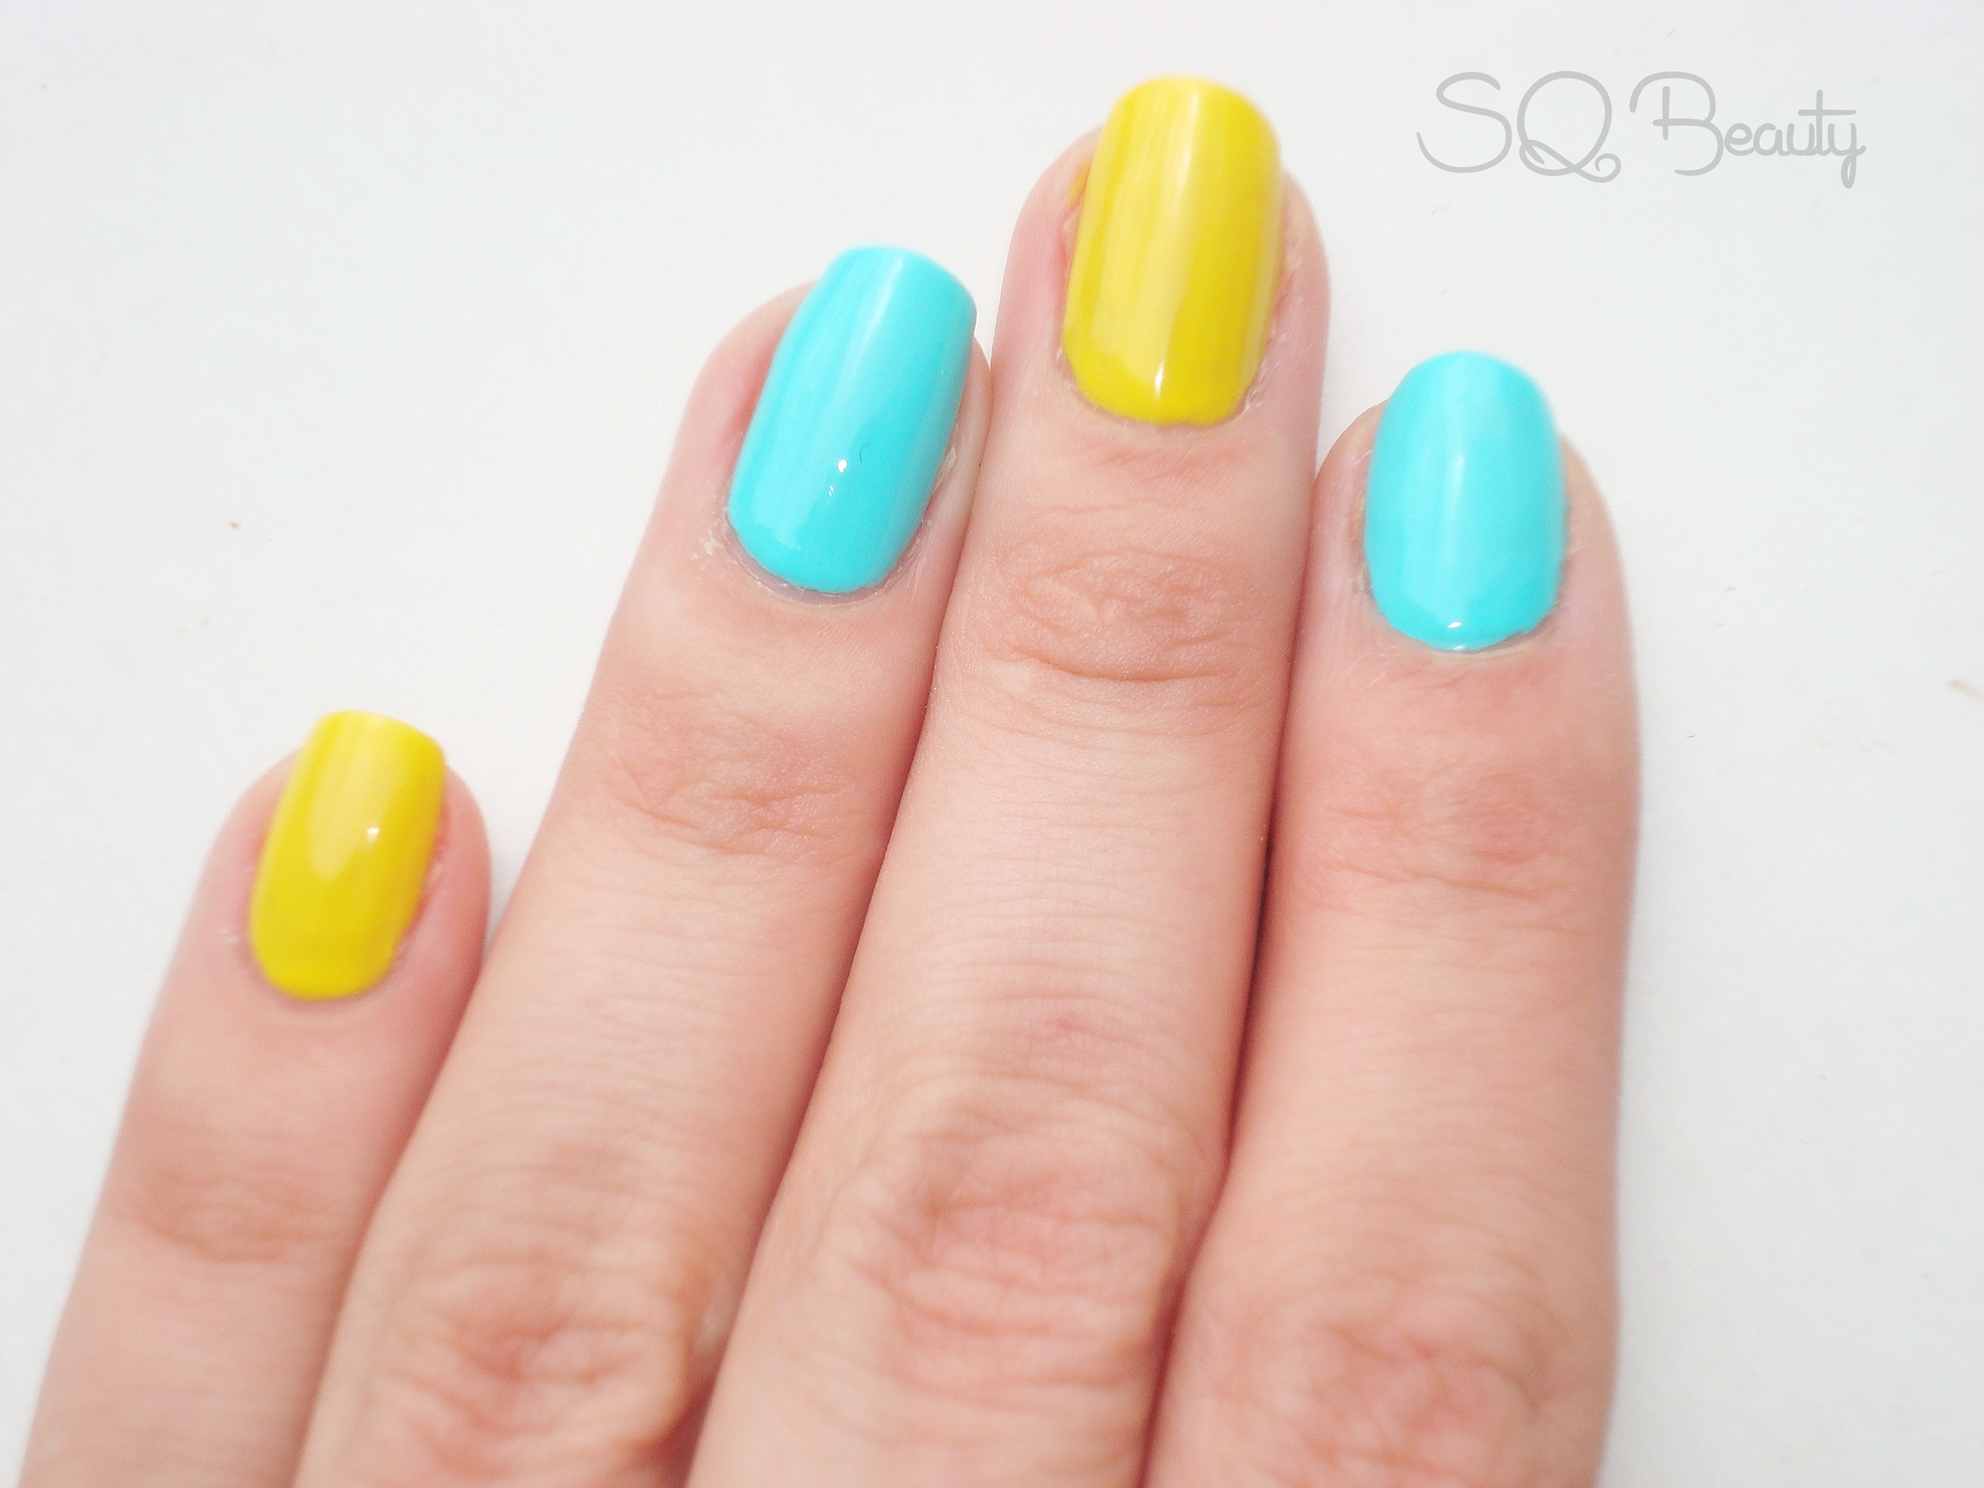
2. Add the base color nail polish, I went for yellow and blue, in alternative position, at the end you will have two nails on one color and three nails in other color, add as many coats as you need to get an opaque finish, let it dry.
Nail Friday Manicura Margaritas amarillas
Nail Friday Manicura Margaritas amarillas
3. We will start doing the dots with the white nail polish, use a picker with a different sides and choose the small side of it, create four dots in circule or cross design, that will simulate the petals, do as many as you want but have paciente cause if you do them to fast you will get united dots.

Nail Friday Manicura Margaritas amarillas
4. When they are dried, take the picker once again and take the bigger part to create bigger dots and add a yellow dot in the center of the four white to create the daisies effect, let get dry.

Nail Friday Manicura Margaritas amarillas
5. As final step add a top coat, I went for quick dry gel effect top coat, looks amazing and make them last longer, perfect for a few days for sure,

Nail Friday Manicura Margaritas amarillas
See you next friday,

Here you have more Nail Friday manicures,